 This page contains the experiments covered in the Apologia Chemistry curriculum course, which is designed to be taken as an advanced placement program so students can take the AP or CLEP chemistry exam to test out of their first year of college level chemistry.
This course (below) came about due to a huge number of requests I’ve had from parents that specifically use this curriculum and report their students are either “not getting it” or just so bored that they are resisting learning at all. Even if you don’t use this particular text, you can still work your way through this course and get a lot out of it using the experiments described below.
Students that work through this course will have a solid foundation to prepare for college. The experiments listed below are those found in the textbook, so all you have to do is click the link below and watch the step by step instructional videos for each experiment.
In some cases, the experiments mentioned in the book were somewhat lacking in scope and depth (or simply didn’t work, were unsafe, or flat boring), so we’ve expanded the experiment and created something better that really covers the scientific concepts and keeps your kids excited and engaged in doing real chemistry. There’s over 30 different experiments to choose from! Most experiments have data logs and worksheets with them as well in addition to exercises to answer with each one.
UPDATE: If after working through the course you feel that you’d like to work through our Advanced Chemistry course, you’ll find it very comprehensive and full of instructional and lab videos not found on this page.
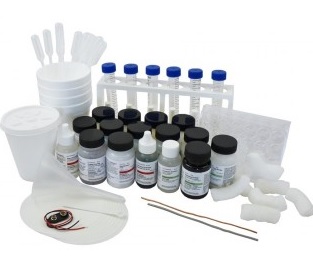
In order to be able to understand this text, you should have completed Algebra I. The course covers significant figures, units, classification, the mole concept, stoichiometry, thermochemistry, thermodynamics, kinetics, acids and bases, redox reactions, solutions, atomic structure, Lewis structures, molecular geometry, the gas laws, and equilibrium. You can purchase the kit to do the experiments listed in the textbook here. If you need extra chemicals, order them here. We’ve added extra experiments in addition to the ones in the book, so look them over and see which experiments you’d like to do, and then see if you can figure out way to perform the experiment with the materials and equipment you already have. Have fun!
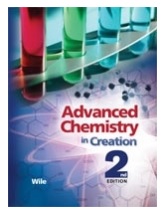
Advanced Chemistry in Creation 2nd Edition
Step 1: Get your kids excited to learn Chemistry first by participating in this class on the basics of Chemistry.
Step 2: Work your way through the experiments listed below.
If you feel you’d like to go further, feel free to visit Unit 3, Unit 8, and Unit 15 for more chemistry experiments and key concepts.
 |
Experiment 1.1: Strength of Ammonia (this variation allows you to use things you have in the house already instead of using phenolphthalien). Here’s a second experiment that includes how to handle phenolphthalien (which is hazardous). |
 |
Experiment 2.1: Colors of Chemistry (This experiment is more dramatic that the one listed in the book and uses less chemicals.) |
 |
Experiment 2.2: Measuring a Molecule (There isn’t an experiment about the size of an atom or molecule, so I added this experiment which works well to demonstrate how incredibly small they are.) |
 |
Experiment 3.1 The Effect of Solvent on the Color of a Substance |
 |
Experiment 4.1 Kinetic Theory of Matter (This one works better and is faster to do than the one in the textbook. Here’s another convention current experiment also!) |
 |
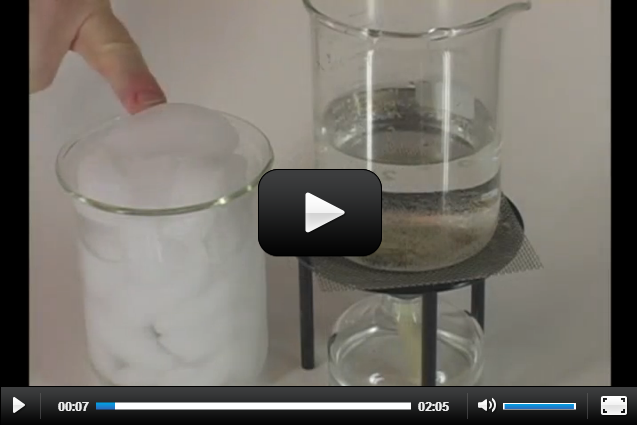
Experiment 4.2: Separating Mixtures using Sublimation (This experiment in to book is toxic since calls for naphthalene, so I’ve substituted a similar experiment that works just as well.) |
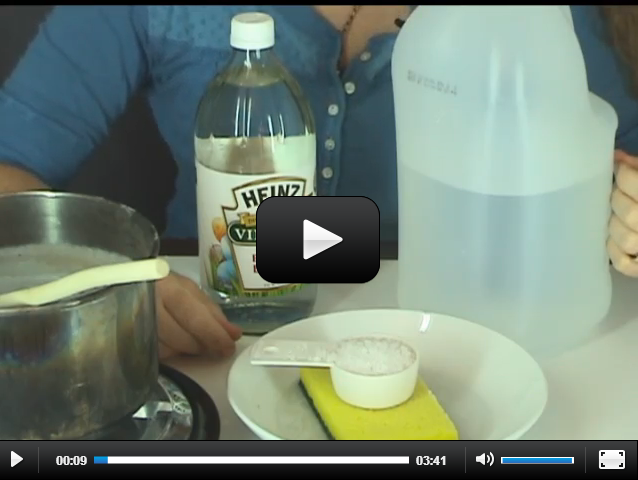 |
Experiment 4.3: Identifying Unit Cells (Again, the ones in the text call for leaving toxic chemicals out during the evaporation process, which I am not comfortable doing in a house or classroom full of kids, so here’s a substitute that you can use that utilizes grocery store items. It also gives better results!) |
 |
Experiment 5.1: A Simple Distillation (This is a safer version than standing over an open flame with a hot pot full of boiling water.) |
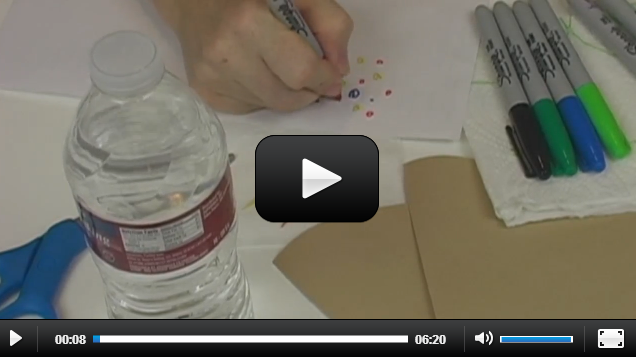 |
Experiment 5.2: Paper Chromatography |
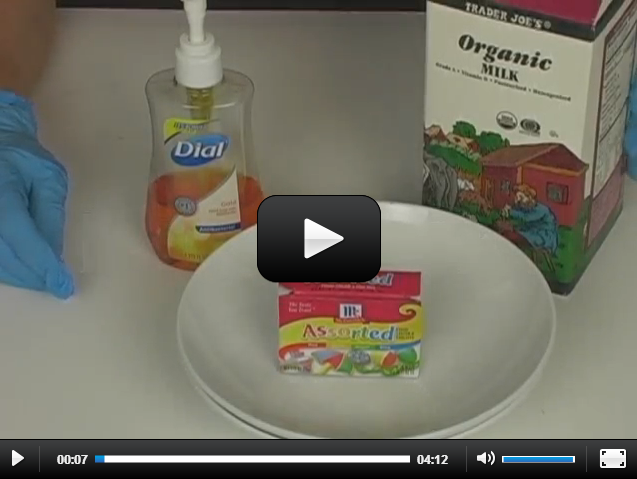 |
Experiment 5.3: Forming Collodial Particles with Soap (Here’s more soap bubble experiments that are much more dramatic.) |
 |
Experiment 6.1: Common Ion Effect (The baking soda version in the text didn’t work nearly as well as the laundry soap, so I’ve give you that one here!) |
 |
Experiment 6.2: Precipitation (I’ve substituted a similar experiment that is used in magic shows. Calcium chloride is hygroscopic (absorbs moisture), exothermic (releases heat when melted or dissolved), and deliquescent (dissolves in the moisture it absorbs and retains it for a long time). It’s a much better demonstration of the precipitation principle.) |
 |
Experiment 6.3: Making Your Own Precipitate (I strongly disagree with the text that students should randomly mix up chemicals to see which ones form a precipitate because there’s no guidance on how to do this, and you may form toxic vapors that could have nasty results if you don’t have proper ventilation. Here’s how to get energy from sugar that forms calcium carbonate, and this one using potassium hexacynoferrate uses precipitate to indicate the presence of iron.) |
 |
Experiment 7.1: Concentration of pH (If you’d like a simpler version, try this experiment which has two videos, one of which has me doing the nastier chemicals for y ou do you don’t have to.) |
 |
Experiment 8.1: Bicarbonate Buffer |
 |
Experiment 9.1: Redox Reaction between Cu and Zn (Here’s another redox reaction experiment making a magnesium battery.) |
 |
Experiment 9.2: Making a Galvanic Cell (This experiment actually creates metallic copper from a solution) |
 |
Experiment 9.3: Electrolysis of Copper Sulfate (This experiment electroplates metallic objects!) |
 |
Experiment 10.1: Redox Reactions |
 |
Experiment 11.1: Iodine Clock Reaction |
 |
Experiment 12.1: Polyethylene (Instead of stretching a trash bag, let’s make a polymer that stretches and glows!) |
 |
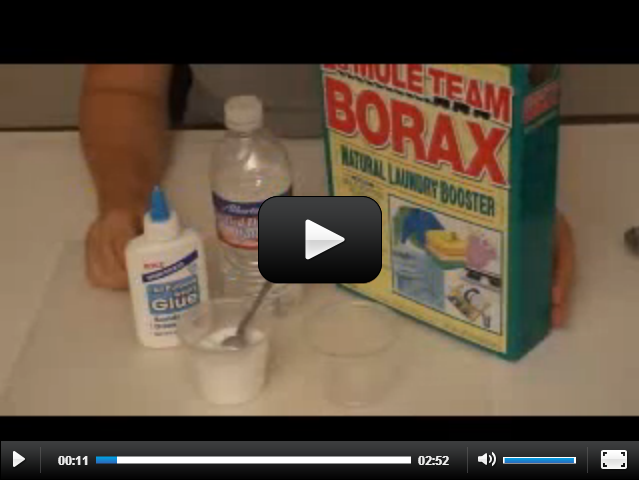
Experiment 12.2: Making Slime |
 |
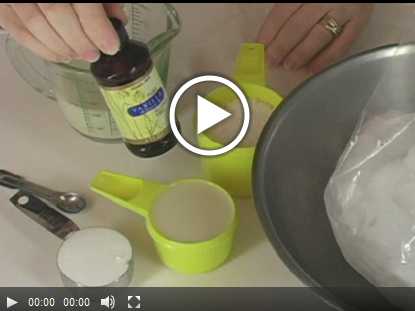
Experiment 12.3: Cross-linking a Polymer |
 |
Experiment 13.1: Yeast and Fermentation (Instead of just watching yeast, why not make something you can eat also?) |
 |
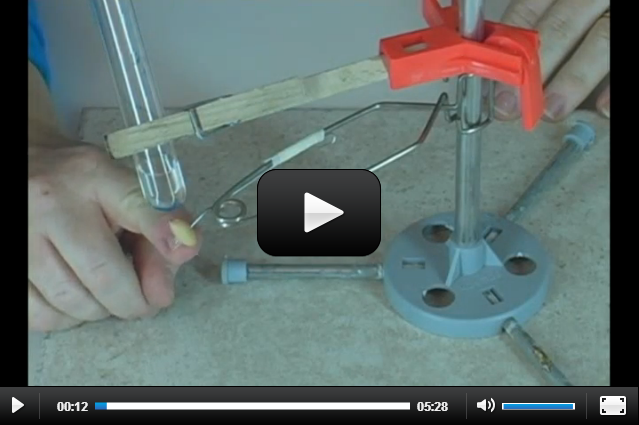
Experiment 13.2: Hydrolysis (The one in the text is hard to do and also really caustic. The one I’ve got here uses egg protein instead to show the same idea of the water-aided process of splitting molecules called hydrolysis.) |
 |
Experiment 13.1: Determine the Change in Enthalpy (There’s so many cool experiments you can do with this topic, so here’s a list of them.) |
 |
Experiment 14.1: Nuclear Reactions and Radioactive Decay (I know there’s no experiments in chapter 14 in the text, so I put these in. Here’s a set of experiments that students can do that pertain to particle physics.) |
