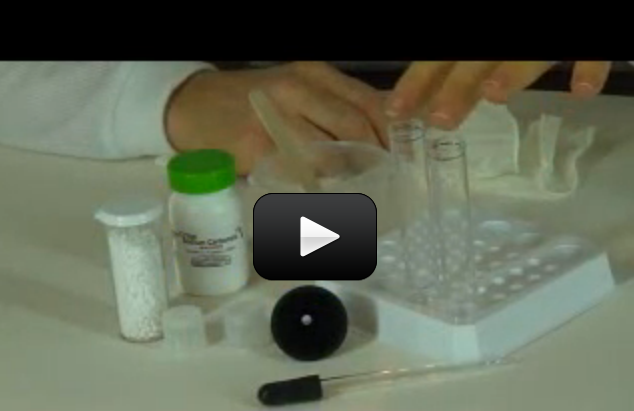
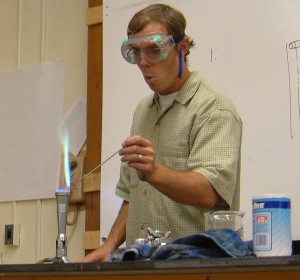
This is a recording of a recent live teleclass I did with thousands of kids from all over the world. I’ve included it here so you can participate and learn, too! (Click here if you’re looking for the more recent version that also includes Chemical Engineering.)


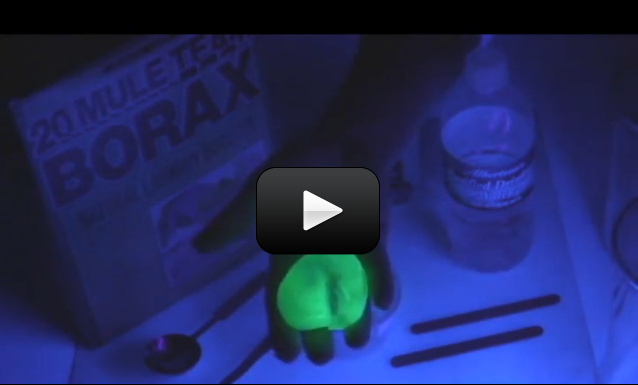
When you think of slime, do you imagine slugs, snails, and puppy kisses? Or does the science fiction film The Blob come to mind? Any way you picture it, slime is definitely slippery, slithery, and just plain icky — and a perfect forum for learning real science. But which ingredients work in making a truly slimy concoction, and why do they work? Let’s take a closer look…


Materials:


  • Sodium tetraborate (also called “Borax” – it’s a laundry whitener) – about 2 tablespoons
  • Clear glue or white glue (clear works better if you can find it) – about 1/2 cup
  • Yellow highlighter
  • Pliers or sharp razor (with adult help). (PREPARE: Use this to get the end off your highlighter before class starts so you can extract the ink-soaked felt inside. Leave the felt inside highlighter with the end loosely on (so it doesn’t dry out))
  • Resuable Instant Hand Warmer that contains sodium acetate (Brand Name: EZ Hand Warmer) – you’ll need two of these
  • Scissors
  • Glass half full of COLD water (PREPARE: put this in the fridge overnight)
  • Mixing bowl full of ice (PREPARE: leave in freezer)
  • Salt
  • Disposable aluminum pie place or foil-wrapped paper plate
  • Disposable cups for solutions (4-6)
  • Popsicle sticks for mixing (4-6)
  • Rubber gloves for your hands
  • Optional: If you want to see your experiments glow in the dark, you’ll need a fluorescent UV black light (about $10 from the pet store – look in cleaning supplies under “Urine-Off” for a fluorescent UV light). UV flashlights and UV LEDs will not work.
Please login or register to read the rest of this content.

Let’s see how much you’ve picked up with these experiments and the reading – answer as best as you can. (No peeking at the answers until you’re done!) Just relax and see what jumps to mind when you read the question. You can also print these out and jot down your answers in your science notebook.


Please login or register to read the rest of this content.

Let’s see how you did! If you didn’t get a few of these, don’t let it stress you out – it just means you need to play with more experiments in this area. We’re all works in progress, and we have our entire lifetime to puzzle together the mysteries of the universe!


Here’s printer-friendly versions of the exercises and answers for you to print out: Simply click here for printable questions and answers.


Answers:
Please login or register to read the rest of this content.


Chemical Data & Safe Handling Information Sheet

What do I really need to know first? First of all, the chemicals in this set should be stored out of reach of pets and children. Grab the chemicals right now and stuff them in a safe place where accidents can’t happen. Do this NOW! When you’re done storing your chemicals out of reach, come back and download this Chemical Safety Sheet AND watch this video.


Click here to Download the Chemical Safety Information!

[/am4show]


This is one of those 'chemistry magic show' type of experiments to wow your friends and family. Here's the scoop: you take a cup of clear liquid, add it to another cup of clear liquid, stir for ten seconds, and you'll see a color change, a state change from liquid to solid, and you can pull a rubber-like bouncy ball right out of the cup.

Please login or register to read the rest of this content.


When you think of slime, do you imagine slugs, snails, and puppy kisses? Or does the science fiction film The Blob come to mind? Any way you picture it, slime is definitely slippery, slithery, and just plain icky — and a perfect forum for learning real science.


But which ingredients work in making a truly slimy concoction, and why do they work? Let’s take a closer look…


Imagine a plate of spaghetti. The noodles slide around and don’t clump together, just like the long chains of molecules (called polymers) that make up slime. They slide around without getting tangled up. The pasta by itself (fresh from the boiling water) doesn’t hold together until you put the sauce on. Slime works the same way. Long, spaghetti-like chains of molecules don’t clump together until you add the sauce … until you add something to cross-link the molecule strands together.


The sodium-tetraborate-and-water mixture is the “spaghetti” (the long chain of molecules, also known as a polymer), and the “sauce” is the glue-water mixture (the cross-linking agent). You need both in order to create a slime worthy of Hollywood filmmakers.


Please login or register to read the rest of this content.

Phenolphthalein is a weak, colorless acid that changes color when it touches acidic (turns orange) or basic (turns pink/fuchsia) substances. People used to take it as a laxative (not recommended today, as ingesting high amounts may cause cancer). Use gloves when handling this chemical, as your skin  can absorb it on contact. I’ll show you how:


Please login or register to read the rest of this content.

You can use this as real ink by using it BEFORE you combine them together like this: dip a toothpick into the first solution (sodium ferrocyanide solution) and with the tip write onto a sheet of paper.


While the writing is drying, dip a piece of paper towel int other solution (ferric ammonium sulfate solution) and gently blot along where you wrote on the paper… and the color appears as blue ink. You can make your secret message disappear by wiping a paper towel dipped in a sodium carbonate solution.


You can also grow purple, gold, and red crystals with these chemicals… we’ll show you how!


Materials:


  • sodium ferrocyanide
  • ferric ammonium sulfate
  • 2 test tubes
  • distilled water
  • goggles and gloves
  • water
Please login or register to read the rest of this content.

Dissolving calcium chloride is highly exothermic, meaning that it gives off a lot of heat when mixed with water (the water can reach up to 140oF, so watch your hands!). The energy released comes from the bond energy of the calcium chloride atoms, and is actually electromagnetic energy.


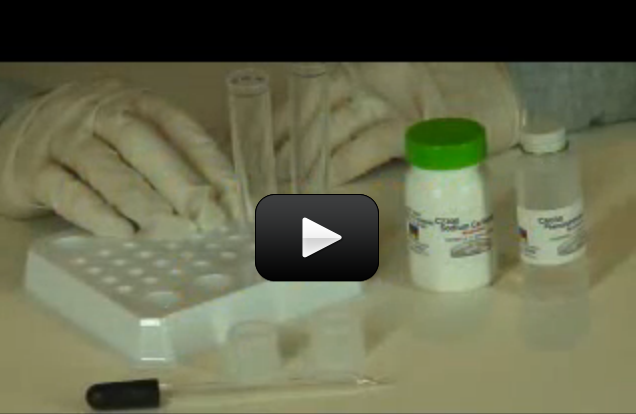
When you combine the calcium chloride and sodium carbonate solutions, you form the new chemicals sodium chloride (table salt) and calcium carbonate. Both of these new chemicals are solids and “fall out” of the solution, or precipitate. If you find that there is still liquid in the final solution, you didn’t have quite a saturation solution of one (or both) initial solutions.


Please login or register to read the rest of this content.

I mixed up two different liquids (potassium iodide and a very strong solution of hydrogen peroxide) to get a foamy result at a live workshop I did recently. See what you think!


Note: because of the toxic nature of this experiment, it’s best to leave this one to the experts.


Nurses will put hydrogen peroxide on a cut to kill germs. It’s also used in rocket fuel as an oxidizer. The hydrogen peroxide in your grocery store is a weak 3% solution. The hydrogen peroxide used here is 10X stronger than the grocery store variety. The KI (potassium iodide) is the catalyst in the experiment which speeds up the decomposition of the hydrogen peroxide. This is an exothermic reaction (gives off heat).


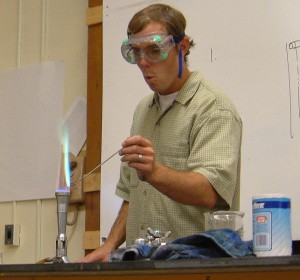
What state of matter is fire? Is it a liquid? I get that question a LOT, so let me clarify. The ancient scientists (Greek, Chinese… you name it) thought fire was a fundamental element. Earth, Air Water, and Fire (sometimes Space was added, and the Chinese actually omitted Air and substituted Wood and Metal instead) were thought to be the basic building blocks of everything, and named it an element. And it’s not a bad start, especially if you don’t have a microscope or access to the internet.


Today’s definition of an element comes from peeking inside the nucleus of an atom and counting up the protons. In a flame, there are lots of different molecules from NO, NO2, NO3, CO, CO2, O2, C… to name a few. So fire can’t be an element, because it’s made up of other elements. So, what is it?


Please login or register to read the rest of this content.

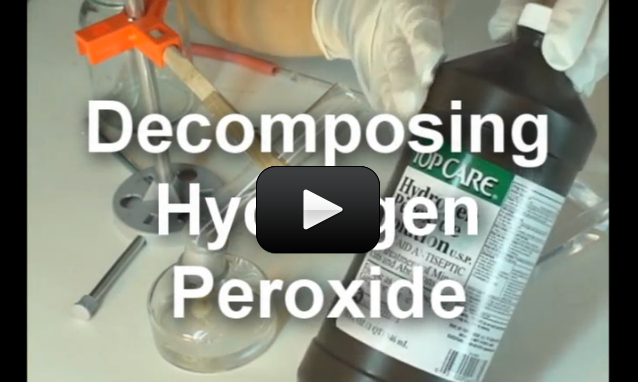
h2o2This experiment below is for advanced students. If you’ve ever wondered why hydrogen peroxide comes in dark bottles, it’s because the liquid reacts with sunlight to decompose from H2O2 (hydrogen peroxide) into H2O (water) and O2 (oxygen). If you uncap the bottle and wait long enough, you’ll eventually get a container of water (although this takes a LOOONG time to get all of the H2O2 transformed.)
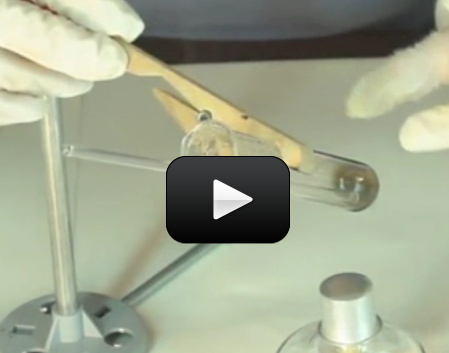
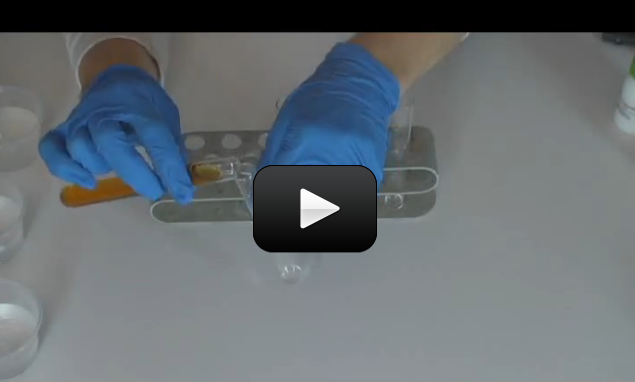
Here’s a way to speed up the process and decompose it right before your eyes. For younger kids, you can modify this advanced-level experiment so it doesn’t involve flames. Here’s what you do:


Please login or register to read the rest of this content.

This experiment is for advanced students.Have you ever taken a gulp of the ocean? Seawater can be extremely salty! There are large quantities of salt dissolved into the water as it rolled across the land and into the sea. Drinking ocean water will actually make you thirstier (think of eating a lot of pretzels). So what can you do if you’re deserted on an island with only your chemistry set?


Let me show you how to take the salt out of water with this easy setup.


Please login or register to read the rest of this content.

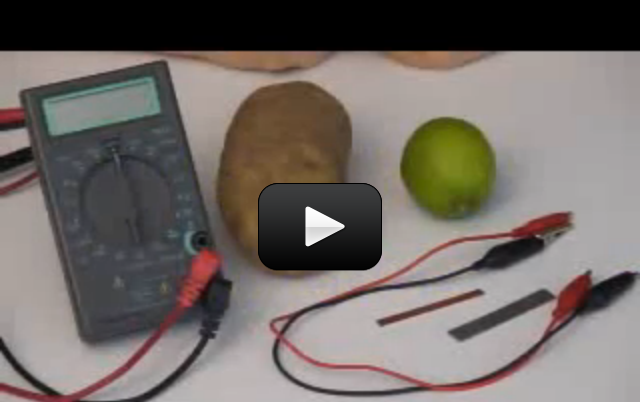
This experiment shows how a battery works using electrochemistry. The copper electrons are chemically reacting with the lemon juice, which is a weak acid, to form copper ions (cathode, or positive electrode) and bubbles of hydrogen.


These copper ions interact with the zinc electrode (negative electrode, or anode) to form zinc ions. The difference in electrical charge (potential) on these two plates causes a voltage.


Materials:


  • one zinc and copper strip
  • two alligator wires
  • digital multimeter
  • one fresh large lemon or other fruit
Please login or register to read the rest of this content.

If you don’t have equipment lying around for this experiment, wait until you complete Unit 10 (Electricity) and then come back to complete this experiment. It’s definitely worth it!


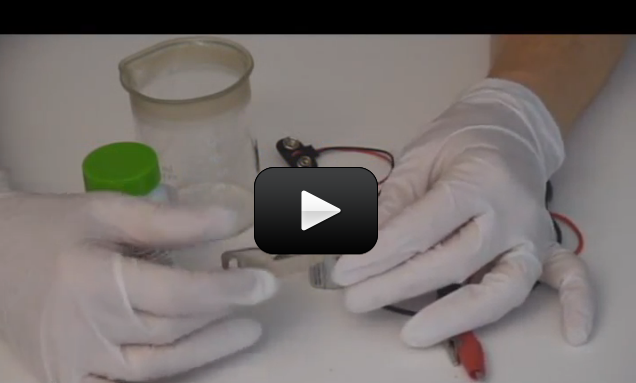
Electroplating was first figured out by Michael Faraday. The copper dissolves and shoots over to the key and gets stuck as a thin layer onto the metal key. During this process, hydrogen bubbles up and is released as a gas. People use this technique to add material to undersized parts, for place a protective layer of material on objects, to add aesthetic qualities to an object.


Materials:


  • one shiny metal key
  • 2 alligator clips
  • 9V battery clip
  • copper sulfate (MSDS)
  • one copper strip or shiny copper penny
  • one empty pickle jar
  • 9V battery
Please login or register to read the rest of this content.

This is the experiment that your audience will remember from your chemistry magic show. Here’s what happens – you call up six ‘helpers’ and hand each a seemingly empty test tube. Into each test tube, pour a little of the main gold-colored solution, say a few magic words, and their test tubes turn clear, black, pink, gold, yellow, and white. With a flourish, ask them to all pour their solutions back into yours and the final solution turns from inky black to clear. Voila!


I first saw a similar experiment when I was a kid, and I remembered it all the way through college, where I asked my professor how I could duplicate the experiment on my own. I was told that the chemicals used in that particular experiment were way too dangerous, and no substitute experiment was possible, especially for the color reversal at the end. I was determined to figure out an alternative. After two weeks of nothing but chemistry and experiment testing, I finally nailed it – and the best part is, you have most of these chemicals at the grocery store. (And the best part is, I can share it with you as I’ve eliminated the nasty chemicals so you don’t have to worry about losing an eyeball or a finger.)


NOTE: This experiment requires adult help, as it uses chemicals that are toxic if randomly mixed together.  Follow the instructions carefully, and do not mix random chemicals together.


Are you ready to mix up your own rainbow?


Please login or register to read the rest of this content.

First discovered in 1886 by Hans Heinrich Landolt, the iodine clock reaction is one of the best classical chemical kinetics experiments. Here’s what to expect:  Two clear solutions are mixed. At first there is no visible reaction, but after a short time, the liquid suddenly turns dark blue.


Usually, this reaction uses a solution of hydrogen peroxide with sulfuric acid, but you can substitute a weaker (and safer) acid that works just as well:  acetic acid (distilled white vinegar). The second solution contains potassium iodide, sodium thiosulfate (crystals), and starch (we’re using a starch packing peanut, but you can also use plain old cornstarch). Combine one with the other to get the overall reaction, but note that there are actually two reactions happening simultaneously.


Please login or register to read the rest of this content.

So this is probably the last chemical in your set you haven’t used… I had to really dig into my ‘bag of tricks’ to find something suitable for you to practice with.

Ammonium chloride is found near volcanoes and coal mines, as glue for plywood, in hair shampoo, in the electronics industry in solder, and also is fed to cows. It’s not typically experimented with in the chemistry lab, but since it’s in your set, I thought we’d play with it and see if you can figure out a few of its properties.


Use gloves and goggles when handling ammonium chloride, and make sure you have a fire extinguisher and a grown up handy!


Please login or register to read the rest of this content.

Why study chemistry? Baking is chemistry. Cars use chemistry to zip down the street. Your body converts food into energy using chemistry. Everything you see, touch, taste, and smell is a chemical.


Studying chemistry is like peeking under the hood of a racecar – you know you put gas in and it goes, but that’s all you can tell from the outside. Chemistry gets you into the inner workings on the molecular level. Are you ready? This video will get you started on the right foot for your study into chemical kinetics:


Please login or register to read the rest of this content.

Mars is coated with iron oxide, which not only covers the surface but is also present in the rocks made by the volcanoes on Mars.


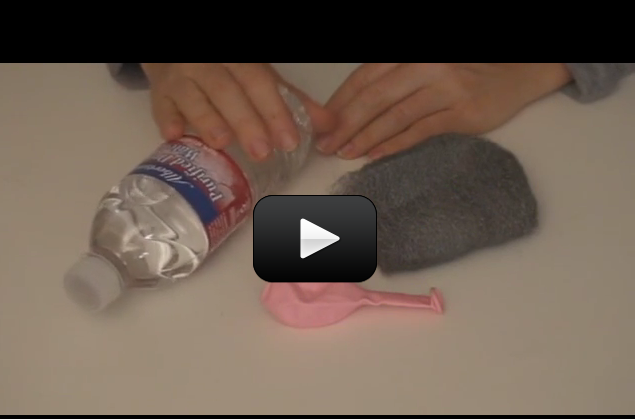
Today you get to perform a chemistry experiment that investigates the different kinds of rust and shows that given the right conditions, anything containing iron will eventually break down and corrode. When iron rusts, it’s actually going through a chemical reaction: Steel (iron) + Water (oxygen) + Air (oxygen) = Rust
Materials


  • Four empty water bottles
  • Four balloons
  • Water
  • Steel wool
  • Vinegar
  • Water
  • Salt
Please login or register to read the rest of this content.

Hydrogen peroxide is used to fuel rockets, airplanes, and other vehicle engines. Chemistry teachers everywhere use it to demonstrate the power of a catalyst.

To speed up a reaction without altering the chemistry of the reaction involves adding a catalyst. A catalyst changes the rate of reaction but doesn’t get involved in the overall chemical changes.

For example, leaving a bottle of hydrogen peroxide outside in the sunlight will cause the hydrogen peroxide to decompose. However, this process takes a long time, and if you don’t want to wait, you can simply toss in a lump of charcoal to speed things along.

The carbon is a catalyst in the reaction, and the overall effect is that instead of taking two months to generate a balloon full of oxygen, it now only takes five minutes. The amount of charcoal you have at the end of the reaction is exactly the same as before it started.

A catalyst can also slow down a reaction. A catalytic promoter increases the activity, and a catalytic poison (also known as a negative catalyst, or inhibitor) decreases the activity of a reaction. Catalysts offer a different way for the reactants to become products, and sometimes this means the catalyst reacts during the chemical reaction to form intermediates. Since the catalyst is completely regenerated before the reaction is finished, it’s considered ‘not used’ in the overall reaction.

In this experiment, you'll see that there's a lot of oxygen hiding inside the peroxide - enough to really make things interesting and move around! You'll also find out what happens to soap when you bubble oxygen through it. Are you ready?

Please login or register to read the rest of this content.