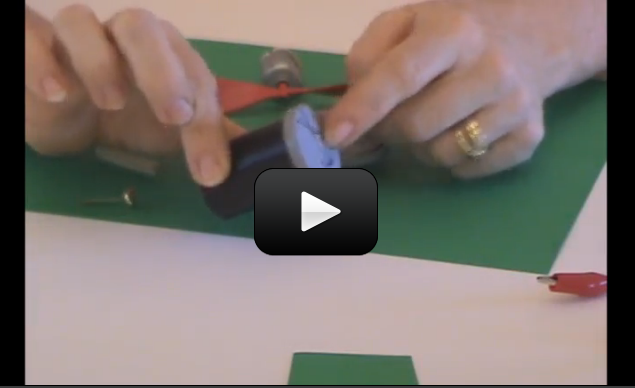
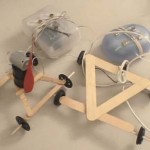
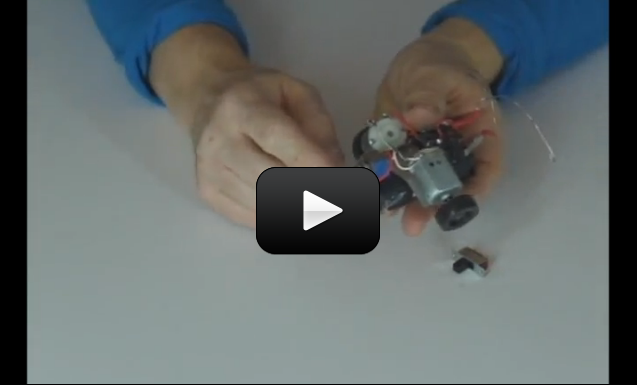
This is a recording of a recent live teleclass I did with thousands of kids from all over the world. I've included it here so you can participate and learn, too!

Spark together electric motors, build homemade burglar alarms, wire up circuits and build your own robot from junk! Create your own whizzing, hopping, dancing, screeching, swimming, crawling, wheeling, robot during class. We'll cover hot topics in electricity, magnetism, electrical charges, robot construction, sensors and more.

Please login or register to read the rest of this content.


Amphibious vehicles is a craft which travels on both land and water. And it doesn't need to be limited to just cars. There are amphibious bicycles, buses, and RVs. Hovercraft are amphibious, too!

Amphibious crafts started back in the 1800s as steam-powered barges. In the 1950s, the German Schimmwagen was a small jeep that could travel in water as well as on land. The most popular amphibious vehicle on the market is the 1960 Amphibicar (photo shown left) and later the Gibbs Aquada.

The secret to making an amphibious vehicle is this: it must be designed so it floats in water (it must be watertight and buoyant) and robust enough to travel on land. Many amphibious creations either leaked, sank, or never made it off the drawing board. But that's what being a scientist is all about: coming up with an overall goal and figuring out a way to overcome the problems faced along the way.

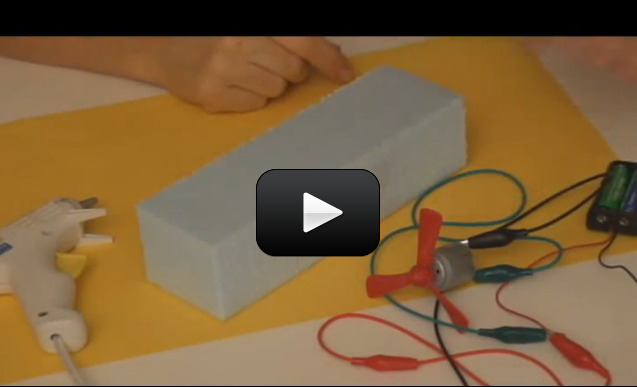
We're going to build our own version using items like foam blocks and hobby motors. Are you ready?
Please login or register to read the rest of this content.


The great news is that many of the problematic airplane troubles were figured out a long time ago by two amazing people: the Wright brothers.


The Wright brothers also took an airfoil (a fancy word for “airplane wing”), turned it sideways, and rotated it around quickly to produce the first real propeller that could generate an efficient amount of thrust to fly an aircraft.


Before the Wright brothers perfected the airfoil, people had been using the same “screw” design created by Archimedes in 250 BC. This twist in the propeller was such a superior design that modern propellers are only 5% more efficient than those created a hundred years ago by the two brilliant Wright brothers.


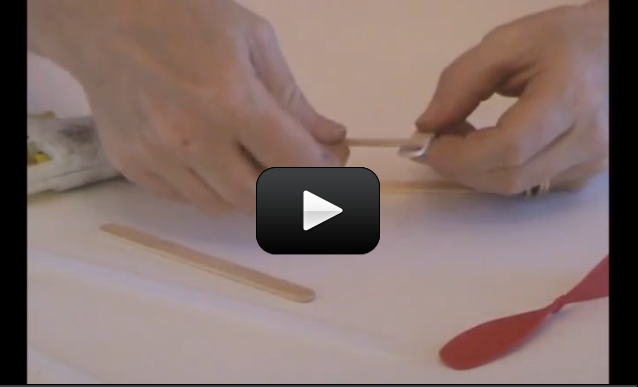
We’re going to use a propeller on our basic race car chassis (frame) to see how much thrust we’d need to make it move. If you don’t want to make the fancy triangle-shaped body frame, you can substitute a foam block or two (which will make your car able to go in water, too!)


Are you ready?
Please login or register to read the rest of this content.


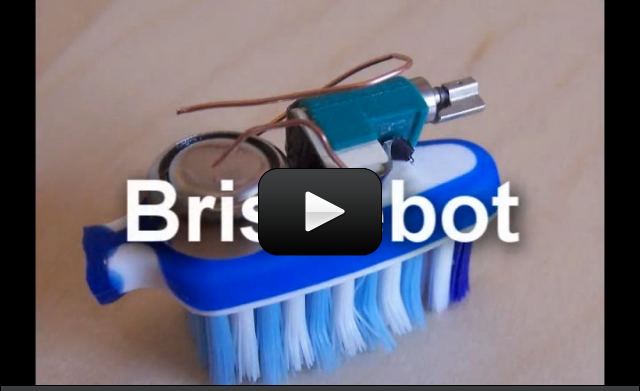
This is the simplest robot you can make… out of old parts from around the house. While this little robot doesn’t use energy from the sun or wind, we’ve placed it here with other alternative energy projects because the parts come from the trash bin.


This project is an extension of the Jigglebot robot from Unit 10.


Please login or register to read the rest of this content.

Let’s see how much you’ve picked up with these experiments and the reading – answer as best as you can. (No peeking at the answers until you’re done!) Just relax and see what jumps to mind when you read the question. You can also print these out and jot down your answers in your science notebook.


Please login or register to read the rest of this content.

Let’s see how you did! If you didn’t get a few of these, don’t let it stress you out – it just means you need to play with more experiments in this area. We’re all works in progress, and we have our entire lifetime to puzzle together the mysteries of the universe!


Here’s printer-friendly versions of the exercises and answers for you to print out: Simply click here for printable questions and answers.


Answers:
Please login or register to read the rest of this content.


ROV stands for Remotely Operated Vehicle. These robots are used by scientists to explore the waters both offshore and in the deep sea, and often bring back samples and/or take video of their underwater findings. ROVs usually have a tether from the vehicle to the boat, which lightens up the load quite a bit (as it no longer needs to carry its own power or data storage). Powerful motors, such as bilge pumps or 24VDC motors, enable this robot to move in all six directions. ROVs are designed to be slightly positive in buoyancy, so they can surface automatically during power failures.


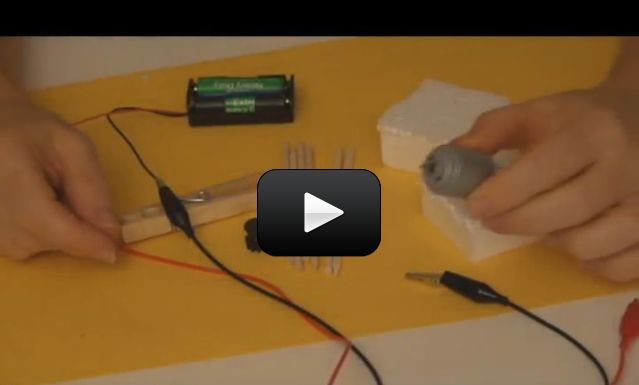
Of the robots we’re going to build, waterbots have the highest instant-success rate. You basically attach a motor to a piece of foam, stick it in the water, and it either floats and zips around, or capsizes and acts like an odd submarine. Either way, kids shriek with delight that their creation actually moves.


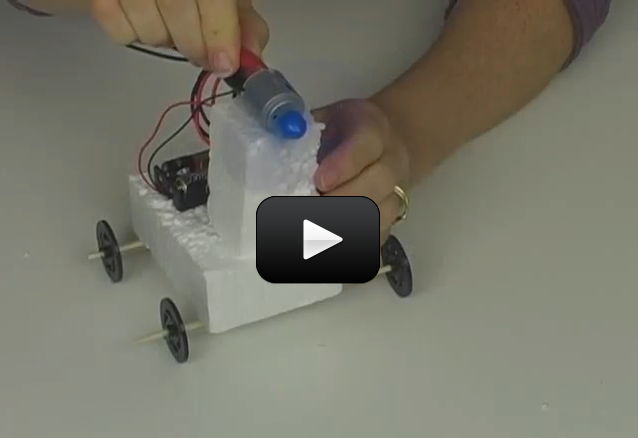
We’re going to use foam to create a waterbot, which will be powered by a simple electrical circuit. The hardest part of this activity will actually be building it stable enough so it doesn’t capsize. Boats are always built in a way so they don’t get pushed or flipped over easily by carrying a ballast, or extra weight, at the lowest part of the boat. You’ll need to figure out where to out your motor and batteries (which weigh a lot compared to a foam block) in order to balance your boat.


One of the biggest hurdles to overcome when building junkyard robots is friction. Since the motors have high speed and low torque, they can be difficult to use without a gearbox (which is both hard to find and out of the scope of this class). Since water has little friction, the robot will move about quite easily in the wet environment. We offer kids waterproof materials to build their robots with so that in the event their invention has trouble moving, we usually toss it in the pool to see if it can swim… which sparks another avenue of creativity and another round of improvements. Just be sure to keep the batteries out of the water. Are you ready?


Please login or register to read the rest of this content.

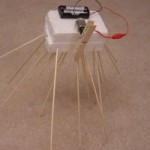
jigglebotEver wonder how a cell phone vibrates? What mechanism could be in such a tiny space to make the entire phone jiggle around? Well, there’s a tiny motor inside with an off-center weight on the shaft, called an eccentric drive.


You can still see eccentric drive mechanisms in older steam engines where the rotational motion is converted to liner? movement. Eccentrics are also found on tandem bicycles with timing chains.


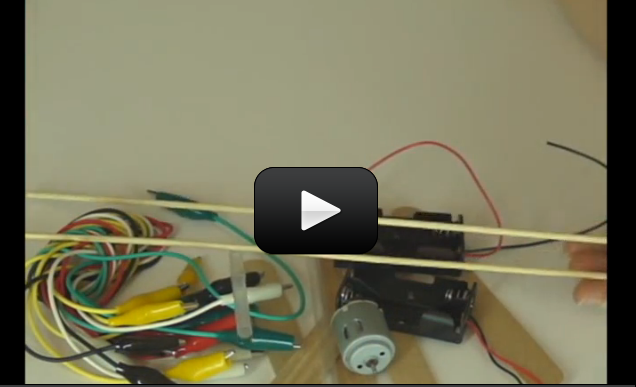
Kids can make this robot in less than five minutes, but it will take hours to get all their modifications and adjustments just right. This robot works by wobbling, and the sloppier the kids are in their construction, the better the robot dances around. Play with the placement of the weight (battery pack) and the legs. Add more skewers, adjust their position and angle until you get it dancing without toppling over.


Please login or register to read the rest of this content.

bumperbot 001If you have a pet, they’ll be sure to get a great workout chasing this nifty little robot. If you can, I totally encourage you to make two or more and have a contest!


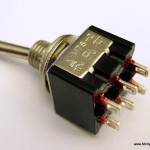
This BumperBot is one of the simplest robots you can make that uses a touch sensor, tricycle gear, and simple parts from around the house. (And there’s no computer programming required.) Using a switch that reverses direction upon impact, this robot will have your kid’s mind-wheels spinning. Be sure to follow the wiring directions EXACTLY as shown or it won’t work right!


Please login or register to read the rest of this content.

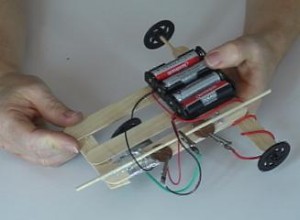
racer5Racerbots can steer, unlike the Jigglebot. If you have more than one motor on your robot frame, you can turn either left, right, or spin on command. Wired remote control instructions follow this project.


These racerbots are the toughest of these robots to build. The wheels need to be squarely set on their shafts, all wheels need to be parallel, long wires out of the way, the motors spinning in the right direction, the battery pack in the right position… does this sound like a headache yet? Pay attention to construction details in the video and you’ll have less to fix later on.


Construction Tip: Cut the dowels in half to use for the axles and use the milk jug lids or film canister tops for wheels (you can also rip small, lightweight wheels off an old toy if they are about the size of a quarter). You may need to sand the dowels slightly if they are hard to fit into the wheels.


Please login or register to read the rest of this content.

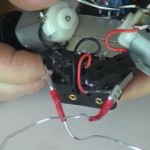
bugbot2 001This project is advanced students. If you like tiny robots, then this one is for you! Powered by cheap hobby motors, this fast little robot zips ’round and avoids obstacles using momentary switches and an idler wheel for a tail.


I recommend watching the entire video first, then rewind and watch again, this time building as you go. Make sure you have all your parts laid out ahead of time, or you’ll get frustrated partway through if you have to stop. You will need a soldering iron to make this project.


Here’s what you do:
Please login or register to read the rest of this content.


rov12This project is for advanced students.


Up until 200 years ago, people thought the oceans were bottomless.  The diving bell was one of the first recorded attempts at undersea exploration, and was simply a five-foot inverted cup with viewing holes on a platform that lowered into the water, which allowed people to breathe the trapped air inside… until they ran out of air.  Leonardo da Vinci draw several sketches of underwater submersibles, and in the 1700s, John Lethbridge invented a long wooden cylinder with glass ends as one of the first diving units to reach 60 feet.


In 1930, two explorers used the bathysphere (a giant ball with windows) reached 1,428 feet below the surface, which was later followed by the bathyscape (deep diving vessel) that reached the deepest part of the Pacific Ocean, the Marianas Trench, at 35,800 feet in 1960.


The ROVs first made their appearance in the late 1960s, when military and offshore drilling required deeper dives.  In the late 1980s, scientists needed a way to explore the remains of the Titanic, and a lower-cost, lighter weight version design was developed. ROVs are designed to be remote extensions of the operator.


One of the biggest challenges with deep-diving underwater vessels is keeping the tremendous pressure from crumpling the frame.  The project we’re going to design is meant for swimming pools and smaller lakes. When designing your underwater vehicle, you’ll need to pay close attention to the finer details such as waterproofing the electrical motors and maintaining proper balance so that your robot doesn’t flip over or swim in circles.


Learn about thruster motors, create the chassis, and build the controller for these super-popular underwater robots that really swim in water! A fantastic project for parents and kids to work together on. Your underwater robot will move in all six directions and utilizes a 12V power source.


Please login or register to read the rest of this content.

rc22Radio control (RC) is a 100 year-old technology. RC requires both a transmitter and a receiver. The control box sends commands to the robot the same way you change channels on the TV with the remote.

The difference between RC (radio control) and IR (infrared control) is in the frequency of the signals. With the radio controller, the light waves that carry the command information are lower energy, lower frequency signals. The TV remote uses higher energy, higher frequency infrared signals called CIR (consumer infrared).

Both RC and CIR require circuit design at a college graduate level. However, wired remote controls are well within the reach of any young budding scientist.

Please login or register to read the rest of this content.

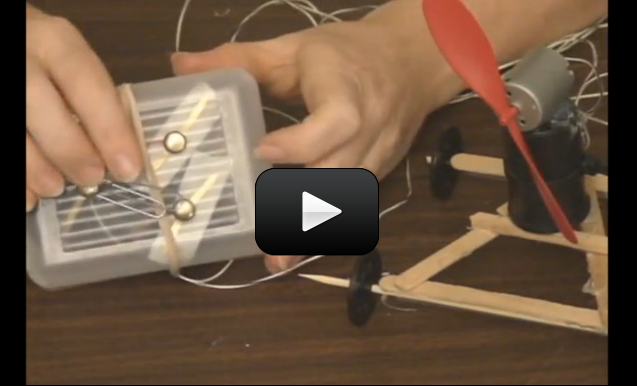
If you've made the waterbot, you can use this wired remove to make the motor turn both forward and reverse. All you need is an extra set of wires (telephone cable with two wires in it work great, or else twist two long wires together... they can be as long as you want.) Enclose the whole thing in a plastic box (I like to use tupperware or a soap box) and drill three holes in the top for the brass fasteners and one in the side for the wire and you're all set!

Materials:

  • your robot that you want to control (use any from this section)
  • index card
  • 3 brass fasteners
  • 1 paper clip
  • 4 additional alligator clip lead wires
  • optional: plastic soap container
  • optional: drill with drill bits

Please login or register to read the rest of this content.

Now that you’ve got a good handle on circuits and electrical components, it’s time to pull it together into something useful, like building robots and sensors. Are you ready? Then let’s put your new ideas and electrical circuit building skills to the test…