They also have trouble communicating their ideas in a way that not only makes sense, but also is acceptable by science fairs or other technical competitions designed to get kids thinking like a real scientist. Kids constantly struggle to apply the scientific method to their science project in school, for scout badges, or any other type of report where it’s important that other folks know and understand their work.
In this video, I am going to walk you through all the steps of the scientific method by just doing it so you can really see it in action. I've taken an everyday topic in alternative energy and applied the scientific method to get a real answer to my question about solar cells.
The scientific method is widely used by formal science academia as well as scientific researchers. For most people, it’s a real jump to figure out not only how to do a decent project, but also how to go about formulating a scientific question and investigate answers methodically like a real scientist.
Presenting the results in a meaningful way via “exhibit board”… well, that’s just more of a stretch that most kids just aren’t ready for. There isn’t a whole lot of useful information available on how to do it by the people who really know how.
This section is designed to show you how to do several cool projects (and one really nifty one at the end), walk you through the steps of theorizing, hypothesizing, experimentation, and iterating toward a conclusion the way a real engineer or scientist does. And we’ll also cover communicating your ideas to your audience using a display board and the oral presentation using top tips and tricks from real scientists.

 How many drops of water can a penny hold? We’re going to learn how to use the scientific method using everyday materials so you’re comfortable with how it works and how to apply it to every situations. Don’t worry – we’re also going to show you how to do more complicated projects later… but first, let’s cover the basics.
 Now let’s use the scientific method to discover a couple of things about pendulums. Before we start, I need to tell you two new terms. One is constant variable and the other is changing variable. A variable is a part of your experiment, like the coin in the Underwater Presidents experiment. If it is a constant variable, it stays the same for every trial of that experiment.
 A constant variable is one that does not change from trial to trial. A changing variable is the one variable you are testing for. It does change from trial to trial. One of the most difficult things to do in scientific research is to know what all of your variables are and to keep all but one variable constant.
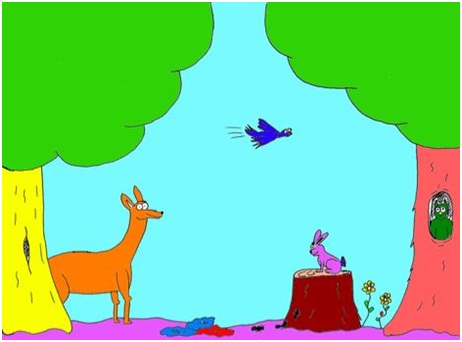
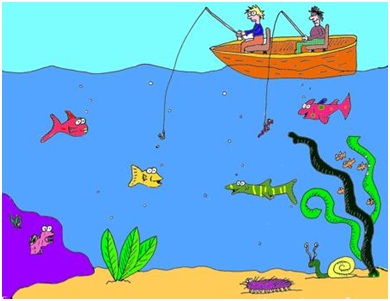
 Observation is a skill just like any other skill and it can be exercised and improved over time. Being a good observer means always keeping your eyes open and being aware of what’s around you. With good observation skills and knowledge the world becomes just that much more wonder-filled!
 Fish in the can saws wild apples dog car sidewalk tree. Shirt the table carpet in the floor roof cloud. What? What do you mean I’m not making sense? I’m using simple English words. Oh, I see. I must not be communicating.
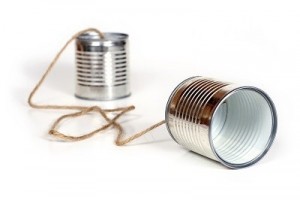 Communication isn’t just giving directions however. It’s also hearing what’s being said and following directions. How good are you at following directions? (I know the first time I tried this experiment, I didn’t do nearly so well!)
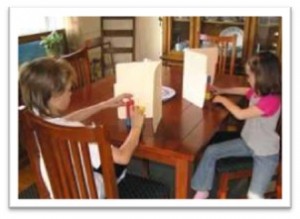 This is a great activity and it really shows how hard it is to communicate with someone. It does a great job at pointing out assumptions and showing how careful and detailed you have to be with your instructions. It also shows that the listener has an important role to play. The listener must be very careful not to make assumptions and to be sure to take responsibility for what they are hearing by asking good questions.