This is a recording of a recent live class I did with an entire high school astronomy class. I’ve included it here so you can participate and learn, too!


Light is energy that can travel through space. How much energy light has determines what kind of wave it is. It can be visible light, x-ray, radio, microwave, gamma or ultraviolet. The electromagnetic spectrum shows the different energies of light and how the energy relates to different frequencies, and that’s exactly what we’re going to cover in class. We’re going to talk about light, what it is, how it moves, and it’s generated, and learn how astronomers study the differences in light to tell a star’s atmosphere from  millions of miles away.


I usually give this presentation at sunset during my live workshops, so I inserted slides along with my talk so you could see the pictures better. This video below is long, so I highly recommend doing this with friends and a big bowl of popcorn. Ready?


Please login or register to read the rest of this content.

This is a recording of a recent live teleclass I did with thousands of kids from all over the world. I’ve included it here so you can participate and learn, too


Our solar system includes rocky terrestrial planets (Mercury, Venus, Earth, and Mars), gas giants (Jupiter and Saturn), ice giants (Uranus and Neptune), and assorted chunks of ice and dust that make up various comets and asteroids.


Did you know you can take an intergalactic star tour without leaving your seat? To get you started on your astronomy adventure, I have a front-row seat for you in a planetarium-style star show. I usually give this presentation at sunset during my live workshops, so I inserted slides along with my talk so you could see the pictures better. This video below is long, so I highly recommend doing this with friends and a big bowl of popcorn. Ready?
Please login or register to read the rest of this content.


This is a recording of a recent live teleclass I did with thousands of kids from all over the world. I’ve included it here so you can participate and learn, too!


We’re ready to deal with the topic you’ve all been waiting for! Join me as we find out what happens to stars that wander too close, how black holes collide, how we can detect super-massive black holes in the centers of galaxies, and wrestle with question: what’s down there, inside a black hole?


Materials:


  • marble
  • metal ball (like a ball bearing) or a magnetic marble
  • strong magnet
  • small bouncy ball
  • tennis ball and/or basketball
  • two balloons
  • bowl
  • 10 pennies
  • saran wrap (or cup open a plastic shopping bag so it lays flat)
  • aluminum foil (you’ll need to wrap inflated balloons with the foil, so make sure you have plenty of foil)
  • scissors
Please login or register to read the rest of this content.

This is a recording of a recent live teleclass I did with thousands of kids from all over the world. I’ve included it here so you can participate and learn, too!


We’re going to be mixing up dinosaur toothpaste, doing experiments with catalysts, discovering the 5 states of matter, and building your own chemistry lab station as we cover chemical kinetics, phase shifts, the states of matter, atoms, molecules, elements, chemical reactions, and much more. We’re also going to turn liquid polymers into glowing putty so you can amaze your friends when it totally glows in the dark. AND make liquids freeze by heating them up (no kidding) using a scientific principle called supercooling,


Materials:


  • Chemistry Worksheet
  • Aluminum pie plate
  • Bowl
  • Clear glue or white glue
  • Disposable cups
  • Goggles & gloves
  • Hydrogen peroxide
  • OPTIONAL: Instant reusable hand warmer (containing sodium acetate )
  • Liquid soap
  • Popsicle sticks
  • Scissors or pliers
  • Sodium tetraborate (also called “Borax”)
  • Water bottle
  • Yeast
  • Yellow highlighter
  • Optional: If you want to see your experiments glow in the dark, you’ll need a fluorescent UV black light (about $10 from the pet store – look in cleaning supplies under “Urine-Off” for a fluorescent UV light). UV flashlights and UV LEDs will not work.
Please login or register to read the rest of this content.

Ammonia has been used by doctors, farmers, chemists, alchemists, weightlifters, and our families since Roman times. Doctors revive unconscious patients, farmers use it in fertilizer, alchemists tried to use it to make gold, weightlifters sniff it into their lungs to invigorate their respiratory system and clear their heads prior to lifting tremendous loads. At home, ammonia is used to clean up the ketchup you spilled on the floor and never cleaned up.


The ammonia molecule (NH3) is a colorless gas with a strong odor – it’s the smell of freshly cleaned floors and windows. Mom is not cleaning with straight ammonia (it’s gas at room temperature because it boils at -28oF, so the stuff she cleans with is actually ammonium hydroxide, a solution of ammonia and water). Ammonia is found when plants and animals decompose, and it’s also in rainwater, volcanoes, your kidneys (to neutralize excess acid), in the ocean, some fertilizers, in Jupiter’s lower cloud decks, and trace amounts are found in our own atmosphere (it’s lighter than air).


Please login or register to read the rest of this content.

Electricity. Chemistry. Nothing in common, have nothing to do with each other. Wrong! Electrochemistry has been a fact since 1774. Once electricity was applied to particular solutions, changes occurred that scientists of the time did not expect.


In this lab, we will discover some of the same things that Farraday found over 300 years ago. We will be there as things tear apart, particles rush about, and the power of attraction is very strong. We’re not talking about dancing, we’re talking about something much more important and interesting….we’re talking about ELECTROCHEMISTRY!


Please login or register to read the rest of this content.

This experiment is just for advanced students. If you guessed that this has to do with electricity and chemistry, you’re right! But you might wonder how they work together. Back in 1800, William Nicholson and Johann Ritter were the first ones to split water into hydrogen and oxygen using electrolysis. (Soon afterward, Ritter went on to figure out electroplating.) They added energy in the form of an electric current into a cup of water and captured the bubbles forming into two separate cups, one for hydrogen and other for oxygen.


This experiment is not an easy one, so feel free to skip it if you need to. You don’t need to do this to get the concepts of this lesson but it’s such a neat and classical experiment (my students love it) so you can give it a try if you want to. The reason I like this is because what you are really doing in this experiment is ripping molecules apart and then later crashing them back together.


Have fun and please follow the directions carefully. This could be dangerous if you’re not careful. The image shown here is using graphite from two pencils sharpened on both ends, but the instructions below use wire.  Feel free to try both to see which types of electrodes provide the best results.


Please login or register to read the rest of this content.

When an atom (like hydrogen) or molecule (like water) loses an electron (negative charge), it becomes an ion and takes on a positive charge. When an atom (or molecule) gains an electron, it becomes a negative ion. An electrolyte is any substance (like salt) that becomes a conductor of electricity when dissolved in a solvent (like water).


This type of conductor is called an ‘ionic conductor’ because once the salt is in the water, it helps along the flow of electrons from one clip lead terminal to the other so that there is a continuous flow of electricity.


This experiment is an extension of the Conductivity Tester experiment, only in this case we’re using water as a holder for different substances, like sugar and salt. You can use orange juice, lemon juice, vinegar, baking powder, baking soda, spices, cornstarch, flour, oil, soap, shampoo, and anything else you have around. Don’t forget to test out plain water for your ‘control’ in the experiment!


Please login or register to read the rest of this content.

This experiment is for advanced students.


Who gets to burn something today? YOU get to burn something today!


You will be working with Zinc (Zn). Other labs in this kit allow us to burn metal, but there is a bit of a twist this time. We will be burning a powder.


Why a powder instead of a solid ribbon or foil as in the other labs?  Have you heard of surface area being a factor in a chemical reaction? The more surface area there is to burn, the more dramatic the chemical change. So, with this fact in mind, a powder should burn faster or be more likely to burn than a large solid.


Please login or register to read the rest of this content.

This experiment is for advanced students. Potassium permanganate (KMnO4) in water turns an intense, deep, purple. It is important in the film industry for aging props and clothing to make them look much older than they are. Also, artists use it in bone carving. People who carve antlers and bone use KMnO4 to darken the surface of the bone to make it look aged. They make the carving, soak it in potassium permanganate, then carve more, and repeat. The end result is a carving that has a light golden brown color. More dipping will darken the carving even more. Potassium permanganate is going to undergo a chemical change with this activity. In this experiment, we will be able to witness several indicators of chemical change. Color changes, bubbles from gas generation, temperature change, and color disappearance are all indicators of chemical changes. Please login or register to read the rest of this content.


This experiment is for advanced students.


Ever use soap? Sodium hydroxide (NaOH) is the main component in lye soap. NaOH is mixed with some type of fat (vegetable, pig, cow, etc). Scent can be added for the ‘pretty’ factor and pumice or sand can be added for the manly “You’re coming off my hands and I’ll take no guff” factor. Lots of people still make their own soap and they enjoy doing it.


Please login or register to read the rest of this content.

In this lab, we’re going to investigate the wonders of electrochemistry. Electrochemistry became a new branch of chemistry in 1832, founded by Michael Faraday. Michael Faraday is considered the “father of electrochemistry”. The knowledge gained from his work has filtered down to this lab. YOU will be like Michael Faraday. I imagined he would have been overjoyed to do this lab and see the results. You are soooo lucky to be able to take an active part in this experiment. Here’s what you’re going to do…


You will be “creating” metallic copper from a solution of copper sulfate and water, and depositing it on a negative electrode. Copper is one of our more interesting elements. Copper is a metal, and element 29 on your periodic table. It conducts heat and electricity very well.


Many things around you are made of copper. Copper wire is used in electrical wiring. It has been used for centuries in the form of pipes to distribute water and other fluids in homes and in industry. The Statue of Liberty is a wonderful example of how beautiful 180,000 pounds of copper can be. Yes, it is made of copper, and no, it doesn’t look like a penny…..on the surface. The green color is copper oxide, which forms on the surface of copper exposed to air and water. The oxide is formed on the surface and does not attack the bulk of the copper. You could say that copper oxide protects the copper.


Please login or register to read the rest of this content.

If we don’t have salt, we die. It’s that simple. The chemical formula for salt is NaCl. Broken down, we have Na (sodium) and Cl (chlorine). Either one of these can be fatal in sufficient quantities. When chemically combined, these two deadly elements become table salt. What once could kill now keeps us alive. Isn’t chemistry awesome?


Chlorine, element 17, is called a halogen as are all the elements in the 17th row. All halogens have similar chemical properties. They are highly reactive nonmetals, and react easily with most metals. Sodium is a metal, and is bonded with sodium in the table salt used in this lab. Besides being found in salt, chlorine has many uses in our world such as killing bacteria in our water, making plastic, cleaning products, and the list goes on. A very useful chemical, and is among the top ten chemicals produced in the United States. Ever since its discovery in 1774, chlorine has been very useful. It is found in nature in sodium chloride, but in very small concentrations. Seawater, the most abundant source of chlorine, has a concentration of only 19g of chlorine per liter.


Please login or register to read the rest of this content.

Magnesium is one of the most common elements in the Earth’s crust. This alkaline earth metal is silvery white, and soft. As you perform this lab, think about why magnesium is used in emergency flares and fireworks. Farmers use it in fertilizers, pharmacists use it in laxatives and antacids, and engineers mix it with aluminum to create the BMW N52 6-cylinder magnesium engine block. Photographers used to use magnesium powder in the camera’s flash before xenon bulbs were available.


Most folks, however, equate magnesium with a burning white flame. Magnesium fires burn too hot to be extinguished using water, so most firefighters use sand or graphite.


We’re going to learn how to (safely) ignite a piece of magnesium in the first experiment, and next how to get energy from it by using it in a battery in the second experiment. Are you ready?


Please login or register to read the rest of this content.

This experiment is for advanced students.


In industry, hydrogen peroxide is used in paper making to bleach the pulp before they form it into paper. Biologists, when preparing bones for display, use peroxide to whiten the bones.


At home, 3% peroxide combined with ammonium hydroxide is used to give dark-haired people their desired blonde moment. Peroxide is also used on wounds to clean them and remove dead tissue. Peroxide slows the flow from small blood vessels and oozing in wounds as well.


Please login or register to read the rest of this content.

WARNING!! THIS EXPERIMENT IS PARTICULARLY DANGEROUS!! (No kidding.) This experiment is for advanced students.


We’ve created a video that shows you how to safely do this experiment, although if you’re nervous about doing this one, just watch the video and skip the actual experiment.


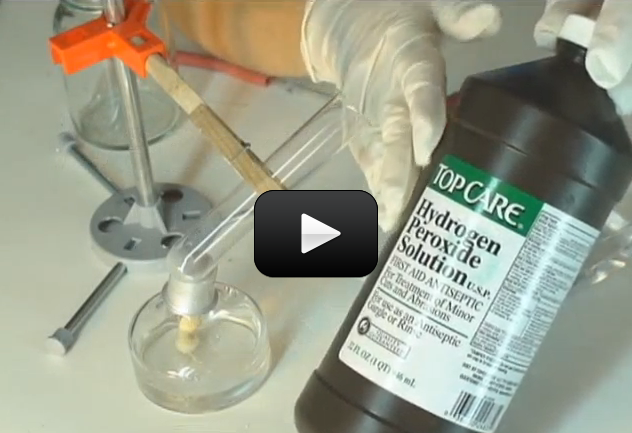
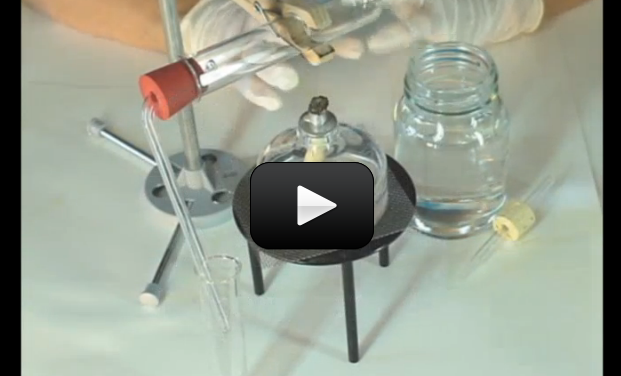
The gas you generate with this experiment is lethal in large doses, so you MUST do this experiment outdoors. We’ll be making a tiny amount to show how the chemical reactions of chlorine and hydrogen work.


Please login or register to read the rest of this content.

WARNING!! THIS EXPERIMENT IS PARTICULARLY DANGEROUS!! (No kidding.) This experiment is for advanced students.


We’ve created a video that shows you how to safely do this experiment, although if you’re nervous about doing this one, just watch the video and skip the actual experiment.


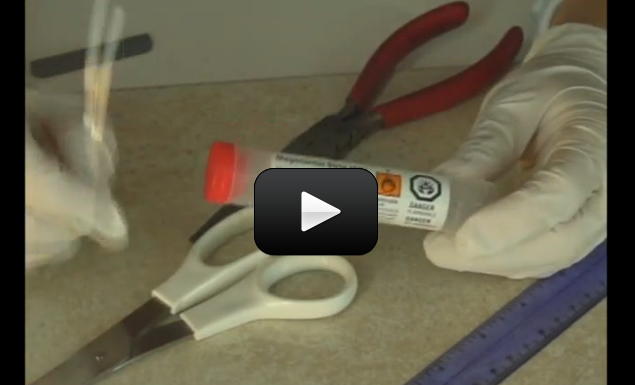
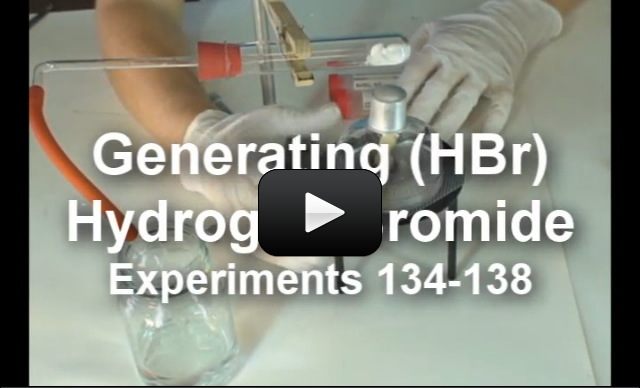
Bromine is a particularly nasty chemical, so be sure to very carefully follow the steps we’ve outlined in the video. You MUST do this experiment outdoors. We’ll be making a tiny amount to show how the chemical reactions involving bromine work.


Please login or register to read the rest of this content.

No kidding! You’ll be able to show your friends this super-cool magic show chemistry trick with very little fuss (once you get the hang of it). This experiment is for advanced students. Before we start, here are a few notes about the setup to keep you safe and your nasal passages intact:

The chemicals required for this experiment are toxic! This is not an experiment to do with little kids or pets around, and you want to do the entire experiment outside or next to an open window for good ventilation, as the fumes from the sodium hydroxide/zinc solution should not be inhaled.


This experiment is not dangerous when you follow the steps I’ve outlined carefully. I’ll take you step by step and show you how to handle the chemicals, mix them properly, and dispose of the waste when you’re done.


Goggles and gloves are a MUST for this experiment, as the sodium hydroxide (in both liquid and solid form) is caustic and corrosive and will burn your skin on contact.


Please login or register to read the rest of this content.

What state of matter is fire? Is it a liquid? I get that question a LOT, so let me clarify. The ancient scientists (Greek, Chinese… you name it) thought fire was a fundamental element. Earth, Air Water, and Fire (sometimes Space was added, and the Chinese actually omitted Air and substituted Wood and Metal instead) were thought to be the basic building blocks of everything, and named it an element. And it’s not a bad start, especially if you don’t have a microscope or access to the internet.


Today’s definition of an element comes from peeking inside the nucleus of an atom and counting up the protons. In a flame, there are lots of different molecules from NO, NO2, NO3, CO, CO2, O2, C… to name a few. So fire can’t be an element, because it’s made up of other elements. So, what is it?


Please login or register to read the rest of this content.

This experiment is for advanced students.


Zinc and Hydrogen are important elements for all of us. Zinc (Zn) metal is element #30 on the periodic table. Lack of zinc in our diets will delay growth of our bodies and can kill.


Hydrogen gas (H) is element #1 on the periodic table. Hydrogen was discovered in the 1500s. In a pure state, hydrogen combustion (in small quantities) is interesting. In large amounts, mixed with oxygen, the explosion can be devastating.


Please login or register to read the rest of this content.

This experiment shows how a battery works using electrochemistry. The copper electrons are chemically reacting with the lemon juice, which is a weak acid, to form copper ions (cathode, or positive electrode) and bubbles of hydrogen.


These copper ions interact with the zinc electrode (negative electrode, or anode) to form zinc ions. The difference in electrical charge (potential) on these two plates causes a voltage.


Materials:


  • one zinc and copper strip
  • two alligator wires
  • digital multimeter
  • one fresh large lemon or other fruit
Please login or register to read the rest of this content.

Always have a FIRE EXTINGUISHER and ADULT HELP handy when performing fire experiments. NO EXCEPTIONS.

This video will show you how to transform the color of your flames. For a campfire, simply sprinkle the solids into your flames (make sure they are ground into a fine powder first) and you'll see a color change. DO NOT do this experiment inside your house - the fumes given off by the chemicals are not something you want in your home! One of the tricks to fire safety is to limit your fuel. The three elements you need for a flame are: oxygen, spark, and fuel.  To extinguish your flames, you'll have to either wait for the fuel to run out or smother the flames to cut off the oxygen. When you limit your fuel, you add an extra level of safety to your activities and a higher rate of success to your eyebrows. Here's what we're going to do: first, make your spectrometer: you can make the simple spectrometer or the more-advanced calibrated spectrometer. Next, get your chemicals together and build your campfire. Finally, use your spectrometer to view your flames. Please login or register to read the rest of this content.


Let’s see how much you’ve picked up with these experiments and the reading – answer as best as you can. (No peeking at the answers until you’re done!) Just relax and see what jumps to mind when you read the question. You can also print these out and jot down your answers in your science notebook.


Please login or register to read the rest of this content.

Let’s see how you did! If you didn’t get a few of these, don’t let it stress you out – it just means you need to play with more experiments in this area. We’re all works in progress, and we have our entire lifetime to puzzle together the mysteries of the universe!


Simply click here for printable questions and answers.


Answers:
Please login or register to read the rest of this content.


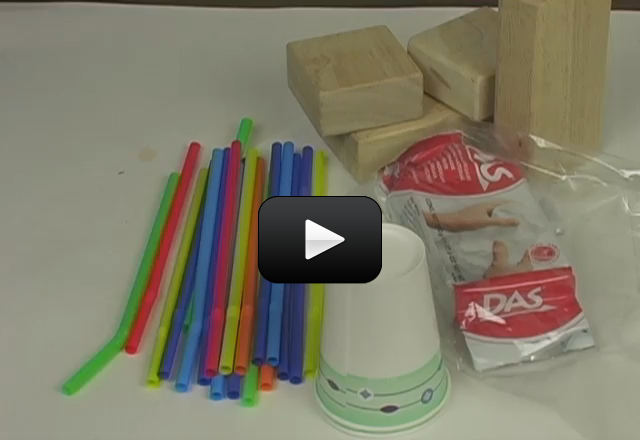
What keeps building from toppling over in the wind? Why are some earthquake-proof and others not? We’re going to look at how engineers design buildings and bridges while making our own.


Here’s what you need:
Please login or register to read the rest of this content.


This is a recording of a recent live teleclass I did with thousands of kids from all over the world. I’ve included it here so you can participate and learn, too!


Soar, zoom, fly, twirl, and gyrate with these amazing hands-on classes which investigate the world of flight. Students created flying contraptions from paper airplanes and hangliders to kites! Topics we will cover include: air pressure, flight dynamics, and Bernoulli’s principle.


Materials:


  • 5 sheets of 8.5×11” paper
  • 2 index cards
  • 2 straws
  • 2 small paper clips
  • Scissors, tape
  • Optional: ping pong ball and a small funnel
Please login or register to read the rest of this content.

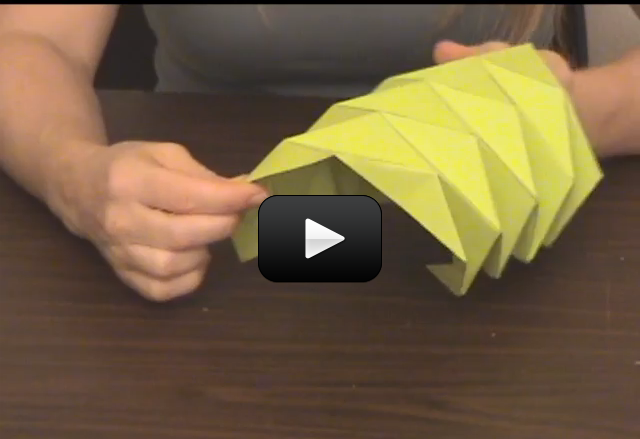
This roof can support over 400 times its own weight, and you don’t need tape! One of the great things about net forces is that although the objects can be under tremendous force, nothing moves! For every push, there’s an equal and opposite pull (or set of pulls) that cancel each other out.


This barrel roof is an excellent example of how to the forces all cancel out and the roof stands strong (hopefully!) If you have trouble with this experiment, just use cardstock or other heavy weight paper instead of regular copy paper.


Here’s what you need:
Please login or register to read the rest of this content.


This is a recording of a recent live teleclass I did with thousands of kids from all over the world. I’ve included it here so you can participate and learn, too!


Blast your imagination with this super-popular class on rocketry! Kids learn about fin design, hybrid and solid-state rocketry, and how rockets make it into space without falling out of orbit. This class is taught by a real live rocket scientist (me!). We’ll launch rockets during the class, too!


Please login or register to read the rest of this content.

This is a recording of a recent live teleclass I did with thousands of kids from all over the world. I’ve included it here so you can participate and learn, too!


We’re going to cover energy and motion by building roller coasters and catapults! Kids build a working catapult while they learn about the physics of projectile motion and storing elastic potential energy. Let’s discover the mysterious forces at work behind the thrill ride of the world’s most monstrous roller coasters, as we twist, turn, loop and corkscrew our way through g-forces, velocity, acceleration, and believe it or not, move through orbital mechanics, like satellites. We’ll also learn how to throw objects across the room in the name of science… called projectile motion. Are you ready for a fast and furious physics class?


Please login or register to read the rest of this content.

You have just taken in a nice bunch of information about the wild world of gravity. This next section is for advanced students, who want to go even deeper. There’s a lot of great stuff here but there’s a lot of math as well. If you’re not a math person, feel free to pass this up. You’ll still have a nice understanding of the concept. However, I’d recommend giving it a try. There are some fun things to do and if you’re not careful, you might just end up enjoying it!


Here’s what you need:


Please login or register to read the rest of this content.

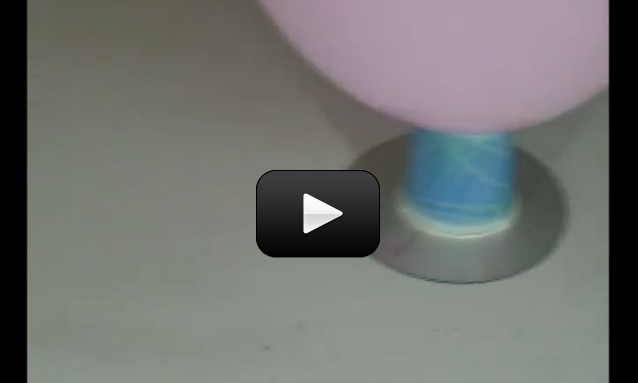
Hovercraft transport people and their stuff across ice, grass, swamp, water, and land. Also known as the Air Cushioned Vehicle (ACV), these machines use air to greatly reduce the sliding friction between the bottom of the vehicle (the skirt) and the ground. This is a great example of how lubrication works – most people think of oil as the only way to reduce sliding friction, but gases work well if done right. In this case, the readily-available air is shoved downward by the pressure inside of balloon. This air flows down through the nozzle and out the bottom, under the CD, lifting it slightly as it goes and creating a thin layer for the CD to float on. Although this particular hovercraft only has a 'hovering' option, I'm sure you can quickly figure out how to add a 'thruster' to make it zoom down the table! (Hint - you will need to add a second balloon!) Here's what you need: Please login or register to read the rest of this content.

Please login or register to read the rest of this content.


Now let’s talk about the other ever present force on this Earth, and that’s friction. Friction is the force between one object rubbing against another object. Friction is what makes things slow down.


Without friction things would just keep moving unless they hit something else. Without friction, you would not be able to walk. Your feet would have nothing to push against and they would just slide backward all the time like you’re doing the moon walk.


Friction is a very complicated interaction between pressure and the type of materials that are touching one another. Let’s do a couple of experiments to get the hang of what friction is.
Here’s what you need:


Please login or register to read the rest of this content.

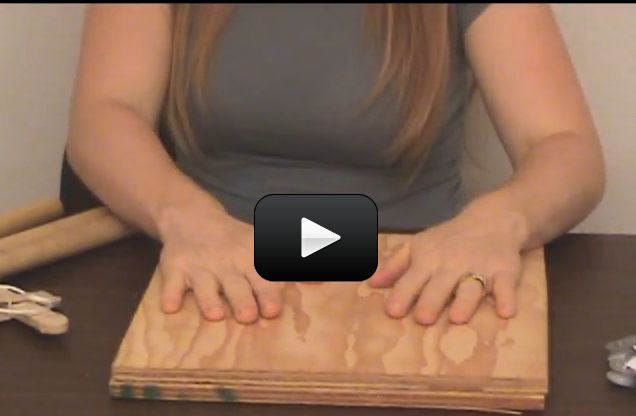
There’s a couple of misconceptions that I’d like to make sure get cleared up here a bit. I don’t want to go into too much detail but I want to make sure to mention these as they may be important as you go deeper into your physics education. First, friction is not a fundamental force. Friction is actually caused by the elemental force of electro-magnetism between two objects. Secondly, friction isn’t “caused” by the roughness or smoothness of an object. Friction is caused by two objects, believe it or not, chemically bonding to one another. Scientists call it “stick and slip”. Think about it this way. When you pull the wood in this experiment, notice that the force needed to get the board moving was more then the force was to keep it moving. The surface you were pulling the board on never got any rougher or smoother, it stayed pretty much the same. So why was it harder to get the board moving? When the board is just sitting there, the chemical bonds between the board and the surface can be quite strong. When the board is moving however, the bonds are much weaker. Here's what you need: Please login or register to read the rest of this content.

Please login or register to read the rest of this content.


Friction is everywhere! Imagine what the world would be like without friction! Everything you do, from catching baseballs to eating hamburgers, to putting on shoes, friction is a part of it. If you take a quick look at friction, it is quite a simple concept of two things rubbing together.


However, when you take a closer look at it, it’s really quite complex. What kind of surfaces are rubbing together? How much of the surfaces are touching? And what’s the deal with this stick and slip thing anyway? Friction is a concept that’s many scientists are spending a lot of time on. Understanding friction is very important in making engines and machines run more efficiently and safely.


Here’s what you need:


Please login or register to read the rest of this content.

expfrictionFind a smooth, cylindrical support column, such as those used to support open-air roofs for breezeways and outdoor hallways (check your local public school or local church). Wind a length of rope one time around the column, and pull on one end while three friends pull on the other in a tug-of-war fashion. Experiment with the number of friends and the number of winds around the column. Can you hold your end with just two fingers against an entire team of football players? You bet! Please login or register to read the rest of this content.


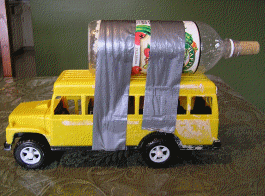
busLet's take a good look at Newton's Laws in motion while making something that flies off in both directions. This experiment will pop a cork out of a bottle and make the cork fly go 20 to 30 feet, while the vehicle moves in the other direction! This is an outdoor experiment. Be careful with this, as the cork comes out with a good amount of force. (Don’t point it at anyone or anything, even yourself!) Here's what you need to find: Please login or register to read the rest of this content.


Every wonder why you have to wear a seat belt or wear a helmet? Let's find out (safely) by experimenting with a ball. You will need to find:
  • a car
  • a licensed driver
  • a ball
Please login or register to read the rest of this content.


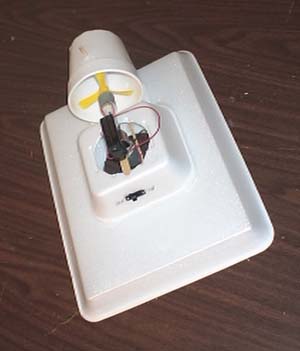
hovercraftHovercraft transport people and their stuff across ice, grass, swamp, water, and land. Also known as the Air Cushioned Vehicle (ACV), these machines use air to greatly reduce the sliding friction between the bottom of the vehicle (the skirt) and the ground. This is a great example of how lubrication works – most people think of oil as the only way to reduce sliding friction, but gases work well if done right.


In this case, the readily-available air is shoved downward by the hover motor and the skirt traps the air and keeps it inside, thus lifting the vehicle slightly. The thruster motor’s job is to propel the craft forward. Most hovercraft use either two motors (one on each side) for steering, or just one with a rudder that can deflect the flow (as your project does).


The first hovercraft were thought about in the 1800s, but it wasn’t until the 1950s that real ones were first tested. Today, the military use them for patrolling hard-to-drive areas, scientists use them for swamp research studies, and businesses use them to transport toys and food across rough and icy areas. Scientists are already planning future ACVs to use magnetic levitation in addition to the air power… but it’s still on the drawing board.


Are you ready to make your own? We have TWO different models to choose from. Click this link for the Easy Balloon-Powered Model, or keep reading below for the advanced version.
Please login or register to read the rest of this content.


Stand on a cookie sheet or cutting board which is placed on the floor (find a smooth floor with no carpet). Ask someone to gently push you across the floor. Notice how much friction they feel as they try to push you.


Want to make this job a bit easier?


Here’s what you need:


Please login or register to read the rest of this content.

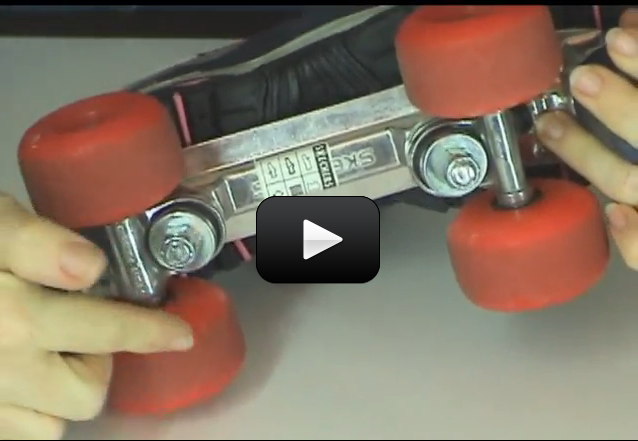
This isn't strictly a 'levers' experiment, but it's still a cool demonstration about simple machines, specifically how pulleys are connected with belts. Take a rubber band and a roller skate (not in-line skates, but the old-fashioned kind with a wheel at each corner.) Lock the wheels on one side together by wrapping the rubber band around one wheel then the other.  Turn one wheel and watch the other spin. Now crisscross the rubber band belt by removing one side of the rubber band from a wheel, giving it a half twist, and replacing it back on the wheel.  Now when you turn one wheel, the other should spin the opposite direction. Here's a quick video on what to expect: Please login or register to read the rest of this content.


Parts of the Lever

Levers, being simple machines, have only three simple parts. The load, the effort, and the fulcrum. Let’s start with the load. The load is basically what it is you’re trying to lift. The books in the last experiment where the load. Now for the effort. That’s you. In the last experiment, you were putting the force on the lever to lift the load. You were the effort. The effort is any kind of force used to lift the load. Last for the fulcrum. It is the pivot that the lever turns on. The fulcrum, as we’ll play with a bit more later, is the key to the effectiveness of the lever. There are three types of levers. Their names are first-class, second-class and third-class. I love it when it’s that simple. Kind of like Dr. Seuss’s Thing One and Thing Two. The only difference between the three different levers is where the effort, load and fulcrum are. Please login or register to read the rest of this content.

Please login or register to read the rest of this content.


What’s an inclined plane? Jar lids, spiral staircases, light bulbs, and key rings. These are all examples of inclined planes that wind around themselves.  Some inclined planes are used to lower and raise things (like a jack or ramp), but they can also used to hold objects together (like jar lids or light bulb threads).


Here’s a quick experiment you can do to show yourself how something straight, like a ramp, is really the same as a spiral staircase.


Please login or register to read the rest of this content.

This experiment is for advanced students.It’s time for the last lesson of mechanics. After all this time, you now have a good working knowledge of the rules that govern almost all movement on this planet and beyond!! This lesson we get to learn about things crashing into one another!! Isn’t physics fun?! We are going to learn about impulse and momentum.
Please login or register to read the rest of this content.


This is a satisfyingly simple activity with surprising results. Take a tennis ball and place it on top of a basketball… then release both at the same time.


Instant ball launcher!


You’ll find the top ball rockets off skyward while the lower ball hit the floor flat (without bouncing much, if at all). Now why is that? It’s easier to explain than you think…


Remember momentum? Momentum can be defined as inertia in motion. Something must be moving to have momentum. Momentum is how hard it is to get something to stop or to change directions. A moving train has a whole lot of momentum. A moving ping pong ball does not. You can easily stop a ping pong ball, even at high speeds. It is difficult, however, to stop a train even at low speeds.


Mathematically, momentum is mass times velocity, or Momentum=mv.


One of the basic laws of the universe is the conservation of momentum.  When objects smack into each other, the momentum that both objects have after the collision, is equal to the amount of momentum the objects had before the crash. Once the two balls hit the ground, all the larger ball’s momentum transferred to the smaller ball (plus the smaller ball had its own momentum, too!) and thus the smaller ball goes zooming to the sky.


Materials:


  • two balls, one significantly larger than the other
Please login or register to read the rest of this content.

Rockets shoot skyward with massive amounts of thrust, produced by chemical reaction or air pressure. Scientists create the thrust force by shoving a lot of gas (either air itself, or the gas left over from the combustion of a propellant) out small exit nozzles. This experiment and activity is for Grades 9-12.


According to the universal laws of motion, for every action, there is equal and opposite reaction. If flames shoot out of the rocket downwards, the rocket itself will soar upwards. It’s the same thing if you blow up a balloon and let it go—the air inside the balloon goes to the left, and the balloon zips off to the right (at least, initially, until the balloon neck turns into a thrust-vectored nozzle, but don’t be concerned about that just now).


Please login or register to read the rest of this content.

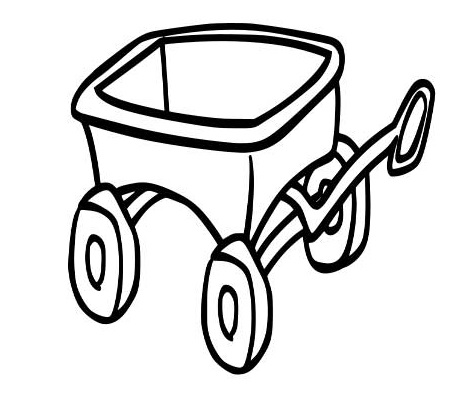
This is a quick and easy demonstration of how to teach Newton’s laws with minimal fuss and materials. All you need is a wagon, a rock, and some friends. We’re going to do a few totally different experiments using the same materials, though, so keep up with the changes as you read through the experiment.


Remember that Newton covers a few different ideas. First, there’s the idea that objects in motion will stay going they way they’re headed, unless something gets in the way. Then there’s the resistance to motion (objects at rest tend to stay put), as well as force being proportional to how fast you can get something to move (acceleration). And lastly, there’s the idea that forces happen in pairs – if you shoot something one direction, you’re going to feel a kick in the opposite direction. Ready to see these ideas in action? Let’s go…


Please login or register to read the rest of this content.

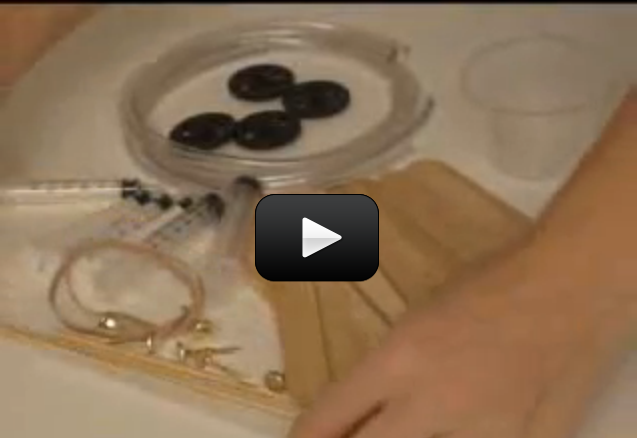
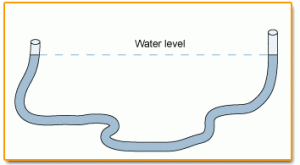
When people mention the word “hydraulics”, they could be talking about pumps, turbines, hydropower, erosion, or river channel flow.  The term “hydraulics” means using fluid power, and deals with machinesand devices that use liquids to move, lift, drive, and shove things around. Liquids behave in certain ways: they are incompressible, meaning that you can’t pack the liquid into a tighter space than it already is occupying. If you've ever filled a tube partway with water and moved it around, you've probably noticed that the water level will remain the same on either side of the tube. However, if you add pressure to one end of the tube (by blowing into the tube), the water level will rise on the opposite side. If you decrease the pressure (by blowing across the top of one side), the water level will drop on the other side. In physics, this is defined through Pascal's law, which tells us how the pressure applied to one surface can be transmitted to the other surface. As liquids can't be squished, whatever happens on one surface affects what occurs on the other.  Examples of this effect include siphons, water towers, and dams. Scuba divers know that as they dive 30 feet underwater, the pressure doubles. This effect is also show in hydraulics - and more importantly, in the project we're about to do! But first, let's understand what's happening with liquids and pressure: Here’s an example: If you fill a glass full to the brim with water, you reach a point where for every drop you add on top, one drop will fall out.  You simply can’t squish any more water molecules into the glass without losing at least the same amount. Excavators, jacks, and the brake lines in your car use hydraulics to lift huge amounts of weight, and the liquid used to transfer the force is usually oil at 10,000 psi. Air, however, is compressible.  When car tires are inflated, the hose shoves more and more air inside the tire, increasing the pressure (amount of air molecules in the tire).  The more air you stuff into the tire, the higher the pressure rises.  When machines use air to lift, move, spin, or drill, it’s called “pneumatics”. Air tools use compressed air or pure gases for pneumatic power, usually pressurized to 80-100 psi. Different systems require either hydraulics or pneumatics.  The advantage to using hydraulics lies in the fact that liquids are not compressible. Hydraulic systems minimize the “springy-ness” in a system because the liquid doesn’t absorb the energy being transferred, and the working fluids can handle much heavier loads than compressible gases.  However, oil is flammable, very messy, and requires electricity to power the machines, making pneumatics the best choice for smaller applications, including air tools (to absorb excessive forces without injuring the user). We're going to build our own hydraulic-pneumatic machine.  Here's what you need to do: Please login or register to read the rest of this content.

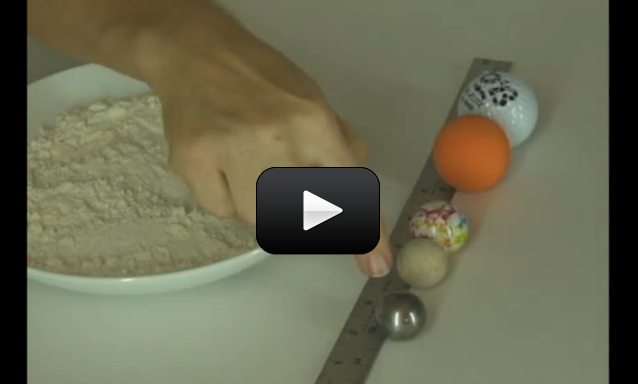
In this experiment, you’re looking for two different things:  first you’ll be dropping objects and making craters in a bowl of flour to see how energy is transformed from potential to kinetic, but you’ll also note that no matter how carefully you do the experiment, you’ll never get the same exact impact location twice.


To get started, you’ll need to gather your materials for this experiment. Here’s what you need:


Please login or register to read the rest of this content.

Please login or register to read the rest of this content.


Note: Do the pendulum experiment first, and when you’re done with the heavy nut from that activity, just use it in this experiment.


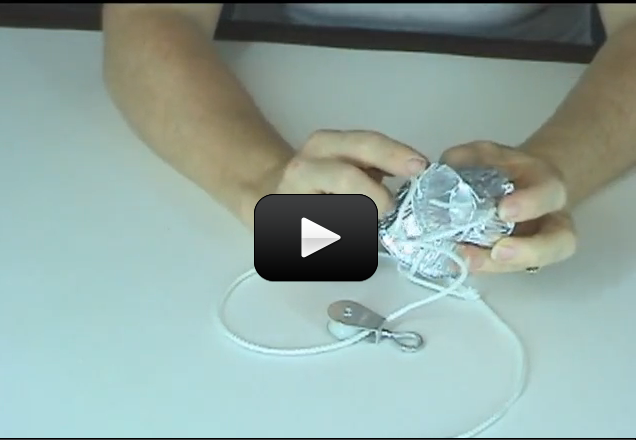
You can easily create one of these mystery toys out of an old baking powder can, a heavy rock, two paper clips, and a rubber band (at least 3″ x 1/4″).  It will keep small kids and cats busy for hours.


Please login or register to read the rest of this content.
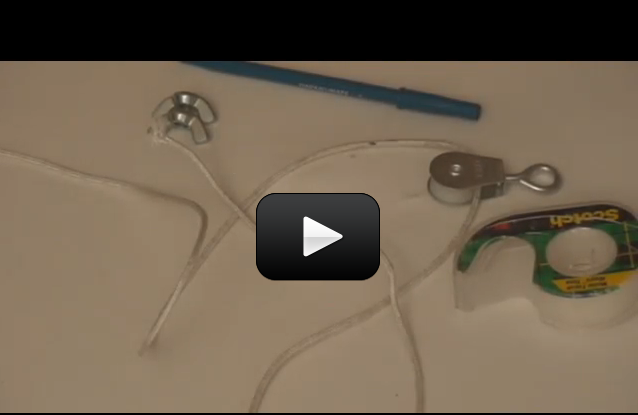
Are you curious about pulleys? This set of experiments will give you a good taste of what pulleys are, how to thread them up, and how you can use them to lift heavy things.


We’ll also learn how to take data with our setup and set the stage for doing the ultra-cool Pulley Lift experiments.


Are you ready?
Please login or register to read the rest of this content.

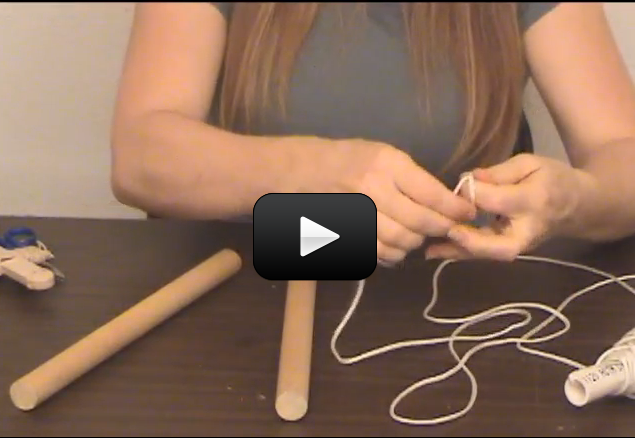
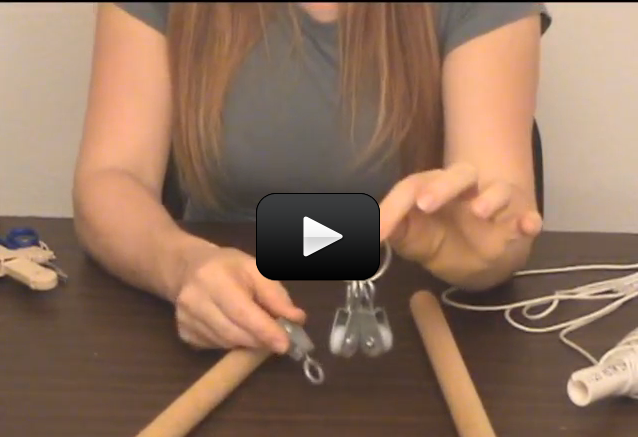
We're going to be using pulleys to pull two (or more) kids with one hand. You will be using something called ‘Mechanical Advantage’, which is like using your brains instead of brute strength. When you thread the rope around the broom handles, you use 'mechanical advantage' to leverage your strength and pull more than you normally could handle. How can you possibly pull with more strength than you have? Easy - you trade ‘force’ for ‘distance’ - you can pull ten people with one hand, but you have to pull ten feet of rope for every one foot they travel. Here's what you do: Please login or register to read the rest of this content.


Simple machines make our lives easier. They make it easier to lift, move and build things. Chances are that you use simple machines more than you think. If you have ever screwed in a light bulb, put the lid on a jam jar, put keys on a keychain, pierced food with a fork, walked up a ramp, or propped open a door, you've made good use of simple machines. A block and tackle setup is also a simple machine. Block and tackle refers to pulleys and rope (in that order). One kid can drag ten adults across the room with this simple setup – we've done this class lots of times with kids and parents, and it really works! Be careful with this experiment - you'll want to keep your fingers away from the rope and don't pull too hard (kids really get carried away with this one!) If you haven't already, make sure you try out the broomstick version of this activity first. Please login or register to read the rest of this content.
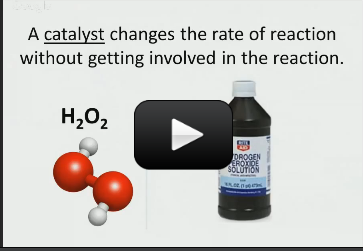

Silly as our application for this experiment may sound, we use this system to keep pens handy near the shopping list on the fridge.  It’s saved us from many pen-searches over the years! We install these at various places around the house (by the telephone, fridge, front door, anywhere that you usually need a pen at the last minute), and have even seen them at the counters of local video-rental stores. Please login or register to read the rest of this content.
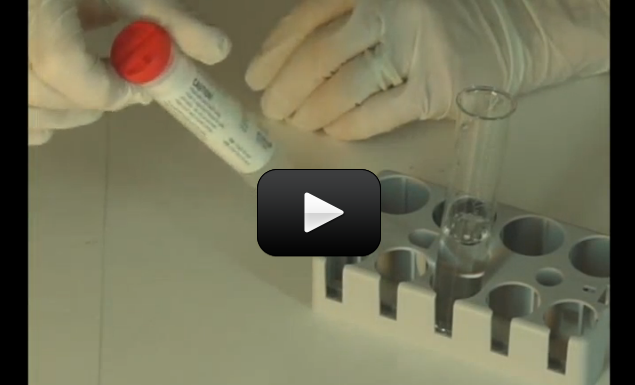

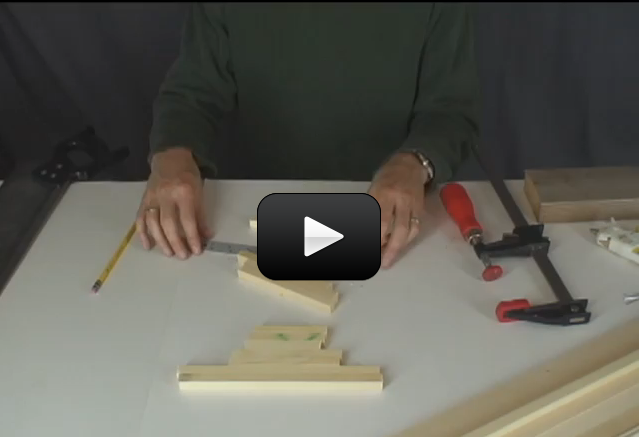
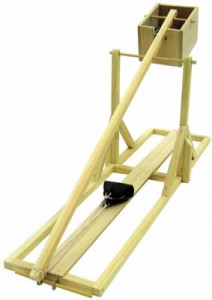
trebuchet23This experiment is for Advanced Students. For ages, people have been hurling rocks, sticks, and other objects through the air. The trebuchet came around during the Middle Ages as a way to break through the massive defenses of castles and cities. It’s basically a gigantic sling that uses a lever arm to quickly speed up the rocks before letting go. A trebuchet is typically more accurate than a catapult, and won’t knock your kid’s teeth out while they try to load it.


Trebuchets are really levers in action. You’ll find a fulcrum carefully positioned so that a small motion near the weight transforms into a huge swinging motion near the sling. Some mis-named trebuchets are really ‘torsion engines’, and you can tell the difference because the torsion engine uses the energy stored in twisted rope or twine (or animal sinew) to launch objects, whereas true trebuchets use heavy counterweights.


Please login or register to read the rest of this content.
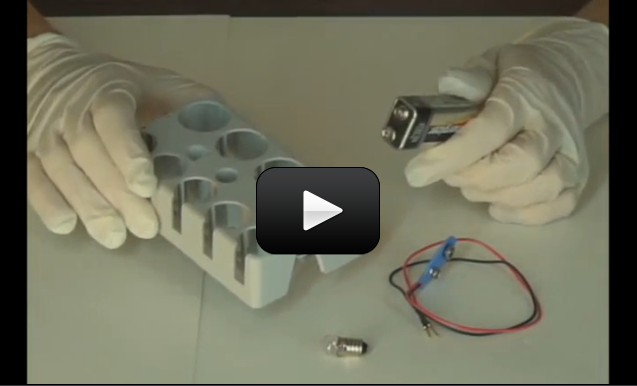
We’re going to practice measuring and calculating real life stuff (because science isn’t just in a textbook, is it?) When I taught engineering classes, most students had never analyzed real bridges or tools before – they only worked from the textbook. So let’s jump out of the words and into action, shall we? This experiment is for Advanced Students.


Before we start, make sure you’ve worked your way through this experiment first!


Please login or register to read the rest of this content.
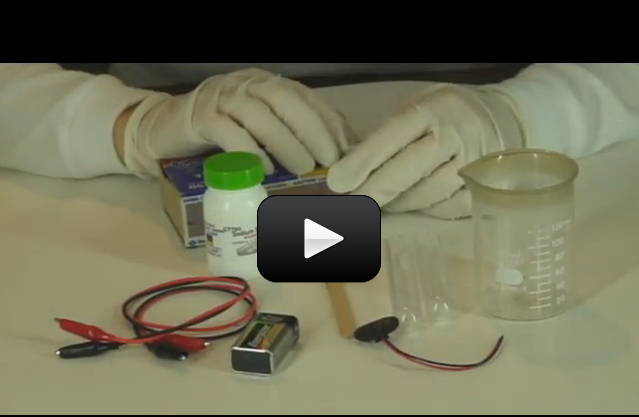
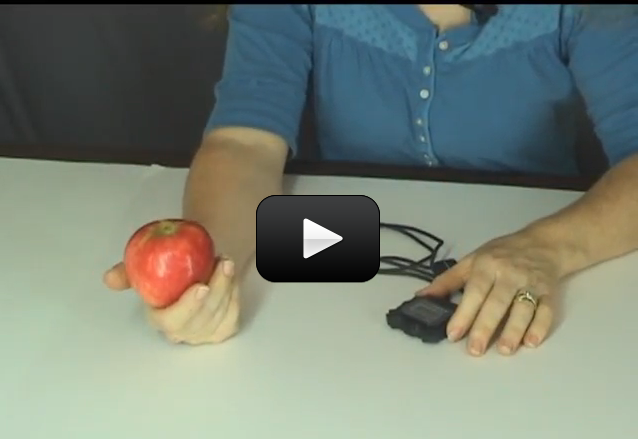
This experiment is for Advanced Students. We’re going to really get a good feel for energy and power as it shows up in real life. For this experiment, you need:


  • Something that weighs about 100 grams or 4 ounces, or just grab an apple.
  • A meter or yard stick

This might seem sort of silly but it’s a good way to get the feeling for what a Joule is and what work is.
Please login or register to read the rest of this content.
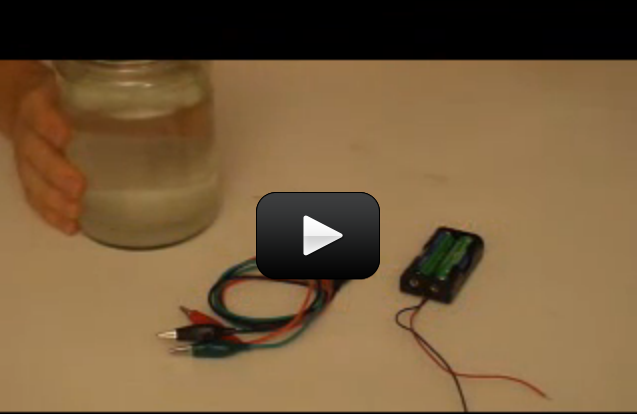

We’re going to use everyday objects to build a simple machine and learn how to take data. Sadly, most college students have trouble with these simple steps, so we’re getting you a head start here. The most complex science experiments all have these same steps that we’re about to do… just on a grander (and more expensive) scale. We’re going to break each piece down so you can really wrap your head around each step. Are you ready to put your new ideas to the test?


This experiment is for Advanced Students.


Please login or register to read the rest of this content.
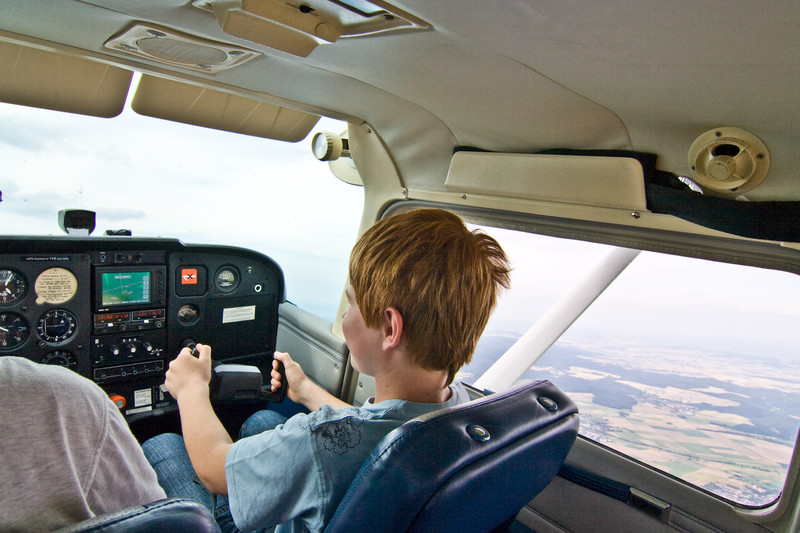
Let's go FLYING! We have a certified flight instructor who is going to do a real flight lesson in a live broadcast that you can participate in. You'll be able to ask questions and connect with us during our time together. All you need is yourself and this page when it's time for our class in the air!


We’re stargazing soon, so save the date! This will be a live class with both Aurora and a real astronomer (Kent Wallace). We will be taking you on a tour of the night sky so you can star gaze right from home!


Summer is filled with warm, late nights sparkling with stars, planets and meteor showers! We are going to focus on objects you can see with binoculars or small telescope.


(Aurora uses Orion’s UltraViews and also recommends the less expensive Celestron – Cometron 7×50 Bincoulars


We’ll also show you how to use Star Charts to help you navigate and find objects. You can download your sky map free here: Click here to download the current SkyChart.


During our time together, you’ll be able to interact with Aurora and Kent, ask questions, and gain insight on the next objects to search for to take your star gazing to the next level. It will be like watching a planetarium star show only from your computer screen!


We will bring you you a virtual “tour of the night sky” where you can discover, learn, and ask questions as we go along! All you need is an internet connection. You can use an iPad, laptop, computer or cell phone. When 7pm on Saturday night rolls around, click the link below to join our class. (Link coming soon!)


On the Road to a Billion Planets!


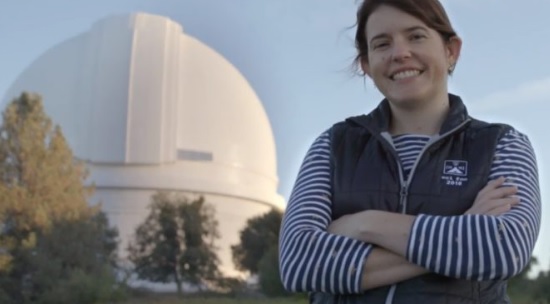
TONIGHT May 28th at 7pm – We’re streaming a live presentation from an astrophysicist from NASA’s Exoplanet Science Institute at CalTech about “On the Road to a Billion Planets”. This astronomy talk is especially extended to K-12 students interested in astronomy! All ages are welcome, and you can ask questions during her presentation as well!  Click here for Jessie Christiansen’s Talk


Dr Jessie Christiansen is an astrophysicist with the NASA Exoplanet Science Institute at Caltech, where she searches for, characterizes and catalogues planets orbiting other stars.


In 2018 she was awarded the NASA Exceptional Engineering Achievement Medal for her role with the successful NASA Kepler Mission, which discovered thousands of exoplanets and revealed that rocky planets are common throughout the galaxy.


She now works on the NASA Transiting Exoplanet Survey Satellite (TESS) to find the nearest planetary systems to Earth – systems that will be ripe for further study with the next generation of ground- and space-based telescopes.


Imagine you’re in the car with the kids, excited to see your extended family (or at least, specific members of your extended family), and you’re not quite there yet.


And the kids been glued to their video games, cell phones, and electronic devices the whole time. You know it’s not good for them, but at least you have some peace during the car ride. You shrug it off, not too worried about it, thinking about all the running around with cousins they’ll do once they get there.


And then you hear…


“Are we there yet?”
“I’m bored.”
“I’m hungry.”


…and whining.


Now what do you do?


It seems impossible for kids to entertain themselves these days without the use of batteries.


That’s what spurred me to create this “Pen & Paper Games” packet that I want to share with you. It’s full of my very best on-the-go, play-anywhere games that you don’t need any equipment (other than a brain) to play! These games I’ve played with my kids over the years, even standing in lines at Disnleyland.


Click here to download the packet and enjoy with your family!


By the way, Bagels is still our favorite line-waiting game, because it’s so fun to play and easy to teach the on-lookers who are wondering why we keep shouting “PICO!” and “FERMI!” followed by uproarious laughter. Bagels is good for the car too, only maybe without the shouting. It’s basically a mental version of the old Mastermind game, but don’t tell them that! Just enjoy the game and have fun learning and exploring our wonderful world.


There is nothing as frustrating as seeing healthy children stuck indoors while watching something on a screen like a zombie. Most homeschool students need a bit of extra help to get them away from the screens of the smartphone, the tablets, the television or the video gaming consoles. Here is a list of ideas for the homeschool parent to ensure time away from the screens for the children.


Walk the Dog


Even if you don’t have a pet, enlist the help of a neighbor who does. The interaction between a pet and a child helps develop empathy and is joyful for both parties. Get your homeschool students into the habit of dog walking regularly.


Write a Journal


The simple Dear Diary notes that your child writes down can help with emotional well-being. The younger homeschool students merely need to write between three to five sentences daily about their day. The elder ones may be more expressive, and be prepared to allow them the privacy of not showing you exactly what they have written.


Find a Job


Whether it is doing small errands for people in the neighborhood, or getting a paper route, the idea is to get them to generate their own pocket money. Be sure to have the safety first conversation with your homeschool students before they take off to look for work.


Be Artistic


Help them to develop their talent. Some homeschool students show great skill at art, others with words. Encourage them to draw, paint, or write short stories. Find them appropriate places to showcase what they have created. Encourage them to build up a portfolio of their work. This is a great stress buster for kids of all ages.

Get Physically Active


Shoot hoops in the backyard. Play tag with the children in the neighborhood. Learn some yoga asanas. Fly a kite that you have built. Build a fort, a snow man or even an obstacle course, depending on the time of the year it is. Homeschool students need the time and opportunity to expend the energy that they have stored up inside of them. Encourage physical activity.


Not everyone has the extra storage space to catch all the material that homeschooling a couple of kids in different grades can throw out of the homeschooling classroom. Here are some tips to make your classroom more spacious by eliminating unwanted junk from the area. Feel free to add your own twist to this version of the clean up crew.


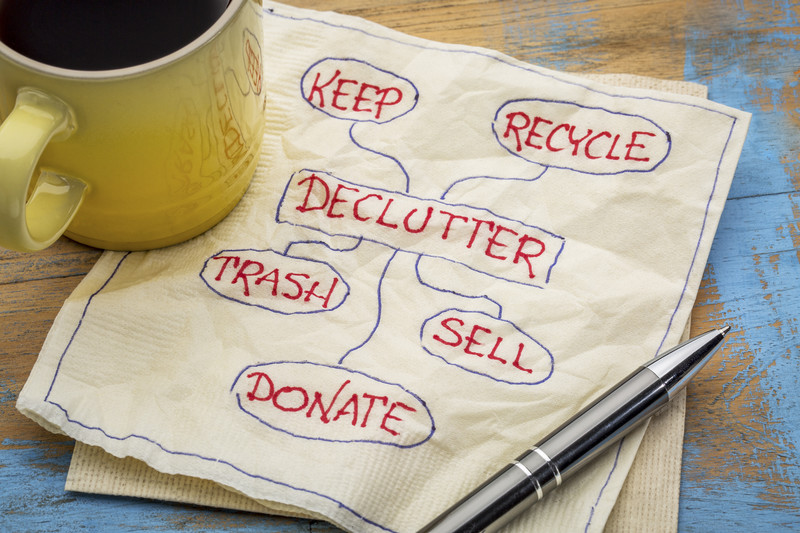
Separate the Stuff


Ideally put all the stuff into the following categories – Keep, Recycle, Trash, Donate and Sell. You can physically place the cardboard boxes for items that you want to donate and sell. Mark them with a permanent marker so that you are sure what each box is for. This saves time when you are in the middle of a big clean up pile and wondering where the coloring book you hold needs to go.


The stuff that you need to keep can be placed on the table or shelves in the homeschool classroom. The things that need to be trashed can be placed in a nice big garbage bag. The stuff to sell and donate can be boxed. Using this system is easier because you are not thinking of an intermediary place to keep everything before you dispose of them.


Finish Discarding First


The usual tendency while cleaning up is to find the right place for things that you need to keep, while ignoring what needs to be discarded. Instead get started with taking out the stuff you need to trash first. Then take over the things that you need to donate to the place or people you are planning on donating to.


After this there will already be a lot more space to play with in the homeschool classroom. Next get going on pricing the material that you want to sell. Put up the online ads, the flyers around the neighborhood and notices for sale. Take the box of stuff to sell out of the homeschool classroom and place it in the garage or other area where it won’t come in the way. Now you can finally allow yourself to settle the remaining stuff into the homeschool area.