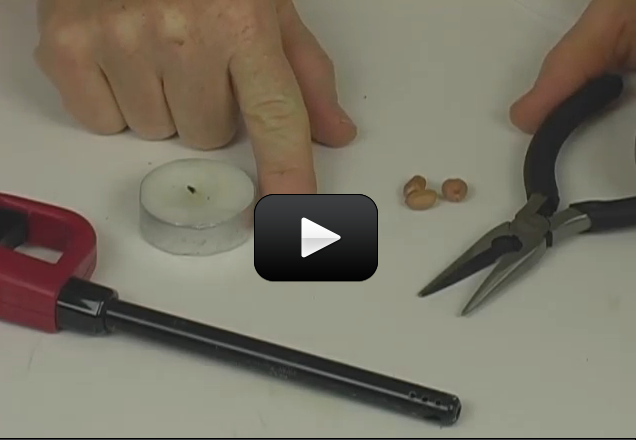
A peanut is not a nut, but actually a seed. In addition to containing protein, a peanut is rich in fats and carbohydrates. Fats and carbohydrates are the major sources of energy for plants and animals.


The energy contained in the peanut actually came from the sun. Green plants absorb solar energy and use it in photosynthesis. During photosynthesis, carbon dioxide and water are combined to make glucose. Glucose is a simple sugar that is a type of carbohydrate. Oxygen gas is also made during photosynthesis.


The glucose made during photosynthesis is used by plants to make other important chemical substances needed for living and growing. Some of the chemical substances made from glucose include fats, carbohydrates (such as various sugars, starch, and cellulose), and proteins.


Photosynthesis is the way in which green plants make their food, and ultimately, all the food available on earth. All animals and nongreen plants (such as fungi and bacteria) depend on the stored energy of green plants to live. Photosynthesis is the most important way animals obtain energy from the sun.


Oil squeezed from nuts and seeds is a potential source of fuel. In some parts of the world, oil squeezed from seeds-particularly sunflower seeds-is burned as a motor fuel in some farm equipment. In the United States, some people have modified diesel cars and trucks to run on vegetable oils.


Fuels from vegetable oils are particularly attractive because, unlike fossil fuels, these fuels are renewable. They come from plants that can be grown in a reasonable amount of time.
Please login or register to read the rest of this content.


You’re about to play with one of the first methods of underwater breathing developed for scuba divers hundreds of years ago.! Back then, scientists would invert a very large clear, bell-shaped jar over a diver standing on a platform, then lower the whole thing into the water. Everyone thought this was a great idea, until the diver ran out of breathable air…


Materials: 12″ flexible tubing, two clear plastic cups, bathtub


Please login or register to read the rest of this content.

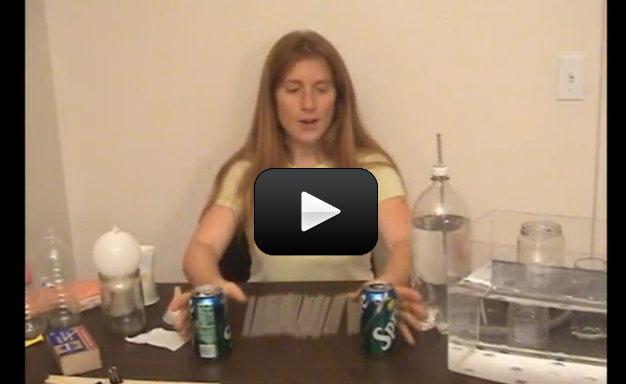
When air moves, the air pressure decreases. This creates a lower air pressure pocket right between the cans relative to the surrounding air. Because higher pressure pushes, the cans clink together. Just remember – whenever there’s a difference in pressure, the higher pressure pushes.


You will need about 25 straws and two empty soda cans or other lightweight containers


Please login or register to read the rest of this content.

Fill the bathtub and climb in. Grab your water bottle and tack and poke several holes into the lower half the water bottle. Fill the bottle with water and cap it. Lift the bottle above the water level in the tub and untwist the cap. Water should come streaming out. Close the cap and the water streams should stop. Open the cap and when the water streams out again, can you “pinch” two streams together using your fingers?


Materials: A tack, and a plastic water bottle with cap, and bathtub


Please login or register to read the rest of this content.

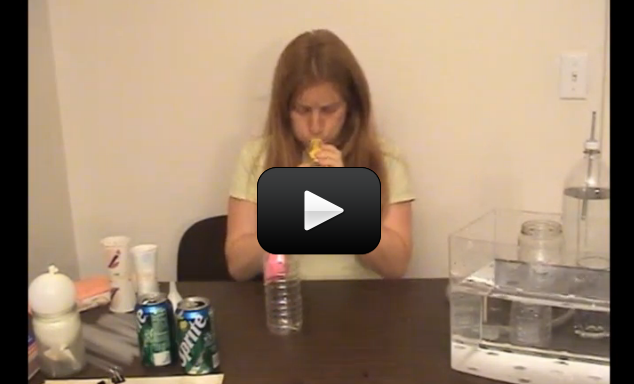
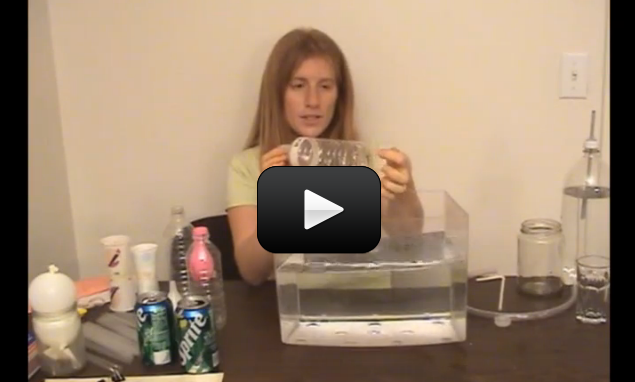
This experiment illustrates that air really does take up space! You can’t inflate the balloon inside the bottle without the holes, because it’s already full of air. When you blow into the bottle with the holes, air is allowed to leak out making room for the balloon to inflate. With the intact bottle, you run into trouble because there’s nowhere for the air already inside the bottle to go when you attempt to inflate the balloon.


You’ll need to get two balloons, one tack, and two empty water bottles.


Please login or register to read the rest of this content.

Fire eats air, or in more scientific terms, the air gets used up by the flame and lowers the air pressure inside the jar. The surrounding air outside the jar is now at a higher pressure than the air inside the jar and it pushes the balloon into the jar. Remember: Higher pressure pushes!


Materials: a balloon, one empty glass jar, scrap of paper towel , matches with an adult


Please login or register to read the rest of this content.

As you blow air into the bottle, the air pressure increases inside the bottle. This higher pressure pushes on the water, which gets forced up and out the straw (and up your nose!).


Materials: small lump of clay, water, a straw, and one empty 2-liter soda bottle.


Please login or register to read the rest of this content.

As you blow into the funnel, the air under the ball moves faster than the other air surrounding the ball, which generates an area of lower air pressure. The pressure under the ball is therefore lower than the surrounding air which is, by comparison, at a higher pressure. This higher pressure pushes the ball back into the funnel, no matter how hard you blow or which way you hold the funnel. The harder you blow, the more stuck the ball becomes. Cool.


Materials: A funnel and a ping pong ball


Please login or register to read the rest of this content.

Where’s the pressure difference in this trick?


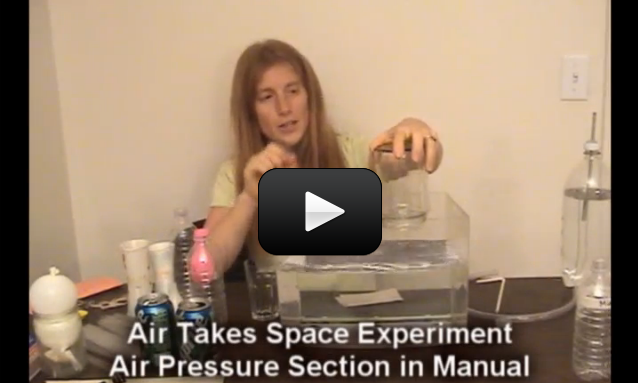
At the opening of the glass. The water inside the glass weighs a pound at best, and, depending on the size of the opening of the glass, the air pressure is exerting 15-30 pounds upward on the bottom of the card. Guess who wins? Tip, when you get good at this experiment, try doing it over a friend’s head!


Materials: a glass, and an index card large enough to completely cover the mouth of the glass.


Please login or register to read the rest of this content.

About 400 years ago, Leonardo da Vinci wanted to fly… so he studied the only flying things around at that time: birds and insects. Then he did what any normal kid would do—he drew pictures of flying machines!


Centuries later, a toy company found his drawing for an ornithopter, a machine that flew by flapping its wings (unlike an airplane, which has non-moving wings). The problem (and secret to the toy’s popularity) was that with its wing-flapping design, the ornithopter could not be steered and was unpredictable: It zoomed, dipped, rolled, and looped through the sky. Sick bags, anyone?


Hot air balloons that took people into the air first lifted off the ground in the 1780s, shortly after Leonardo da Vinci’s plans for the ornithopter took flight. While limited seating and steering were still major problems to overcome, let’s get a feeling for what our scientific forefathers experienced as we make a balloon that can soar high into the morning sky.


Materials: A lightweight plastic garbage bag, duct or masking tape, a hand-held hair dryer. And a COLD morning.


Here’s what you do:


Please login or register to read the rest of this content.

Lots of science toy companies will sell you this experiment, but why not make your own? You’ll need to find a loooooong bag, which is why we recommend a diaper genie. A diaper genie is a 25′ long plastic bag, only both ends are open so it’s more like a tube. You can get three 8-foot bags out of one pack.


Kids have a tendency to shove the bag right up to their face and blow, cutting off the air flow from the surrounding air into the bag. When they figure out this experiment and perform it correctly, this is one of those oooh-ahhh experiments that will leave your kids with eyes as big as dinner plates.


Here’s what you do:


Please login or register to read the rest of this content.

While this isn’t actually an air-pressure experiment but more of an activity in density, really, it’s still a great visual demonstration of why Hot Air Balloons rise on cold mornings.


Imagine a glass of hot water and a glass of cold water sitting on a table, side by side. Now imagine you have a way to count the number of water molecules in each glass. Which glass has more water molecules?


The glass of cold water has way more molecules… but why? The cold water is more dense than the hot water. Warmer stuff tends to rise because it’s less dense than colder stuff and that’s why the hot air balloon in experiment 1.10 floated up to the sky.


Clouds form as warm air carrying moisture rises within cooler air. As the warm, wet air rises, it cools and begins to condense, releasing energy that keeps the air warmer than its surroundings. Therefore, it continues to rise. Sometimes, in places like Florida, this process continues long enough for thunderclouds to form. Let’s do an experiment to better visualize this idea.


Please login or register to read the rest of this content.

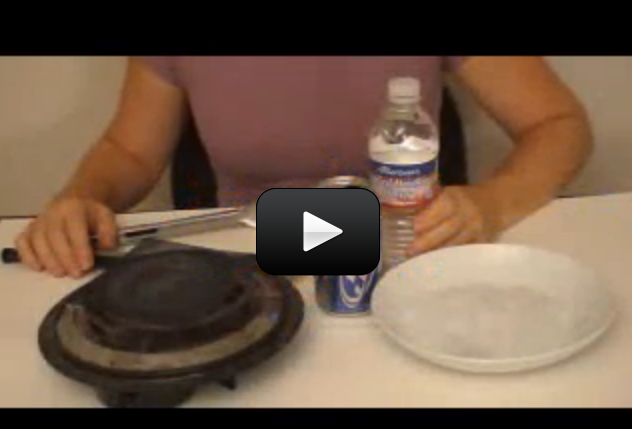
An average can of soda at room temperature measures 55 psi before you ever crack it open. (In comparison, most car tires run on 35 psi, so that gives you an idea how much pressure there is inside the can!)


If you heat a can of soda, you’ll run the pressure over 80 psi before the can ruptures, soaking the interior of your house with its sugary contents. Still, you will have learned something worthwhile: adding energy (heat) to a system (can of soda) causes a pressure increase. It also causes a volume increase (kaboom!).
How about trying a safer variation of this experiment using water, an open can, and implosion instead of explosion?


Materials – An empty soda can, water, a pan, a bowl, tongs, and a grown-up assistant.


NOTE: If you can get a hold of one, use a beer can – they tend to work better for this experiment. But you can also do this with a regular old soda can. And no, I am not suggesting that kids should be drinking alcohol! Go ask a parent to find you one – and check the recycling bin.


Please login or register to read the rest of this content.

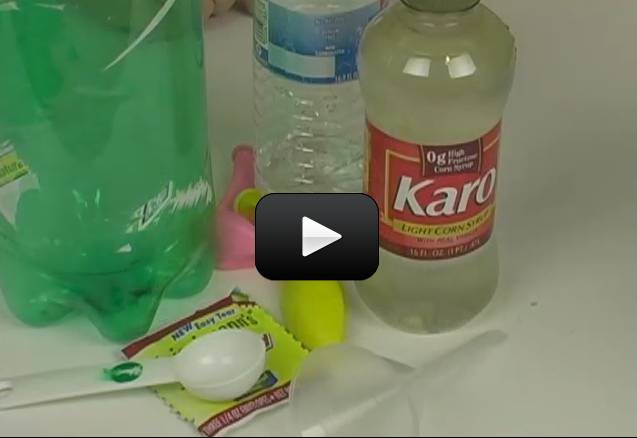
Yeast is a simple living organism that can break down sugars into ethyl alcohol (ethanol) and carbon dioxide. The process by which yeast breaks down sugars into ethyl alcohol and carbon dioxide is called fermentation.


The tiny gas bubbles rising in the liquid mixture in the bottle are carbon dioxide gas bubbles that are made during the fermentation. The balloon on the bottle expands and becomes inflated because it traps the carbon dioxide gas being produced.


The ethyl alcohol that is made during fermentation stays in the liquid mixture. When fermentation is finished, the liquid mixture usually contains about 13 percent ethyl alcohol. The rest of the liquid is mostly water.


The ethyl alcohol can be concentrated by a process called distillation. During distillation, the liquid fermentation mixture is heated to change the ethyl alcohol and some of the water into a vapor. The vapor is then cooled to change it back into a liquid. This distilled liquid contains 95 percent ethyl alcohol and 5 percent water. The remaining water can be removed by special distillation methods to give pure ethyl alcohol.


In some areas of the United States, ethyl alcohol is blended with gasoline to make a motor fuel known as gasohol. About 8 percent of the gasoline sold in the United States is gasohol.


Gasohol burns more cleanly than pure gasoline. This results in fewer pollutants being released into the air. The use of gasohol as a motor fuel is particularly important in cities that have a lot of smog.


Corn syrup is a mixture of simple and complex sugars and water. It is made by breaking down the starch in corn into sugars. The process is called digestion. In this experiment you changed the sugars in corn syrup using yeast. Much of the ethyl alcohol used to prepare gasohol is made by fermenting corn and corn sugar.


Over one billion gallons of ethyl alcohol are made each year by fermentation of sugars from grains such as corn. Ethyl alcohol is a renewable energy source when it is made by fermenting grains such as corn. This is because the grains, such as corn, are easily grown.


Please login or register to read the rest of this content.

Fossil fuels, which include petroleum, natural gas, and coal, supply nearly 90 percent of the energy needs of the United States and other industrialized nations. Because of their high demand, these nonrenewable energy resources are rapidly being consumed. Coal supplies are expected to last about a thousand years.


We must find other sources of energy to meet the increasing fuel demands of modern society. Important alternate sources of energy include: solar, wind, biomass, hydroelectric, geothermal, nuclear, and tidal energy.


One of the benefits of using alternate sources of energy is that many of them are “clean.” This means that they do not cause pollution. Also, many alternative energy sources are renewable energy sources. They are replaced naturally-such as plant life-or are readily available – such as the sun and wind. In addition, the use of renewable forms of energy will allow us to stretch out our current supply of fossil fuels so they will last longer.


In this chapter you will learn how biomass, or organic matter, can be an important energy source. Plants are the most important biomass energy source. Plant material can be burned directly-as with wood-or it can be converted into a fuel by other means. In the experiments that follow you will explore: how water can be heated by composting grass, how a peanut burns, and how corn syrup can be made into ethyl alcohol.
Please login or register to read the rest of this content.


This is a recording of a recent live teleclass I did with thousands of kids from all over the world. I've included it here so you can participate and learn!

Discover the world of clean, renewable energy that scientists are developing today! Explore how they are harnessing the energy of tides and waves, lean how cars can run on just sunlight and water, tour a hydroelectric power plant, visit the largest wind farms on the planet, and more! You’ll learn how streets are being designed to generate electricity, how teenagers are making jet fuel from pond scum in their garage, and how 70 million tons of salt can provide free, clean energy 24 hours a day forever! During class, you’ll learn how to bake solar cookies, magni-fry marshmallows and do the experiment with light Einstein won a Nobel prize for that is the basis of all photovoltaic energy today.

Materials:

  • One cup each: hot (not boiling), cold, and room temperature water
  • Cardboard box, shoebox size or larger.
  • Aluminum foil
  • Plastic wrap (like Saran wrap or Cling wrap)
  • Hot glue, razor, scissors, tape
  • Wooden skewers (BBQ-style)
  • Black construction paper
  • Cookie dough (your favorite kind!)
  • Chocolate, large marshmallows, & graham crackers if you want to make s’mores! If not, try just the large marshmallow.
  • Large page magnifier (also called a Fresnel lens, found at drug stores or places that also sell reading glasses, or at Amazon.com)

Please login or register to read the rest of this content.


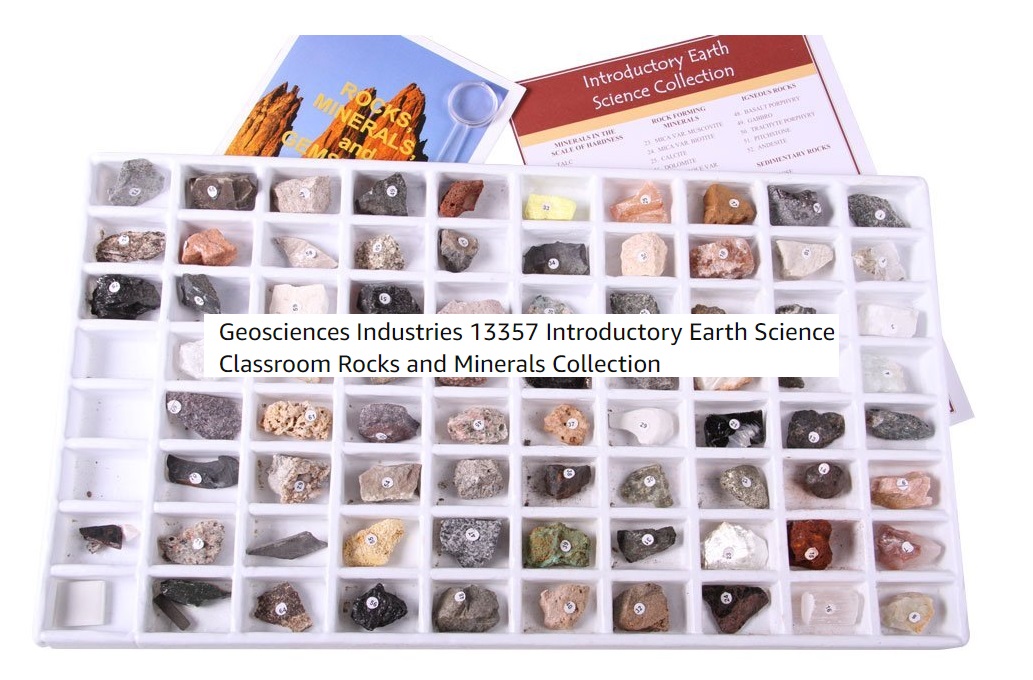
This is a recording of a recent live teleclass I did with thousands of kids from all over the world. I've included it here so you can participate and learn, too! Learn about the world of rocks, crystals, gems, fossils, and minerals by moving beyond just looking at pretty stones and really being able to identify, test, and classify samples and specimens you come across using techniques that real field experts use. While most people might think of a rock as being fun to climb or toss into a pond, you will now be able to see the special meaning behind the naturally occurring material that is made out of minerals by understanding how the minerals are joined together, what their crystalline structure is like, and much more. Materials: Please login or register to read the rest of this content.


Greetings and welcome to the study of astronomy! This first lesson is simply to get you excited and interested in astronomy so you can decide what it is that you want to learn about astronomy later on.


We’re going to cover a lot in this presentation, including: the Sun, an average star, is the central and largest body in the solar system and is composed primarily of hydrogen and helium.


The solar system includes the Earth, Moon, Sun, seven other planets and their satellites (moons) and smaller objects such as asteroids and comets. The structure and composition of the universe can be learned from the study of stars and galaxies. Galaxies are clusters of billions of stars, and may have different shapes. The Sun is one of many stars in our own Milky Way galaxy. Stars may differ in size, temperature, and color.


Materials


  • Popcorn
  • Pencil
Please login or register to read the rest of this content.

This is a recording of a recent live teleclass I did with thousands of kids from all over the world. I’ve included it here so you can participate and learn, too


Our solar system includes rocky terrestrial planets (Mercury, Venus, Earth, and Mars), gas giants (Jupiter and Saturn), ice giants (Uranus and Neptune), and assorted chunks of ice and dust that make up various comets and asteroids.


Did you know you can take an intergalactic star tour without leaving your seat? To get you started on your astronomy adventure, I have a front-row seat for you in a planetarium-style star show. I usually give this presentation at sunset during my live workshops, so I inserted slides along with my talk so you could see the pictures better. This video below is long, so I highly recommend doing this with friends and a big bowl of popcorn. Ready?
Please login or register to read the rest of this content.


This is a recording of a recent live teleclass I did with thousands of kids from all over the world. I've included it here so you can participate and learn, too! We're ready to deal with the topic you've all been waiting for! Join me as we find out what happens to stars that wander too close, how black holes collide, how we can detect super-massive black holes in the centers of galaxies, and wrestle with question: what's down there, inside a black hole? Materials:
  • marble
  • metal ball (like a ball bearing) or a magnetic marble
  • strong magnet
  • small bouncy ball
  • tennis ball and/or basketball
  • two balloons
  • bowl
  • 10 pennies
  • saran wrap (or cup open a plastic shopping bag so it lays flat)
  • aluminum foil (you'll need to wrap inflated balloons with the foil, so make sure you have plenty of foil)
  • scissors
Please login or register to read the rest of this content.


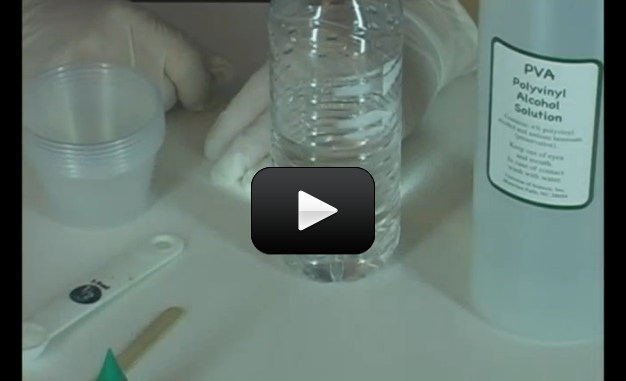
Instead of using glue as a polymer (as in the slime recipes above), we're going to use PVA (polyvinyl alcohol). Most liquids are unconnected molecules bouncing around. Monomers (single molecules) flow very easily and don't clump together. When you link up monomers into longer segments, you form polymers (long chains of molecules). Polymers don't flow very easily at all - they tend to get tangled up until you add the cross-linking agent, which buddies up the different segments of the molecule chains together into a climbing-rope design. Please login or register to read the rest of this content.


Guar gum comes from the guar plant (also called the guaran plan), and people have found a lot of different and interesting uses for it.  It’s one of the primary substitutes for fat in low-fat and fat-free foods. Cooks like to  use guar gum in foods as it has 8 times the thickening power of cornstarch, so much less is needed for the recipe. Ice cream makers use it to keep ice crystals from forming inside the carton. Doctors use it as a laxative for their patients.


When we teach kids how to make slime using guar gum, they call it “fake fat” slime, mostly because it’s used in fat-free baking.  You can find guar gum in health food stores or order it online. We’re going to whip up a batch of slime using this “fake fat”. Ready?


Here’s what you do:
Please login or register to read the rest of this content.


We're going to watch how density works by making a simple lava lamp that doesn't need electricity! If you like to watch blob-type shapes shift and ooze around, then this is something you're going to want to experiment with.  but don't feel that you have to use the materials mentioned below - feel free to experiment with other liquids you have around the house, and be sure to let me know what you've found in the comment section below. All you need is about 10 minutes and a few quick items you already have around the house.  Are you ready? Please login or register to read the rest of this content.


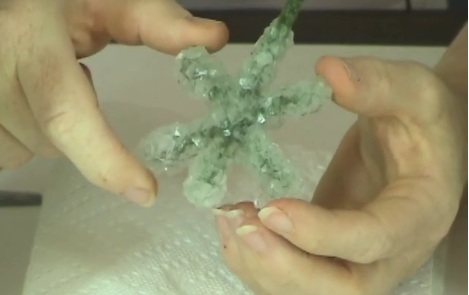
Charcoal crystals uses evaporation to grow the crystals, which will continue to grow for weeks afterward.  You’ll need a piece of very porous material, such as a charcoal briquette, sponge, or similar object to absorb the solution and grow your crystals as the liquid evaporates.  These crystals are NOT for eating, so be sure to keep your growing garden away from young children and pets! This project is exclusively for advanced students, as it more involves toxic chemicals than just salt and sugar.


Please login or register to read the rest of this content.

Unsurprisingly, often the most interesting critters found in soil are the hardest to find! They’re small, fast, and used to avoiding things that search for them. So, how do we find and study these tiny insects? With a Berlese Funnel (Also called the Tullgren funnel)!


Please login or register to read the rest of this content.

This is a recording of a recent live teleclass I did with thousands of kids from all over the world. I’ve included it here so you can participate and learn, too!


You’ll discover how to boil water at room temperature, heat up ice to freeze it, make a fire water balloon, and build a real working steam boat as you learn about heat energy. You’ll also learn about thermal energy, heat capacity, and the laws of thermodynamics.


Materials:


  • cup of ice water
  • cup of room temperature water
  • cup of hot water (not scalding or boiling!)
  • tea light candle and lighter (with adult help)
  • balloon (not inflated)
  • syringe (without the needle)
  • block of foam
  • copper tubing (¼” diameter and 12” long)
  • bathtub or sink
  • scissors or razor
  • fat marker (to be used to wrap things around, not for writing)
Please login or register to read the rest of this content.

This is a recording of a recent live teleclass I did with thousands of kids from all over the world. I’ve included it here so you can participate and learn, too!


This class is all about Light Waves, Lasers and Holograms! This is a newly updated version of the older Light Waves and Lasers teleclass here.


We’re going to learn about the wild world of light that has baffled scientists for over a century. You’ll be twisting and bending light as we learn about refraction, reflection, absorption, and transmission using lenses, lasers, mirrors, and optical filters with everyday stuff like gummy bears, paperclips, pencils and water!


We’re going to learn how to build a projection hologram out of piece of old plastic, make a laser microscope so you can see tiny little microscopic creatures, bend laser light to follow any path you want without using mirrors, and finally understand how glow in the dark toys really work on the subatomic level. Are you ready?


Materials:


  • Pencil
  • Paper
  • Clothespin
  • Paperclip
  • Rubber band
  • Gummy bears
  • Red laser
  • Flashlight
  • Old CD
  • Scissors
  • Pliers
  • Glass of water
  • Clear Plastic Film
Please login or register to read the rest of this content.

This is a recording of a recent live class I did with an entire high school astronomy class. I’ve included it here so you can participate and learn, too!


Light is energy that can travel through space. How much energy light has determines what kind of wave it is. It can be visible light, x-ray, radio, microwave, gamma or ultraviolet. The electromagnetic spectrum shows the different energies of light and how the energy relates to different frequencies, and that’s exactly what we’re going to cover in class. We’re going to talk about light, what it is, how it moves, and it’s generated, and learn how astronomers study the differences in light to tell a star’s atmosphere from  millions of miles away.


I usually give this presentation at sunset during my live workshops, so I inserted slides along with my talk so you could see the pictures better. This video below is long, so I highly recommend doing this with friends and a big bowl of popcorn. Ready?


Please login or register to read the rest of this content.

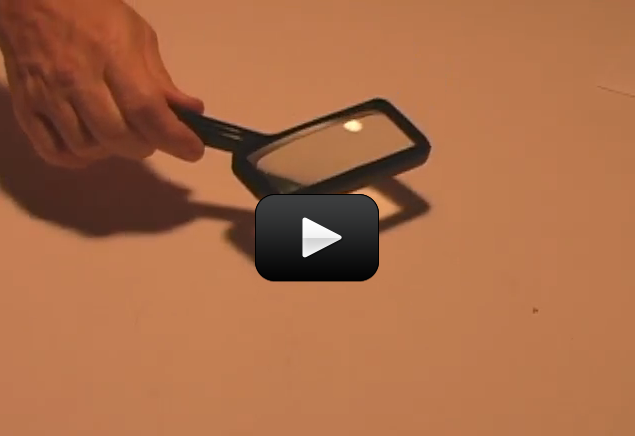
Today you get to concentrate light, specifically the heat, from the Sun into a very small area. Normally, the sunlight would have filled up the entire area of the lens, but you’re shrinking this down to the size of the dot.


Magnifying lenses, telescopes, and microscopes use this idea to make objects appear different sizes by bending the light. When light passes through a different medium (from air to glass, water, a lens…) it changes speed and usually the angle at which it’s traveling. A prism splits incoming light into a rainbow because the light bends as it moves through the prism. A pair of eyeglasses will bend the light to magnify the image.


Materials


  • Sunlight
  •  Glass jar
  • Nail that fits in the jar
  •   12” thread
  •   Hair from your head
  • 12” string
  • 12” fishing line
  • 12” yarn
  •  Paperclip
  • Magnifying glass
  •  Fire extinguisher
  •  Adult help
Please login or register to read the rest of this content.

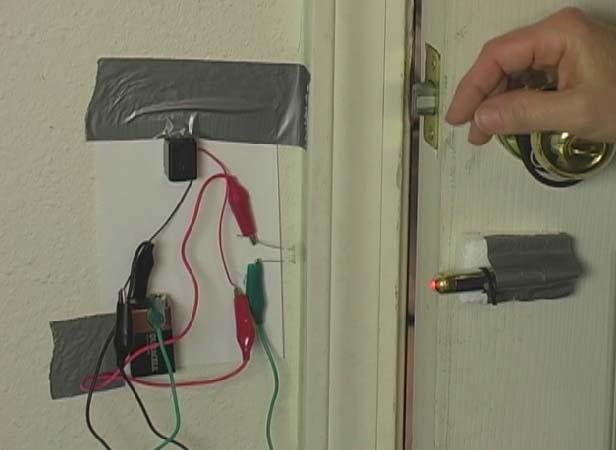
This is a beefier-version of the Electric Eye that will be be able to turn on a buzzer instead of a LED by increasing the voltage in the circuit. This type of circuit is a light-actuated circuit. When a beam of light hits the sensor (the “eye”), a buzzer sounds. Use this to indicate when a door closes or drawer closes… your suspect will never know what got triggered.
Please login or register to read the rest of this content.


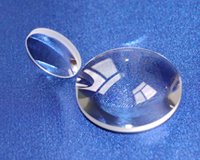
The curved shape of the magnifying lens causes light rays to bend and focus on an image. When we look through the lens, we can use it to make writing or some other object appear larger. However, the magnifying lens can also be used to make something smaller. The light from the bulb is bent and focused on the wall when the lens is held far from the lamp and close to the wall. The image is much brighter than the surroundings. This is because all the light falling on the surface of the lens is concentrated into a much smaller area.


When sunlight is concentrated by passing it through a lens, the result can be an intensely bright and not spot of light. Even a small magnifying glass can increase the intensity of the sun enough to set wood and paper on fire. We are using a light bulb rather than sunlight for this experiment because concentrated sunlight Can be very harmful to your eyes. NEVER LOOK AT A CONCENTRATED IMAGE OF THE SUN.


The United States Department of Energy’s National Renewable Energy Laboratory in Colorado uses solar energy to operate a special furnace. This high-temperature solar furnace uses a lens to concentrate sunlight. A heliostat (a device used to track the motion of the sun across the sky) is used so that the image reflected from a mirror is always directed at the same spot. The lens is used to concentrate sunlight from a mirror to an area about the size of a penny. This concentrated sunlight has the energy of 20,000 suns shining in one spot.


In less than half a second, the temperature can be raised to 1,720° C (3,128° F) which is hot enough to melt sand. This high-temperature solar furnace is being used to harden steel and to make ceramic materials that must be heated to extremely high temperatures.


Concentrated sunlight also has been used to purify polluted ground water. The ultraviolet radiation in sunlight can break down organic pollutants into carbon dioxide, water, and harmless chlorine ions. This procedure has been successfully carried out at the Lawrence Livermore Laboratory in California. In the laboratory, up to 100,000 gallons of contaminated water could be treated in one day.
Please login or register to read the rest of this content.


This is a recording of a recent live teleclass I did with thousands of kids from all over the world. I’ve included it here so you can participate and learn, too!


We’re going to cover energy and motion by building roller coasters and catapults! Kids build a working catapult while they learn about the physics of projectile motion and storing elastic potential energy. Let’s discover the mysterious forces at work behind the thrill ride of the world’s most monstrous roller coasters, as we twist, turn, loop and corkscrew our way through g-forces, velocity, acceleration, and believe it or not, move through orbital mechanics, like satellites. We’ll also learn how to throw objects across the room in the name of science… called projectile motion. Are you ready for a fast and furious physics class?


Please login or register to read the rest of this content.

Physics of Motion Intro Class

This is a recording of a recent live teleclass I did with thousands of kids from all over the world. I've included it here so you can participate and learn, too! We're going to cover energy and motion by building roller coasters and catapults! Kids build a working catapult while they learn about the physics of projectile motion and storing elastic potential energy. Let's discover the mysterious forces at work behind the thrill ride of the world’s most monstrous roller coasters, as we twist, turn, loop and corkscrew our way through g-forces, velocity, acceleration, and believe it or not, move through orbital mechanics, like satellites. We’ll also learn how to throw objects across the room in the name of science… called projectile motion. Are you ready for a fast and furious physics class?
Materials:
  • click for worksheet
  • marbles
  • masking tape
  • 9 popsicle sticks
  • 4 rubber bands
  • one plastic spoon
  • ping pong ball
  • hot glue gun with glue sticks
  • 3/4" pipe foam insulation (NOT neoprene and NOT the kind with built-in adhesive tape)

Key Concepts

Centripetal means ‘center-seeking’. It’s the force that points toward the center of the circle you’re moving on. When you swing the bucket around your head, the bottom of the bucket is making the water turn in a circle and not fly away. Your arm is pulling on the handle of the bucket, keeping it turning in a circle and not fly away. That’s centripetal force. Centrifugal force is equal and opposite to centripetal force. Centrifugal means ‘center-fleeing’, so it’s a force that’s in the opposite direction. The car pushing on you is the centripetal force.The push of your weight on the door is the REACTIVE centrifugal force, meaning that it’s only there when something’s happening. It’s not a real force that goes around pushing and pulling on its own.

What's Going On?

Engines used to use an automatic feedback system called a centrifugal governor to regulate the speed. For example, if you’re mowing the lawn and you hit a dry patch with no grass, the blades don’t suddenly spin wildly faster… they get adjusted automatically by a feedback system so maintains the same speed for the blades, so matter how thick or thin the grass that your cutting is. You’ll find these also in airplanes to automatically adjust the pitch (or angle) of the propeller as it moves through the air. The pilot sets the intended speed, and the airplane has a governor that helps adjust the angle the blades make with the air to maintain this speed automatically, because the air density changes with altitude. It’s really important to know how much centrifugal force people experience, whether its in cars or roller coasters! In fact roller coaster loops used to be circular, but now they use clothoid loops instead to keep passengers happy during their ride so they don’t need nearly the acceleration that they’d need for a circular loop (which means less g-force so passengers don’t black out).

Building the Experiment:

Here are more roller coaster maneuvers you can try out: Loops: Swing the track around in a complete circle and attach the outside of the track to chairs, table legs, and hard floors with tape to secure in place. Loops take a bit of speed to make it through, so have your partner hold it while you test it out before taping. Start with smaller loops and increase in size to match your entrance velocity into the loop. Loops can be used to slow a marble down if speed is a problem. Camel-Backs: Make a hill out of track in an upside-down U-shape. Good for show, especially if you get the hill height just right so the marble comes off the track slightly, then back on without missing a beat. Whirly-Birds: Take a loop and make it horizontal. Great around poles and posts, but just keep the bank angle steep enough and the marble speed fast enough so it doesn't fly off track. Corkscrew: Start with a basic loop, then spread apart the entrance and exit points. The further apart they get, the more fun it becomes. Corkscrews usually require more speed than loops of the same size. Jump Track: A major show-off feature that requires very rigid entrance and exit points on the track. Use a lot of tape and incline the entrance (end of the track) slightly while declining the exit (beginning of new track piece).

Troubleshooting

Marbles will fly everywhere, so make sure you have a lot of extras! If your marble is not following your track, look very carefully for the point of departure – where it flies off. For instance, when the marble flies off the track, you can step back and say: “Hmmm… did the marble go to fast or too slow?” “Where did it fly off?” “Wow – I'll bet you didn't expect that to happen. Now what are you going to try?” Become their biggest fan by cheering them on, encouraging them to make mistakes, and try something new (even if they aren't sure if it will work out).

Questions to Ask

  1. Does the track change position with the weight of the marble, making it fly off course? (You can make the track more rigid by taping it to a surface.)
  2. Is the marble jumping over the track wall? (You can increase your bank angle - the amount of twist the track makes along its length.)
  3. How can you make your marble zip through two loops at once?
  4. How could you increase your marble speed?
  5. Where would you put a tunnel? (Leave one piece of track uncut to use as a tunnel.)

This is a recording of a recent live teleclass I did with thousands of kids from all over the world. I’ve included it here so you can participate and learn, too!


You’ll discover how to boil water at room temperature, heat up ice to freeze it, make a fire water balloon, and build a real working steam boat as you learn about heat energy. You’ll also learn about thermal energy, heat capacity, and the laws of thermodynamics.


Materials:


  • cup of ice water
  • cup of room temperature water
  • cup of hot water (not scalding or boiling!)
  • tea light candle and lighter (with adult help)
  • balloon (not inflated)
  • syringe (without the needle)
  • block of foam
  • copper tubing (¼” diameter and 12” long)
  • bathtub or sink
  • scissors or razor
  • fat marker (to be used to wrap things around, not for writing)
Please login or register to read the rest of this content.

The way animals and plants behave is so complicated because it not only depends on climate, water availability, competition for resources, nutrients available, and disease presence but also having the patience and ability to study them close-up.


We’re going to build an eco-system where you’ll farm prey stock for the predators so you’ll be able to view their behavior. You’ll also get a chance to watch both of them feed, hatch, molt, and more! You’ll observe closely the two different organisms and learn all about the way they live, eat, and are eaten.


Please login or register to read the rest of this content.

As you walk around your neighborhood, you probably see many other people, as well as some birds flying around, maybe some fish swimming down a local stream, and perhaps even a lizard darting behind a bush or a frog sitting contently on top of a pond. Most likely, you know that all of these living things are animals, but they are even more closely related than that.


Please login or register to read the rest of this content.

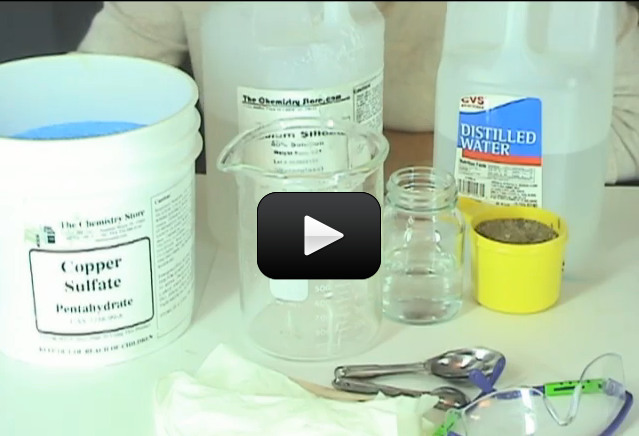
This experiment is for advanced students. Water Glass is another name for Sodium Silicate (Na2SiO3), which is one of the chemicals used to grow underwater rock crystal gardens. Metal refers to the metal salt seed crystal you will use to start your crystals growing.  You can use any of the following metals listed.  Note however, that certain metals will give you different colors of crystals.


Your crystals begin growing the instant you toss in the seed crystals.  These crystals are especially delicate and fragile – just sloshing the liquid around is enough to break the crystal spikes, so place your solution in a safe location before adding your seed crystals.


After your garden has finished growing to the height and width you want, simply pour out the sodium silicate solution and replace with fresh water (or no water at all).  Due do the nature of these chemicals, keep out of reach of small children, and build your garden with adult supervision.


Here’s what you need to get:


Please login or register to read the rest of this content.

Some insects are just too small! Even if we try to carefully pick them up with forceps, they either escape or are crushed. What to do?


Answer: Make an insect aspirator! An insect aspirator is a simple tool scientists use to collect bugs and insects that are too small to be picked up manually. Basically it’s a mini bug vacuum!


Please login or register to read the rest of this content.


Here we’re going to discuss the differences between three types of worms; flatworms, roundworms, and segmented worms. The word “worm” is not, in fact, a scientific name. It’s an informal way of classifying animals with long bodies and no appendages (no including snakes). They are bilaterally symmetrical (the right and left sides mirror each other). Worms live in salt and fresh water, on land, and inside other organisms as parasites.

The differences between the three types of worms we will discuss depend on the possession of a body cavity and segments. Flatworms have neither a body cavity nor segments. Roundworms only have a body cavity, and segmented worms have both a body cavity and segments.

Flatworms (Phylum Platyhelminthes) have incomplete digestive systems. That means that their digestive system has only one opening. The gas exchange occurs on the surface of their bodies. There are no blood vessels or nervous systems in flatworms. Some are non-parasitic, like the Sea flat worm, and some are parasitic, like the tapeworm.

Please login or register to read the rest of this content.


How does salt affect plant growth, like when we use salt to de-ice snowy winter roads? How does adding fertilizer to the soil help or hurt the plants? What type of soil best purifies the water? All these questions and more can be answered by building a terrarium-aquarium system to discover how these systems are connected together.


Please login or register to read the rest of this content.

Mass and energy are conserved. This means you can’t create or destroy them, but you can change their location or form.


Most people don’t understand that the E energy term means all the energy transformations, not just the nuclear energy.


The energy could be burning gasoline, fusion reactions (like in the sun), metabolizing your lunch, elastic energy in a stretched rubber band… every kind of energy stored in the mass is what E stands for.


For example, if I were to stretch a rubber band and somehow weigh it in the stretched position, I would find it weighed slightly more than in the unstretched position.


Why? How can this be? I didn’t add any more particles to the system – I simply stretched the rubber band. I added energy to the system, which was stored in the electromagnetic forces inside the rubber band, which add to the mass of the object (albeit very slightly). Read more about this in Unit 7: Lesson 3.


Please login or register to read the rest of this content.

What grows in the corner of your windowsill? In the cracks in the sidewalk? Under the front steps? In the gutter at the bottom of the driveway? Specifically, how  doe these animals build their homes and how much space do they need? What do they eat? Where do fish get their food? How do ants find their next meal?


These are hard questions to answer if you don’t have a chance to observe these animals up-close. By building an eco-system, you’ll get to observe and investigate the habits and behaviors of your favorite animals. This column will have an aquarium section, a decomposition chamber with fruit flies or worms, and a predator chamber, with water that flows through all sections. This is a great way to see how the water cycle, insects, plants, soil, and marine animals all work together and interact.


Please login or register to read the rest of this content.

When birds and animals drink from lakes, rivers, and ponds, how pure it is? Are they really getting the water they need, or are they getting something else with the water?


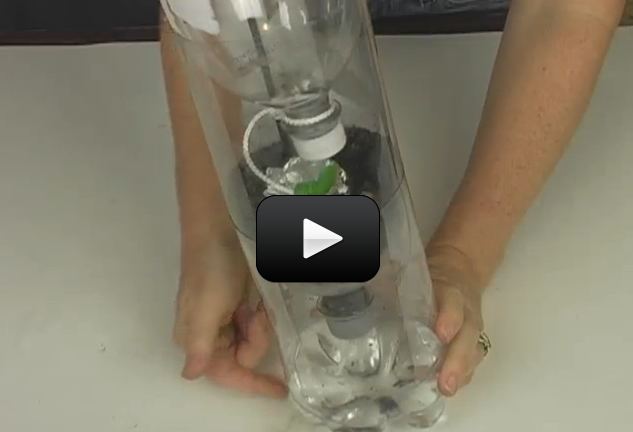
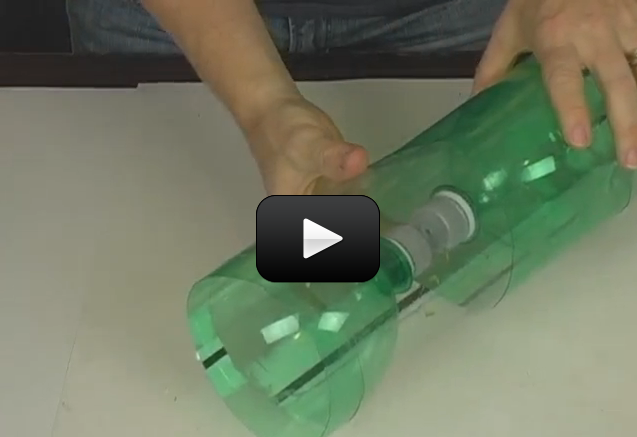
This is a great experiment to see how water moves through natural systems. We’ll explore how water and the atmosphere are both polluted and purified, and we’ll investigate how plants and soil help with both of these. We’ll be taking advantage of capillary action by using a wick to move the water from the lower aquarium chamber into the upper soil chamber, where it will both evaporate and transpire (evaporate from the leaves of plants) and rise until it hits a cold front and condenses into rain, which falls into your collection bucket for further analysis.


Sound complicated? It really isn’t, and the best part is that it not only uses parts from your recycling bin but also takes ten minutes to make.


Please login or register to read the rest of this content.

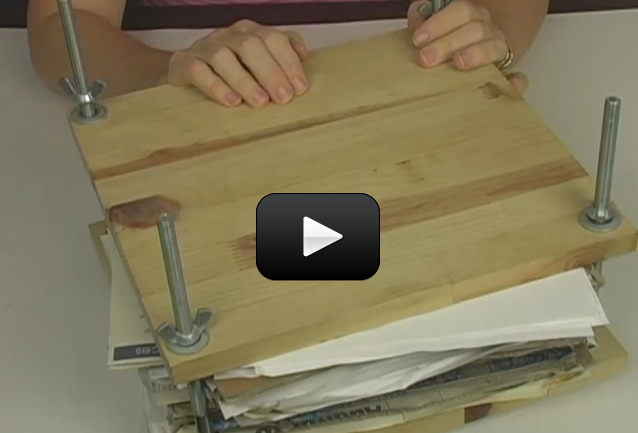
Art and science meet in a plant press. Whether you want to include the interesting flora you find in your scientific journal, or make a beautiful handmade greeting card, a plant press is invaluable. They are very cheap and easy to make, too!


Please login or register to read the rest of this content.

This is a recording of a recent live class I did with an entire high school astronomy class. I’ve included it here so you can participate and learn, too!


Light is energy that can travel through space. How much energy light has determines what kind of wave it is. It can be visible light, x-ray, radio, microwave, gamma or ultraviolet. The electromagnetic spectrum shows the different energies of light and how the energy relates to different frequencies, and that’s exactly what we’re going to cover in class. We’re going to talk about light, what it is, how it moves, and it’s generated, and learn how astronomers study the differences in light to tell a star’s atmosphere from  millions of miles away.


I usually give this presentation at sunset during my live workshops, so I inserted slides along with my talk so you could see the pictures better. This video below is long, so I highly recommend doing this with friends and a big bowl of popcorn. Ready?


Please login or register to read the rest of this content.

When two blocks of the Earth slip past each other suddenly, that’s what we call an earthquake! From a physics point of view, earthquakes are a release of the elastic potential energy that builds up. Most energy is released as heat, not as shaking, during an earthquake. 90% of all earthquakes happen along the Ring of Fire, which is the active zone that surrounds the Pacific Ocean.


Please login or register to read the rest of this content.

If you’ve ever owned a fish tank, you know that you need a filter with a pump. Other than cleaning out the fish poop, why else do you need a filter? (Hint: think about a glass of water next to your bed. Does it taste different the next day?)


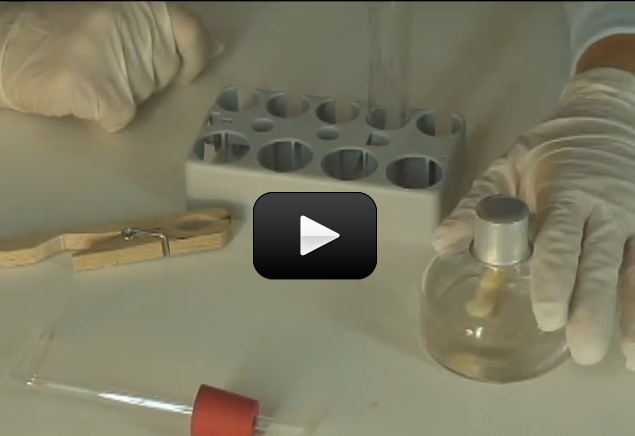
There are tiny air bubbles trapped inside the water, and you can see this when you boil a pot of water on the stove. The experimental setup shown in the video illustrates how a completely sealed tube of water can be heated… and then bubbles come out one end BEFORE the water reaches a boiling point. The tiny bubbles smoosh together to form a larger bubble, showing you that air is dissolved in the water.


Materials:


  • test tube clamp
  • test tube
  • lighter (with adult help)
  • alcohol burner or votive candle
  • right-angle glass tube inserted into a single-hole stopper
  • regular tap water
Please login or register to read the rest of this content.

I mixed up two different liquids (potassium iodide and a very strong solution of hydrogen peroxide) to get a foamy result at a live workshop I did recently. See what you think!


Note: because of the toxic nature of this experiment, it’s best to leave this one to the experts.


Nurses will put hydrogen peroxide on a cut to kill germs. It’s also used in rocket fuel as an oxidizer. The hydrogen peroxide in your grocery store is a weak 3% solution. The hydrogen peroxide used here is 10X stronger than the grocery store variety. The KI (potassium iodide) is the catalyst in the experiment which speeds up the decomposition of the hydrogen peroxide. This is an exothermic reaction (gives off heat).


I’ve gotten a flood of emails from desperate parents begging me for great science gift ideas for their budding young scientists. My first thought was: “Aurora in a Box!” (I mean, wouldn’t that be cool to have me pop out of a box and play with your kids all day?). I’ll have to work on that, since I know that I don’t really fit inside most boxes…


In the meantime, I decided that the best way to help out is to give you a sneak peek at the gifts I’ve shared with my own kids. I have put together a list of my favorite gifts for kids that are not only educational, but worth their weight in learning and fun! And these are not something that easily wind up on a shelf or in the dumpster.


That said, I also wrote up a list of the gifts that are a total waste of money. Trust me – you’ll be glad you avoided the most common pitfalls eager parents fall into when trying to find the ‘perfect present’ for their child. You know these ones – the kind of gifts that makes kids sigh, frustrate them, or find themselves stuck on the top shelf to gather dust. You can read about these and why they made it to this list.


Okay, so are you ready to learn how to give your child an incredible gift they’ll keep using long after the holidays are over? Here are my ideas:


Scientific Instruments

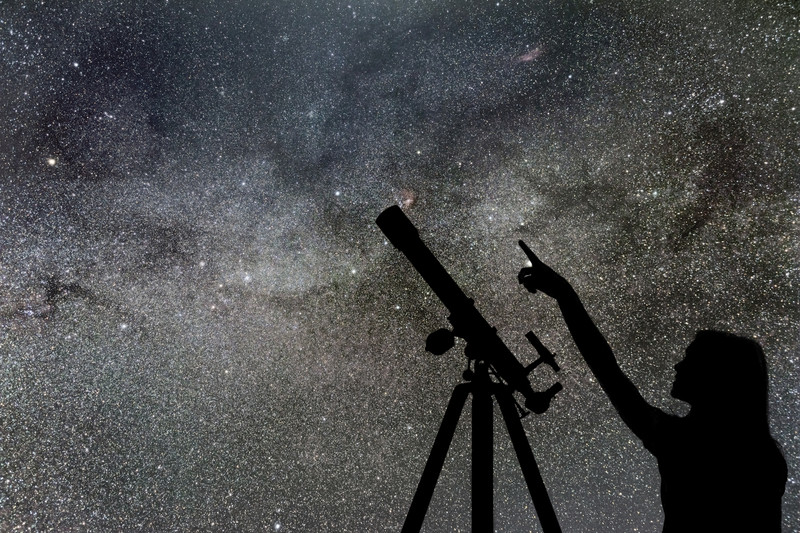
Telescope Wow – nothing says holiday gift more than a scientific instrument to look at the stars. The trouble is, most people are so excited about the instrument that they forget they still don’t know how to use it. A telescope is pretty useless unless you know where to point it, and most telescopes given during this season are better suited for the garbage than star gazing.


My best recommendation? Settle for a quality pair of binoculars and a star gazing guide book (Exploring the Night Sky and Summer Star Gazing both by Terence Dickinson) to go with it so your kids can work up to the big stuff. You can get any nice pair that fits into your budget, but if you really want a recommendation that doesn’t have the brand-name price tag with it,  For kids, Celestron’s Cometryon 7x50s are amazing for under $40.


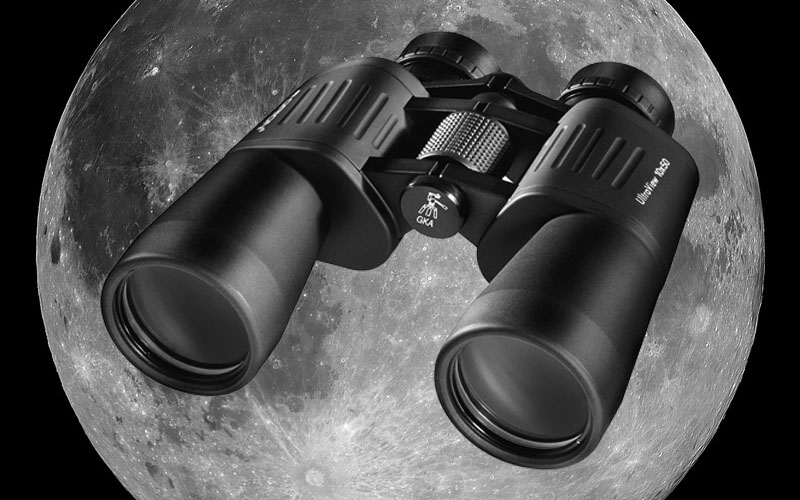
For adults, Orion’s 10×50 UltraViews are outstanding. I personally own a set of these, and I’ve also added an L-adapter and camera tripod for longer viewing sessions. Expect to pay at least $140 for a pair of binocs worth keeping. Any cheaper than that, and you’ll quickly get discouraged and toss them in the Goodwill box faster than you think. You can mount these on any standard camera tripod, but I’m really excited about my new Paragon tripod that I’ve just started using. The tripod is able to keep the binoculars centered on an object no matter what height you raise or lower the binoculars to (which is really useful when you’ve got a long line of people of all different heights waiting to look through them.)


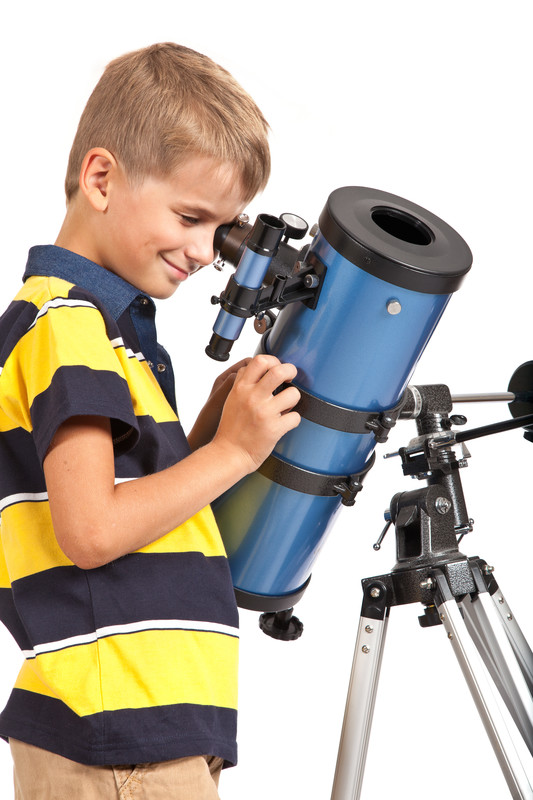
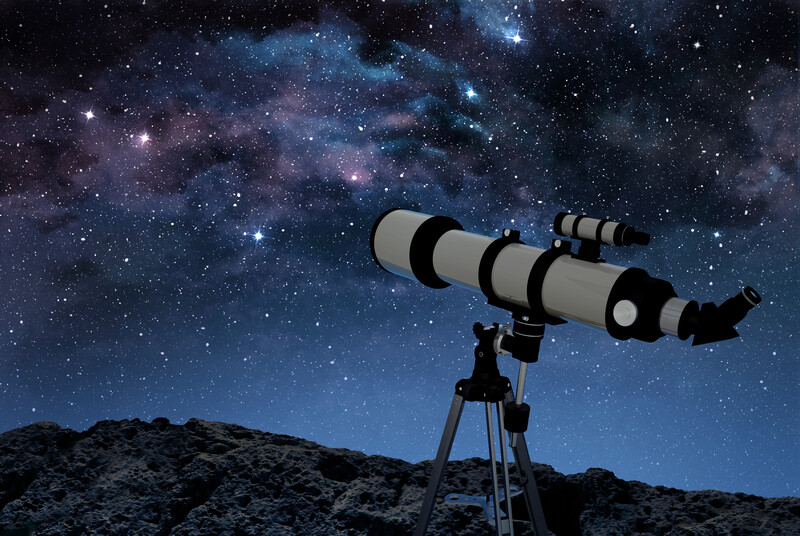
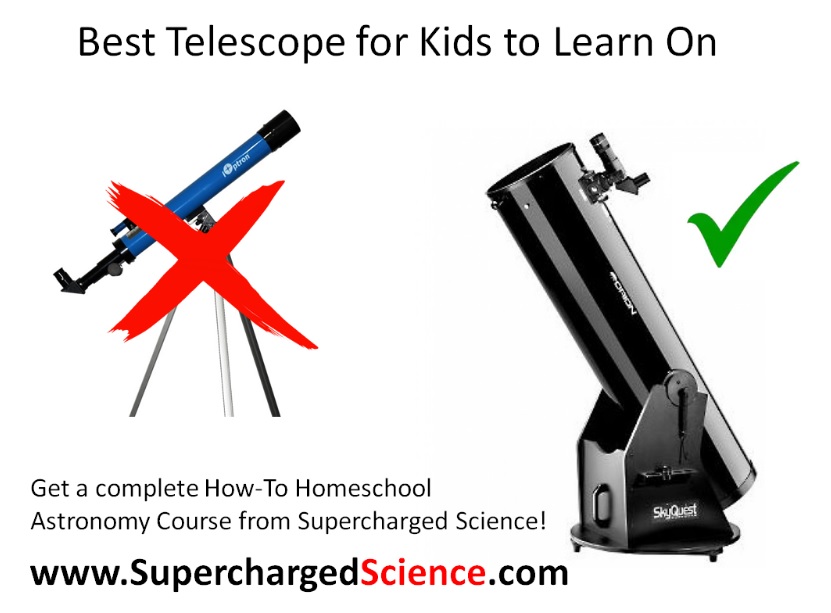
If you’ve already mastered the basics and really are ready for your own telescope, don’t bother with one of those telescopes like the kind shown in the picture here – a skinny tube mounted on a rickety tripod. The eyepiece can be way too high for kids, and they usually knock the whole thing over. So I recommend checking out the 6″ or 8″ Dobsonian and encourage you not to be fooled by the fact it doesn’t look like a traditional telescope, because it’s larger and has a lower mount. This one is going to show you a lot more detail of the sky, and is nearly impossible to knock over and damage.  If you’re new to the starfield, you’ll want one with “Go To” capability for the Dobsonian. Don’t even think about owning a telescope without getting padded carrying case to protect it from dust and dings. Be sure your telescope has a laser finder also!


This is the most important part of the telescope – the eyepieces! You’ll also need to get decent eyepieces. The ones that are included with the telescope you can replace with these incredibly widefield eyepieces. Pick one between 8-13mm, 17-21mm, and a 21-24mm.  Expect to spend at least $200 for an entry-level scope, or up to $1,000 for all the stuff I’ve listed here.  Anything less than $200 (OR anything from Costco, Walmart, Kmart, or other similar stores) is just plain junk and not worth your time, unless you’re looking for a good dust collector.


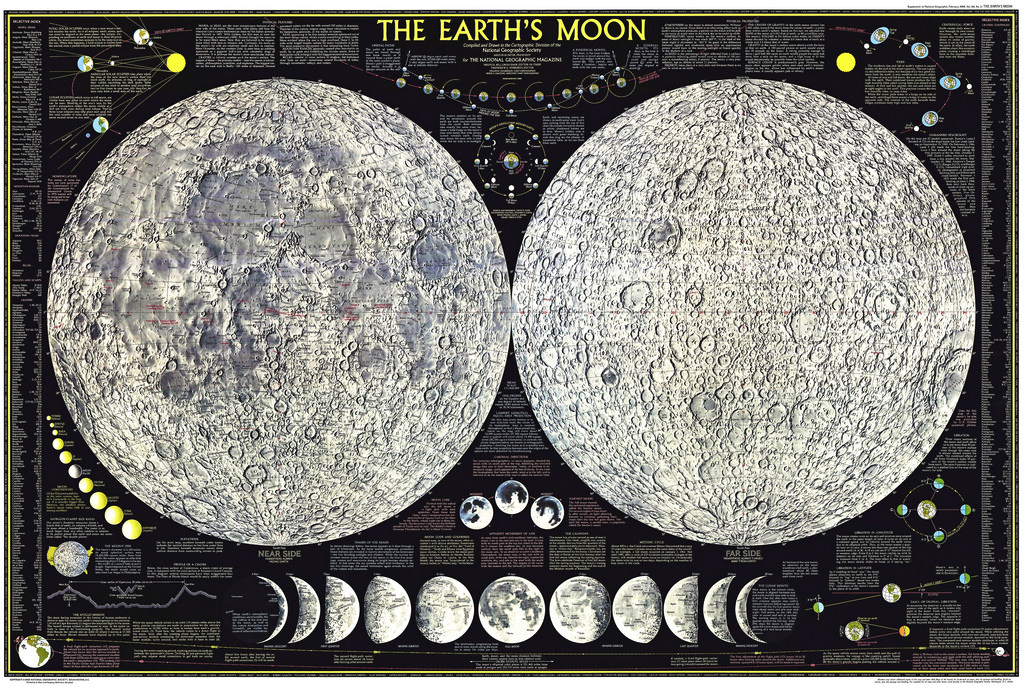
For telescopes under $100, you have two options: First Scope by Celestron, and the Galileoscope. They are both small, compact, and use plastic mirrors and lenses, but it does give you the same images Galileo himself saw 400 years ago. These are the only two I’ve found that are even worth the money. Don’t forget to arm your kids with a moon map so they use their new scope easily!


If you still are thinking about getting a cheap scope, here’s the bottom line: I hear about MORE kids and parents than you’ll ever want to know that have gotten so excited about a new telescope, only to get frustrated and disgruntled, and eventually not only trashing the telescope but also their whole interest in astronomy. Getting a cheap telescope is the fastest way to kill your child’s passion for astronomy. This goes for microscopes and binoculars, too. You’ll find when you invest up front, the rewards just keep coming and coming for years beyond what you ever expected.


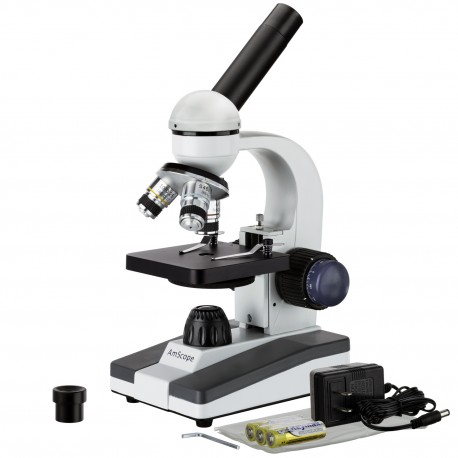
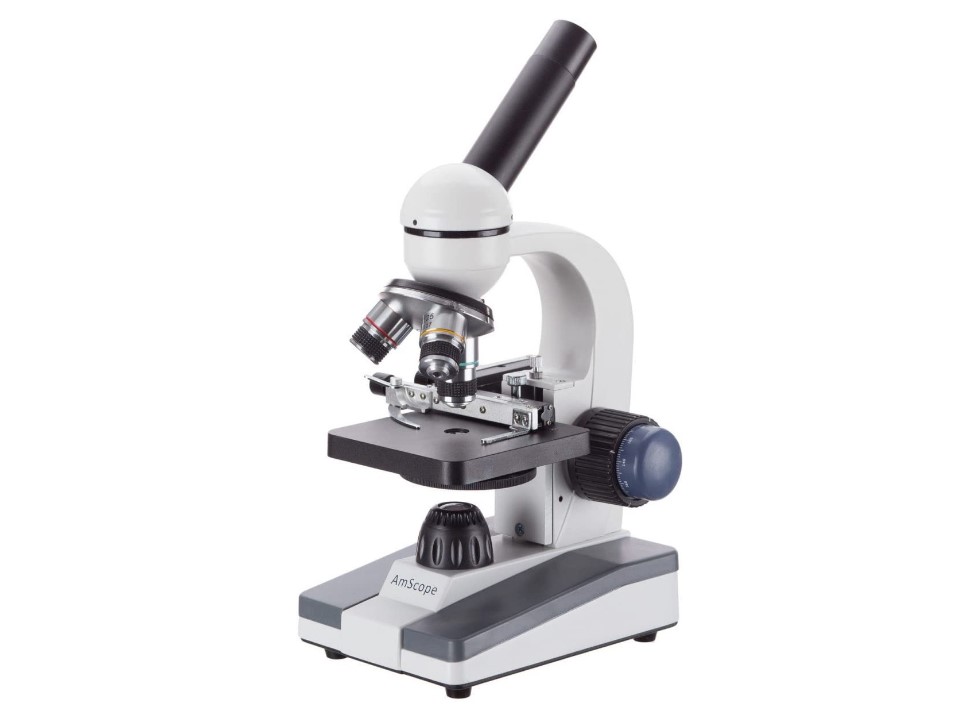
Microscopes This is another popular gift item. There are many good scopes out there for kids, AmScope are the ones I’ve used in my classes with kids and have worked out the best over the years. You can look at their best microscopes here.


Whichever you choose, make sure it’s set up with a 10mm for the eyepiece and a 4X, 10X, and 40X at the objective, and also has a mechanical stage, and a mirror if you’re planning to use it int he field outdoors (otherwise, choose a corded model with LED lighting).  Also add a box of microscope slides, tools like tweezers and vials, coverslips, and a basic staining kit and you’ll be set!


Favorite Science Books

Check these out at your local library to see if you think your child will like them.


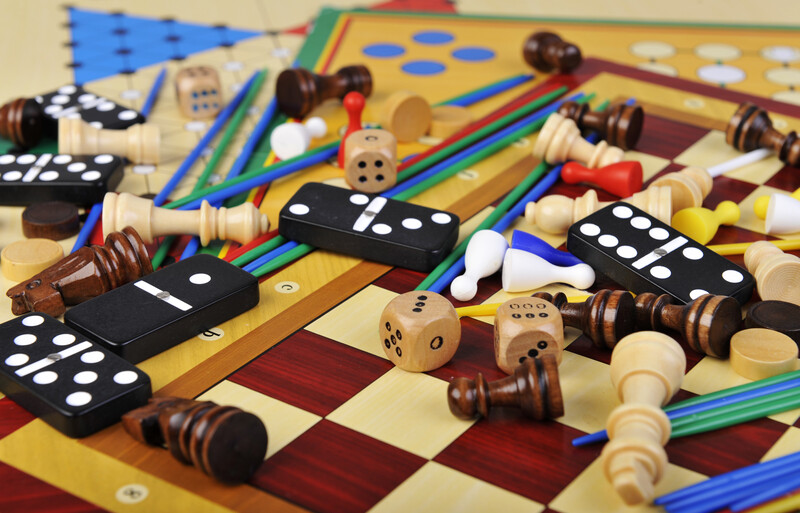
Science Games and Puzzles

  • Space-opoly (My kids love my version of the classic Monopoly) This is FREE for you to download.
  • Chemistry Period Table Board Game by Ellen McHenry This is FREE for you to download.
  • Periodic Quest This game won numerous awards and is a recent release. It’s complicated enough for your 12 year old.
  • Chemistry Card Game by Ellen McHenry This is FREE for you to download.
  • Elementeo developed by a very talented school-age student which teaches kids the characteristics of the periodic table of the elements using a game structure similar to Magic card game.
  • Robo Rally This game is a regular in our house, especially since we’ve started making our own board elements.
  • The Way Things Work Board Game is fun and creative, and we’ve added our own elements to it as well!
  • Power Grid Board Game is a regular, and it’s fun to see kids and adults alike struggle to balance limited resources, profitability, and power issues at once.
  • Go Venture is the only entrepreneur board game I’ve ever found. It’s made by a company that makes business simulations for grown ups!
  • Black Hole Game Written and created especially  by scientists! This is FREE for you to download.
  • Constellation Board Game Plays northern hemisphere on one side and southern on the other!
  • Equate the Math version of Scrabble, which is great for kids that are getting the hang of arithmetic
  • Mathematician Dice for your college math student with more “math geek” fun toys here!
  • Chess find a 34-piece set (with four queens) and a vinyl mat
  • Iron Puzzles – these are a favorite in our home! You can’t break them, and the first two levels are easy enough to frustrate adults.
  • Perplexus is one of four different maze balls that my kids keep in the car.
  • Create-A-Story Board Game – since my kids love to write, this is a natural hit for us.

Cheap and Inexpensive Science Gift Ideas

If you feel that you getting each of your kids their own telescope is not in your budget (and I totally understand this), here’s some great news! This list below is a set of ideas that range from FREE to under $100. While I still think it’s important to start a pickle-jar savings account for those higher-priced items, here are a few ideas to get you started when you need to be on a shoestring.


Worst Science Gifts

Trust me – you’ll be glad you avoided the most common pitfalls eager parents fall into when trying to find the ‘perfect present’ for their child. You know these ones – the kind of gifts that makes kids sigh, frustrate them, or find themselves stuck on the top shelf to gather dust. You can read about these and why they made it to this list right here.


  • Cheap telescope, microscope, or binoculars from places like Costco, Target, or other major department-type of stores. Any telescope that says the power rating on the box should be avoided like moldy spam. Telescopes aren’t about power magnification – they are about light collecting ability, which is measured in mirror (or lens) diameter. Microscopes should be durable and not plastic, and binoculars should have real lenses in them. Read the section above about which one is the right one for you.
  • Science kits in a box These can be hit or miss. Some science kits are great – I love the ones from Radio Shack and Thames & Kosmos. The biggest problem with these is that most of them are cheap knock-offs made of little plastic pieces that if they break, you have to scrap the whole thing. The other problem is that they are expensive, and that they only make one specific project, which doesn’t leave any room for creativity, imagination or innovation… which is what science and engineering is based on.
  • Science books I am a total reading buff, so saying that books are on the worst list makes me cringe! But I have to admit, there are so many bad science books out there that I have to put at least a yellow caution sign about which ones to pick.  Keep an eye out for stale and dry, flat boring, or just plain wrong books out there with flashy pictures and little to no science in them at all. See above for my recommendations for books and magazines.
  • Science toys that are experiments already done for you These are actually quite the rage right now, which is not surprising given the “gotta have it now” mentality that surrounds us everywhere. These are toys that were once great science projects or experiments, but have been mass produced so you can just buy the end result, like airzookas, hex bugs, and stomp rockets. It takes something away from the magic if you can just “buy it” right without building it yourself. Kids only play with these items for a very short period of time, and since they didn’t build it themselves, there’s no reason for them to really appreciate it or play with it long term. Some of these can be fun to play around with and get inspired from, just leave them in the store when you’re done.


This may be obvious, but…

Get a box full of all the materials needed for the e-Science project your kids have been hounding you about the most. Whether it’s the Laser Light Show, the underwater R.O.V. robot, the Trebuchet, the Laser Door Alarm, the Crystal Radio, the Space-Age Laser Communicator, or a special Robot they have in mind… you’ll  be sure to make their day with the homemade inventor’s dream gift. Don’t forget to take pictures as they build!


There you have it – ideas and projects to set your mind spinning and get you moving in science. Let us know how it goes! And if you have more ideas of your own, please share them in the comment box below!


Hydrogen peroxide is used to fuel rockets, airplanes, and other vehicle engines. Chemistry teachers everywhere use it to demonstrate the power of a catalyst.


To speed up a reaction without altering the chemistry of the reaction involves adding a catalyst. A catalyst changes the rate of reaction but doesn’t get involved in the overall chemical changes.


For example, leaving a bottle of hydrogen peroxide outside in the sunlight will cause the hydrogen peroxide to decompose. However, this process takes a long time, and if you don’t want to wait, you can simply toss in a lump of charcoal to speed things along.


The carbon is a catalyst in the reaction, and the overall effect is that instead of taking two months to generate a balloon full of oxygen, it now only takes five minutes. The amount of charcoal you have at the end of the reaction is exactly the same as before it started.


A catalyst can also slow down a reaction. A catalytic promoter increases the activity, and a catalytic poison (also known as a negative catalyst, or inhibitor) decreases the activity of a reaction. Catalysts offer a different way for the reactants to become products, and sometimes this means the catalyst reacts during the chemical reaction to form intermediates. Since the catalyst is completely regenerated before the reaction is finished, it’s considered ‘not used’ in the overall reaction.


In this experiment, you’ll see that there’s a lot of oxygen hiding inside the peroxide – enough to really make things interesting and move around! You’ll also find out what happens to soap when you bubble oxygen through it. Are you ready?


Please login or register to read the rest of this content.

Click here to go to next lesson on Collision Theory

Need a little extra help? We’re scheduling a private tutoring session on Wednesday 11/4 at 4pm Pacific. Bring your questions and let’s get your homework problems done!


High Advanced Physics Private Tutoring Session: Get your physics and math homework done with a college student!


12/9 (Wed) 10am


Use ZOOM Link (sent to you in a separate email over the weekend) to connect to class.


There is no charge for this session. We will be walking you through the high school physics section of the website and answering your homework questions individually. Approx 45 minutes in length. Please bring your questions and homework!


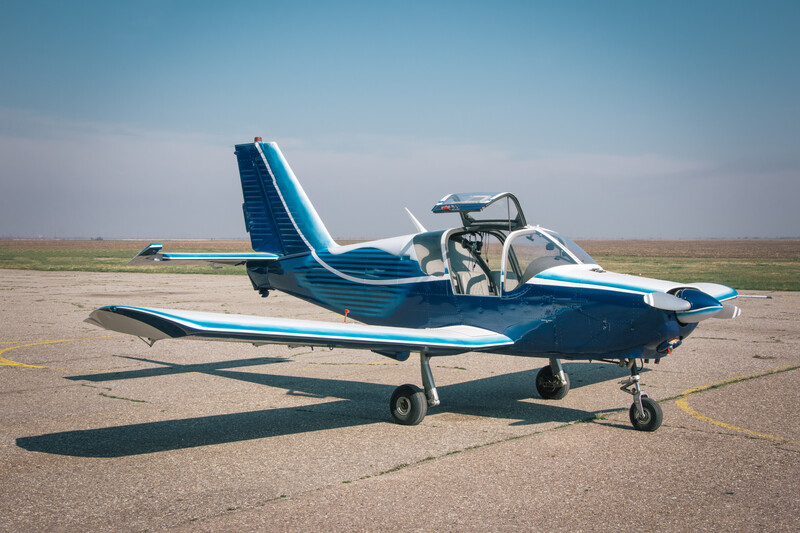
If you are curious how airplanes fly without flapping like a bird, how to read aircraft instruments and tell which runway to land on, what it’s like inside a real cockpit, then this is the class for you! Aeronautics is the art and science of flight. Aviation is the practical side of aeronautics. It’s the design and building of airplanes, and how to fly the thing from point A to B. Aerodynamics is the motion of air, and the way air interacts with aircraft, like how air flows over a wing.


In November, we went on an Airplane Field Trip with a real flight instructor! During class, students were able to ask questions and interact with the pilot in this online learning field trip class. Here’s the video recording:


We will be doing another field trip soon, so please look for an email about this in the coming months. I hope you enjoy the kesson!


This is a recording of a recent live teleclass I did with thousands of kids from all over the world. I’ve included it here so you can participate and learn, too!


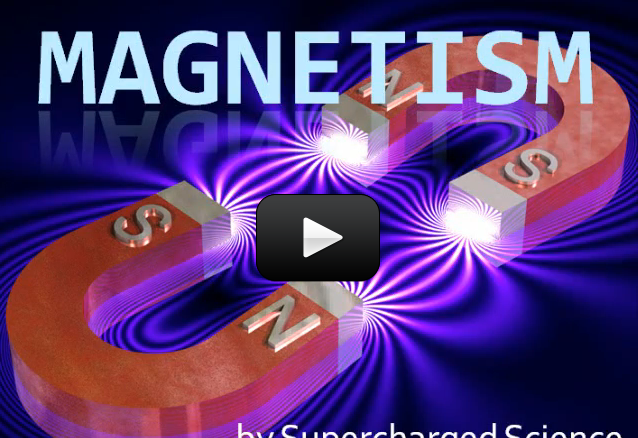
Discover how to detect magnetic fields, learn about the Earth’s 8 magnetic poles, and uncover the mysterious link between electricity and magnetism that marks one of the biggest discoveries of all science…ever.


Materials:


  • Box of paperclips
  • Two magnets (make sure one of them ceramic because we’re going to break it)
  • Compass
  • Hammer
  • Nail
  • Sandpaper or nail file
  • D cell battery
  • Rubber band
  • Magnet Wire

Optional Materials if you want to make the Magnetic Rocket Ball Launcher:Four ½” (12mm) neodymium magnets


  • Nine ½” (12 mm) ball bearings
  • Toilet paper tube or paper towel tube
  • Ruler with groove down the middle
  • Eight strong rubber bands
  • Scissors
Please login or register to read the rest of this content.

You can go your whole life without paying any attention to the chemistry behind acids and bases. But you use acids and bases all the time! They are all around you. We identify acids and bases by measuring their pH.


Every liquid has a pH. If you pay particular attention to this lab, you will even be able to identify most acids and bases and understand why they do what they do. Acids range from very strong to very weak. The strongest acids will dissolve steel. The weakest acids are in your drink box. The strongest bases behave similarly. They can burn your skin or you can wash your hands with them.


Acid rain is one aspect of low pH that you can see every day if you look for it. This is a strange name, isn’t it? We get rained on all the time. If people were dissolving, if the rain made their skin smoke and burn, you’d think it would make headlines, wouldn’t you? The truth is acid rain is too weak to harm us except in very rare and localized conditions. But it’s hard on limestone buildings.


Please login or register to read the rest of this content.

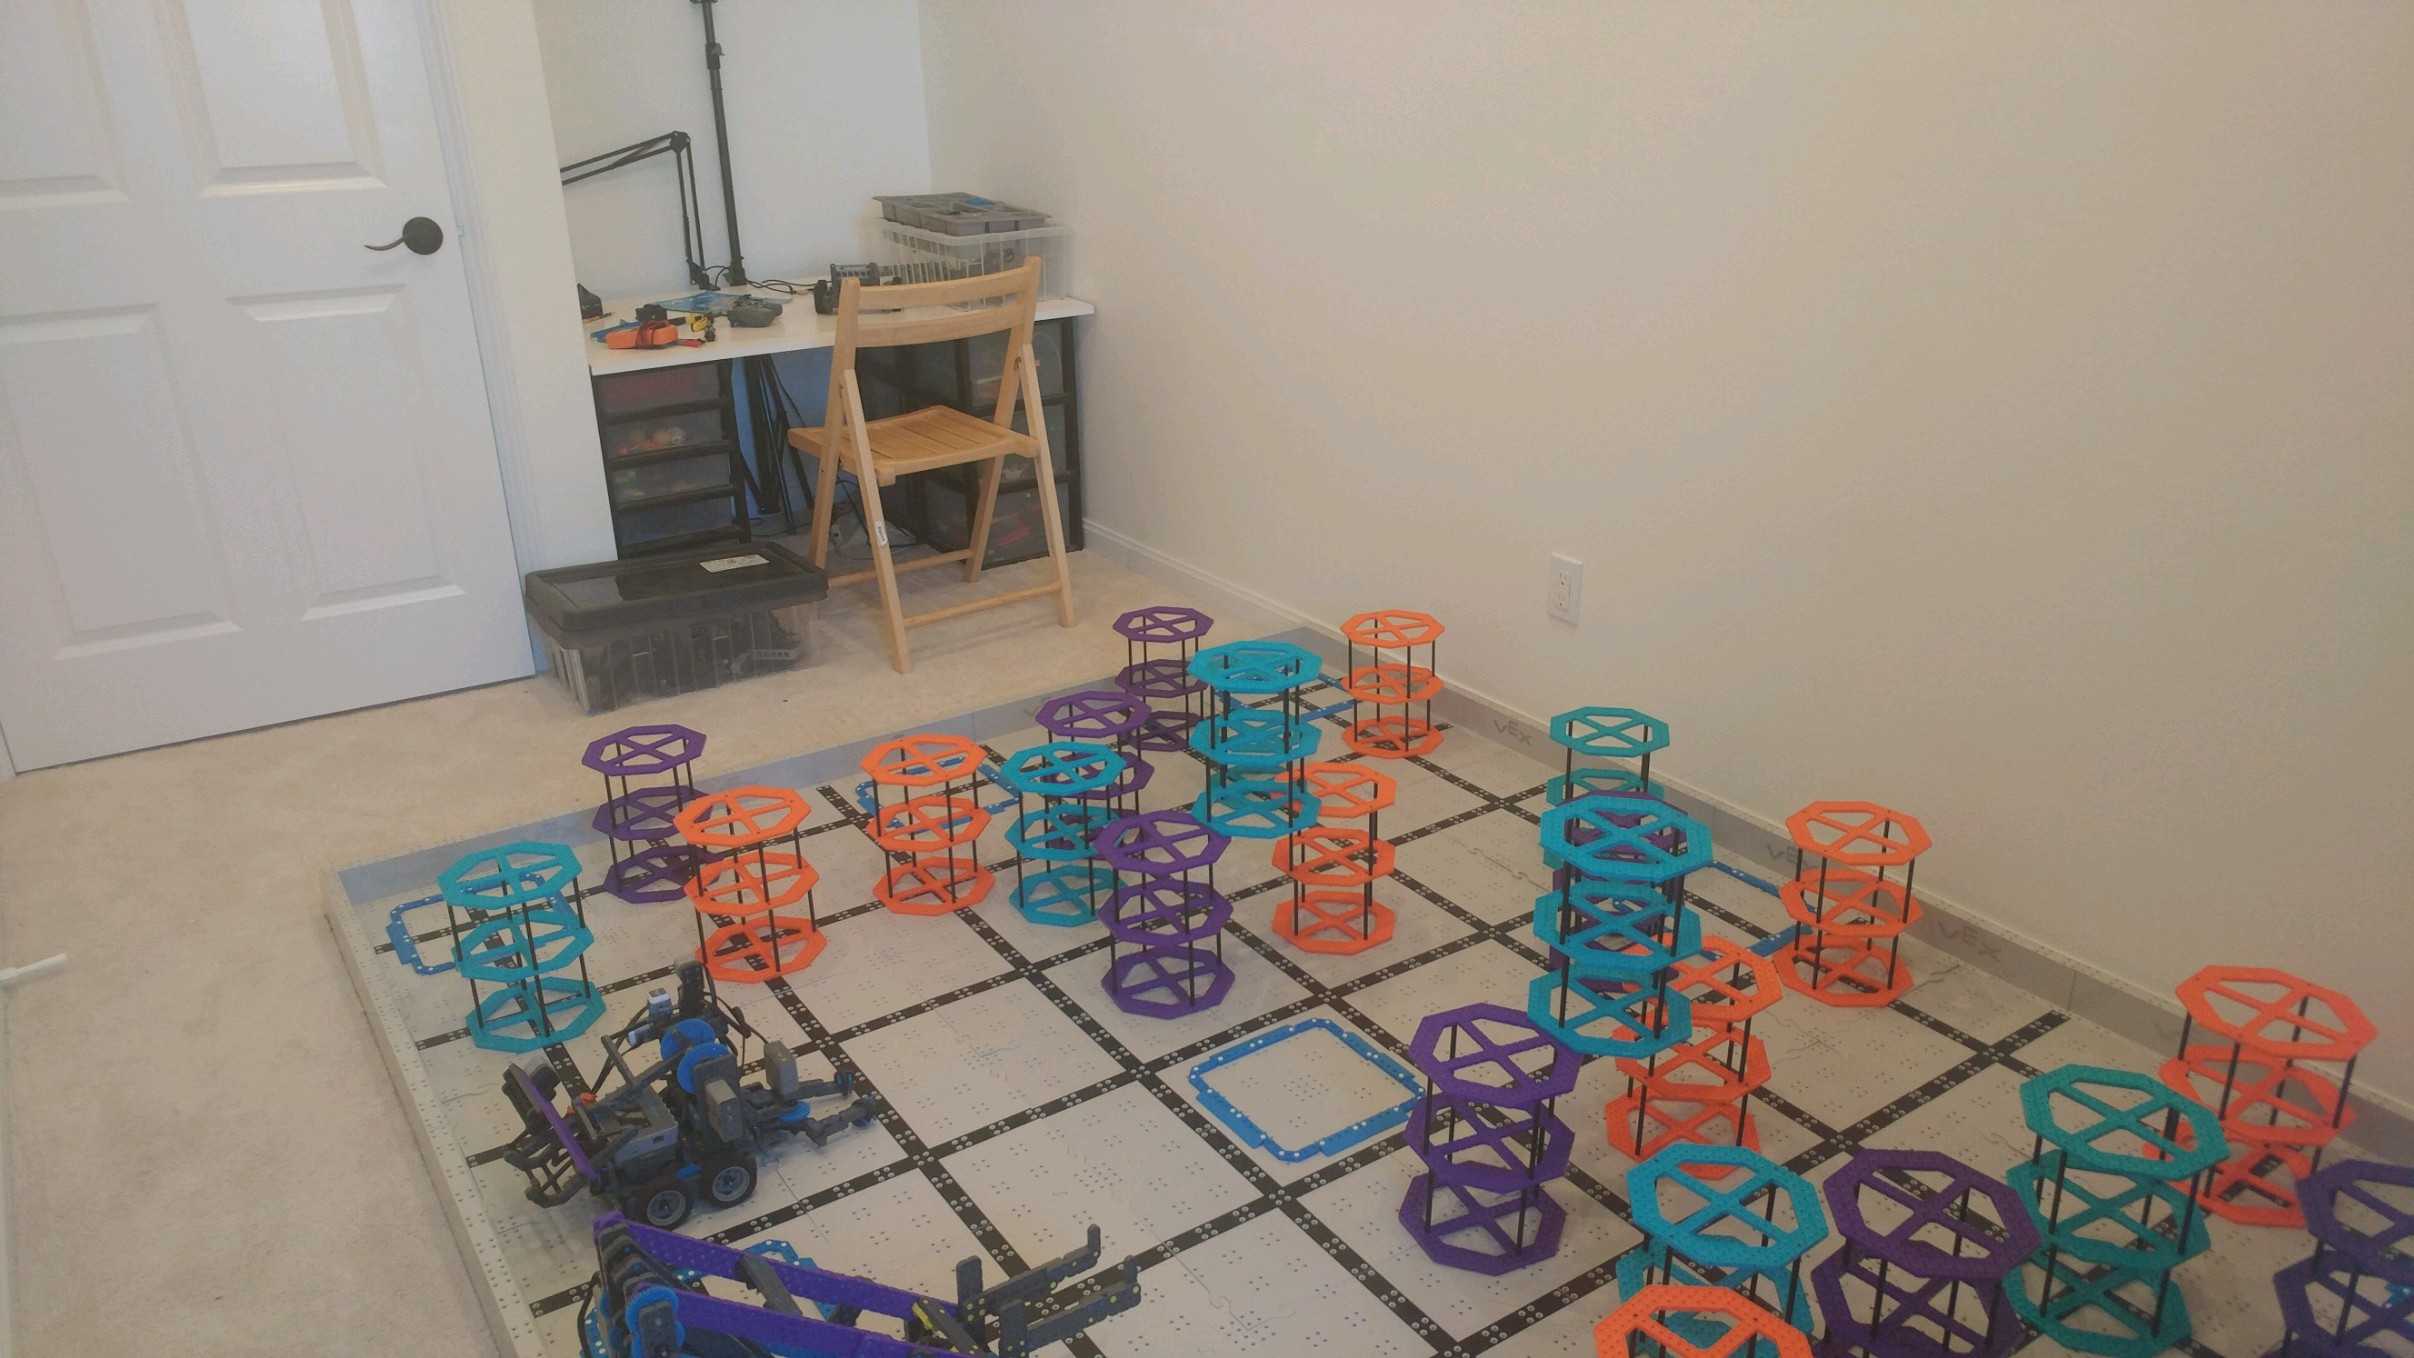
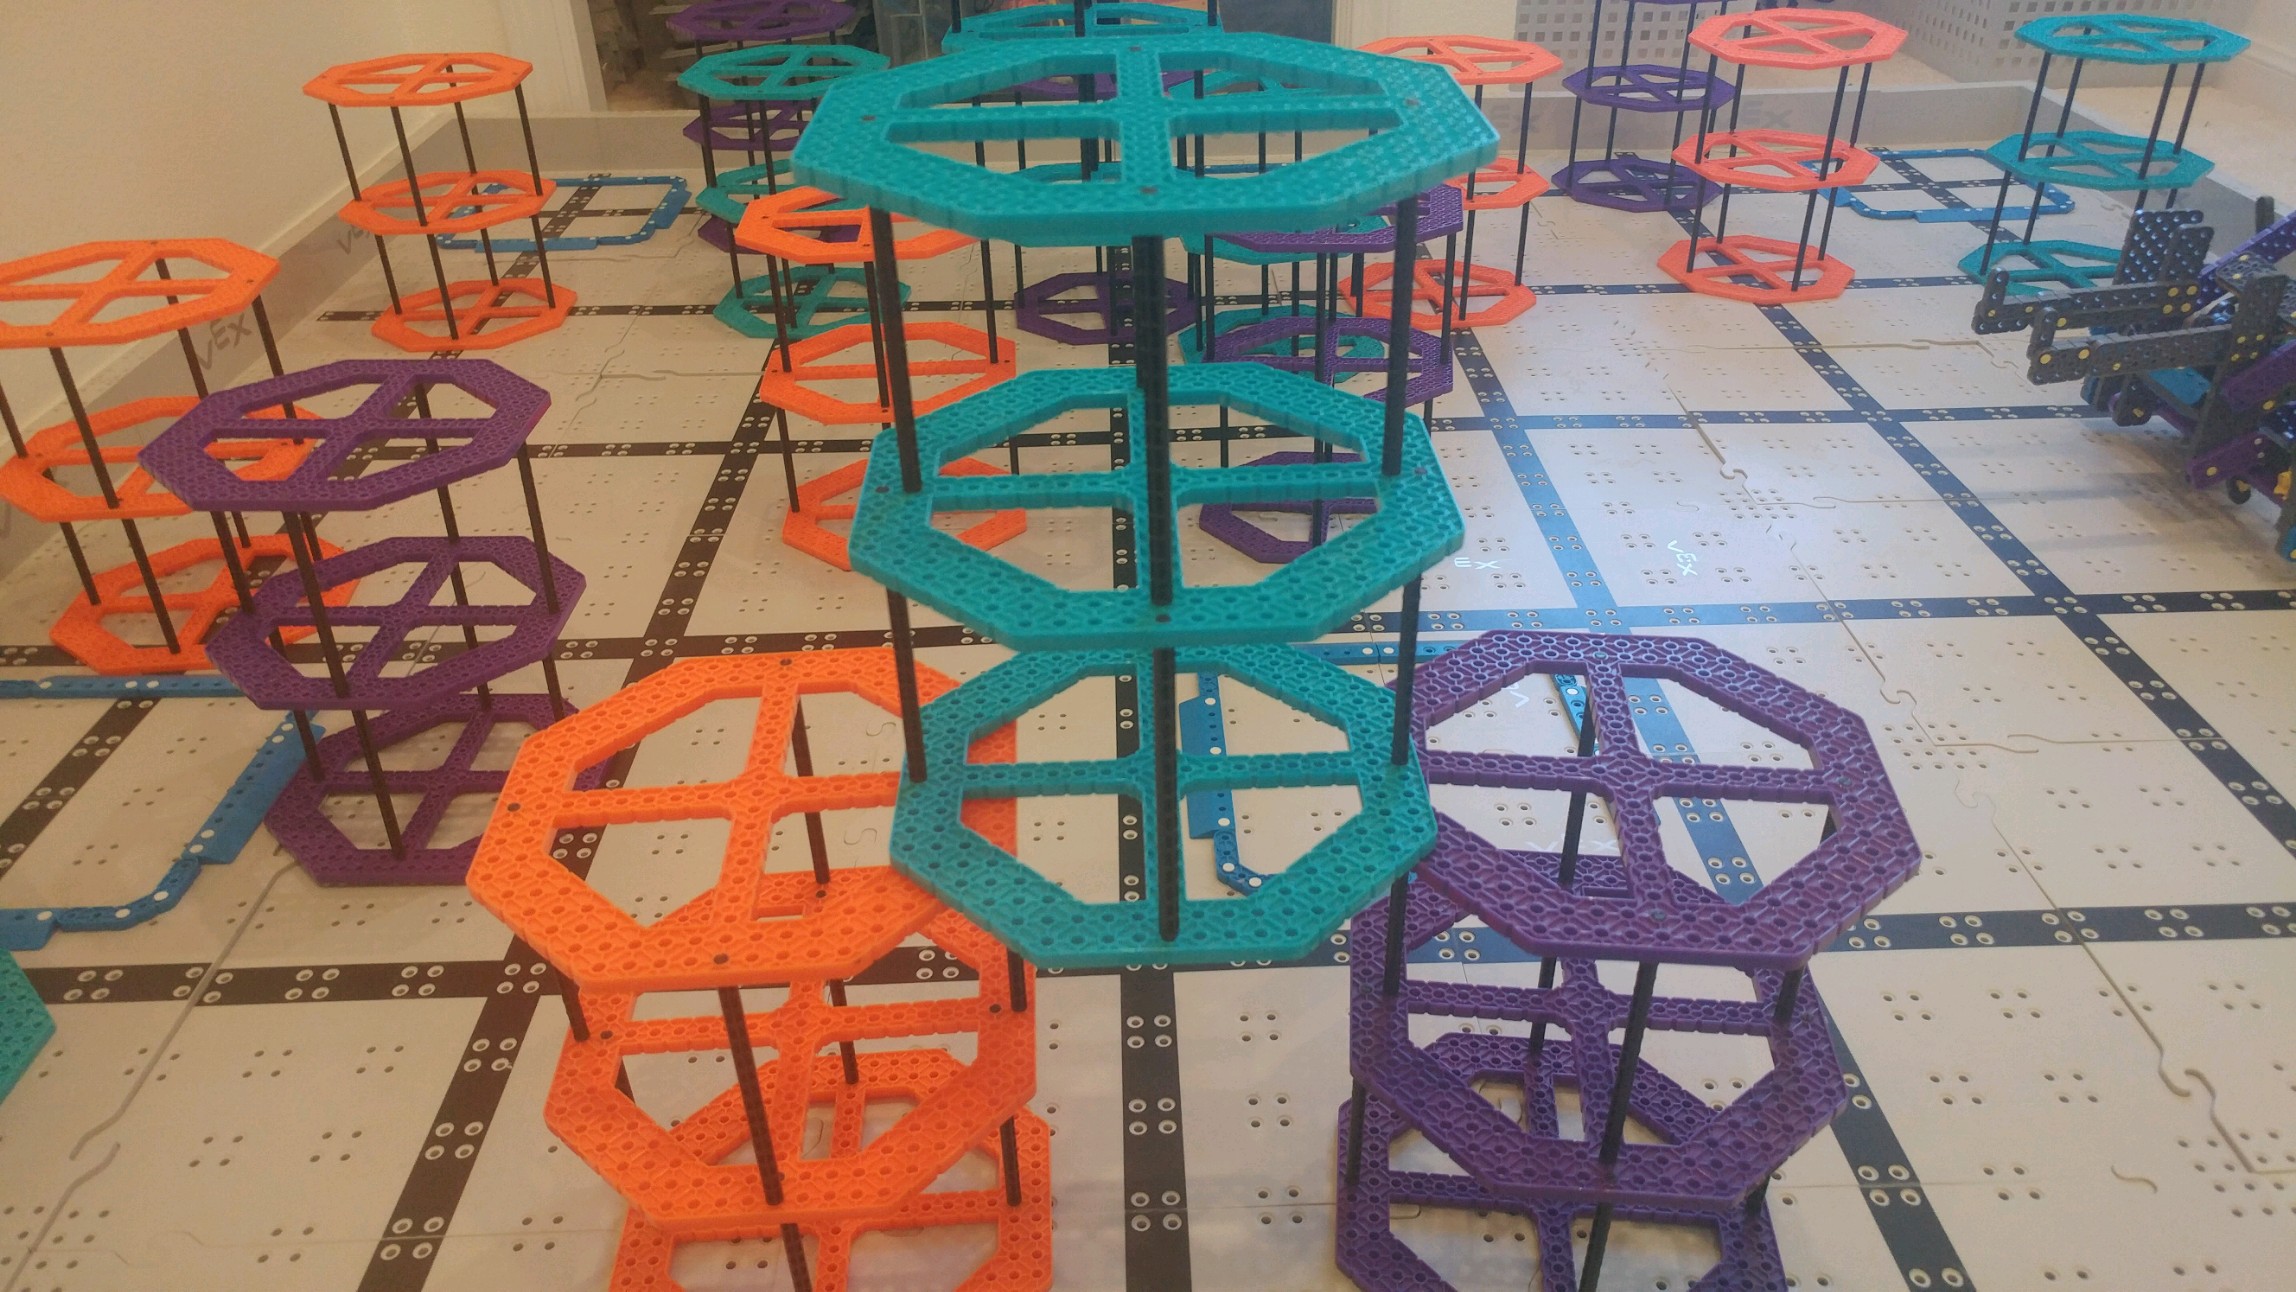
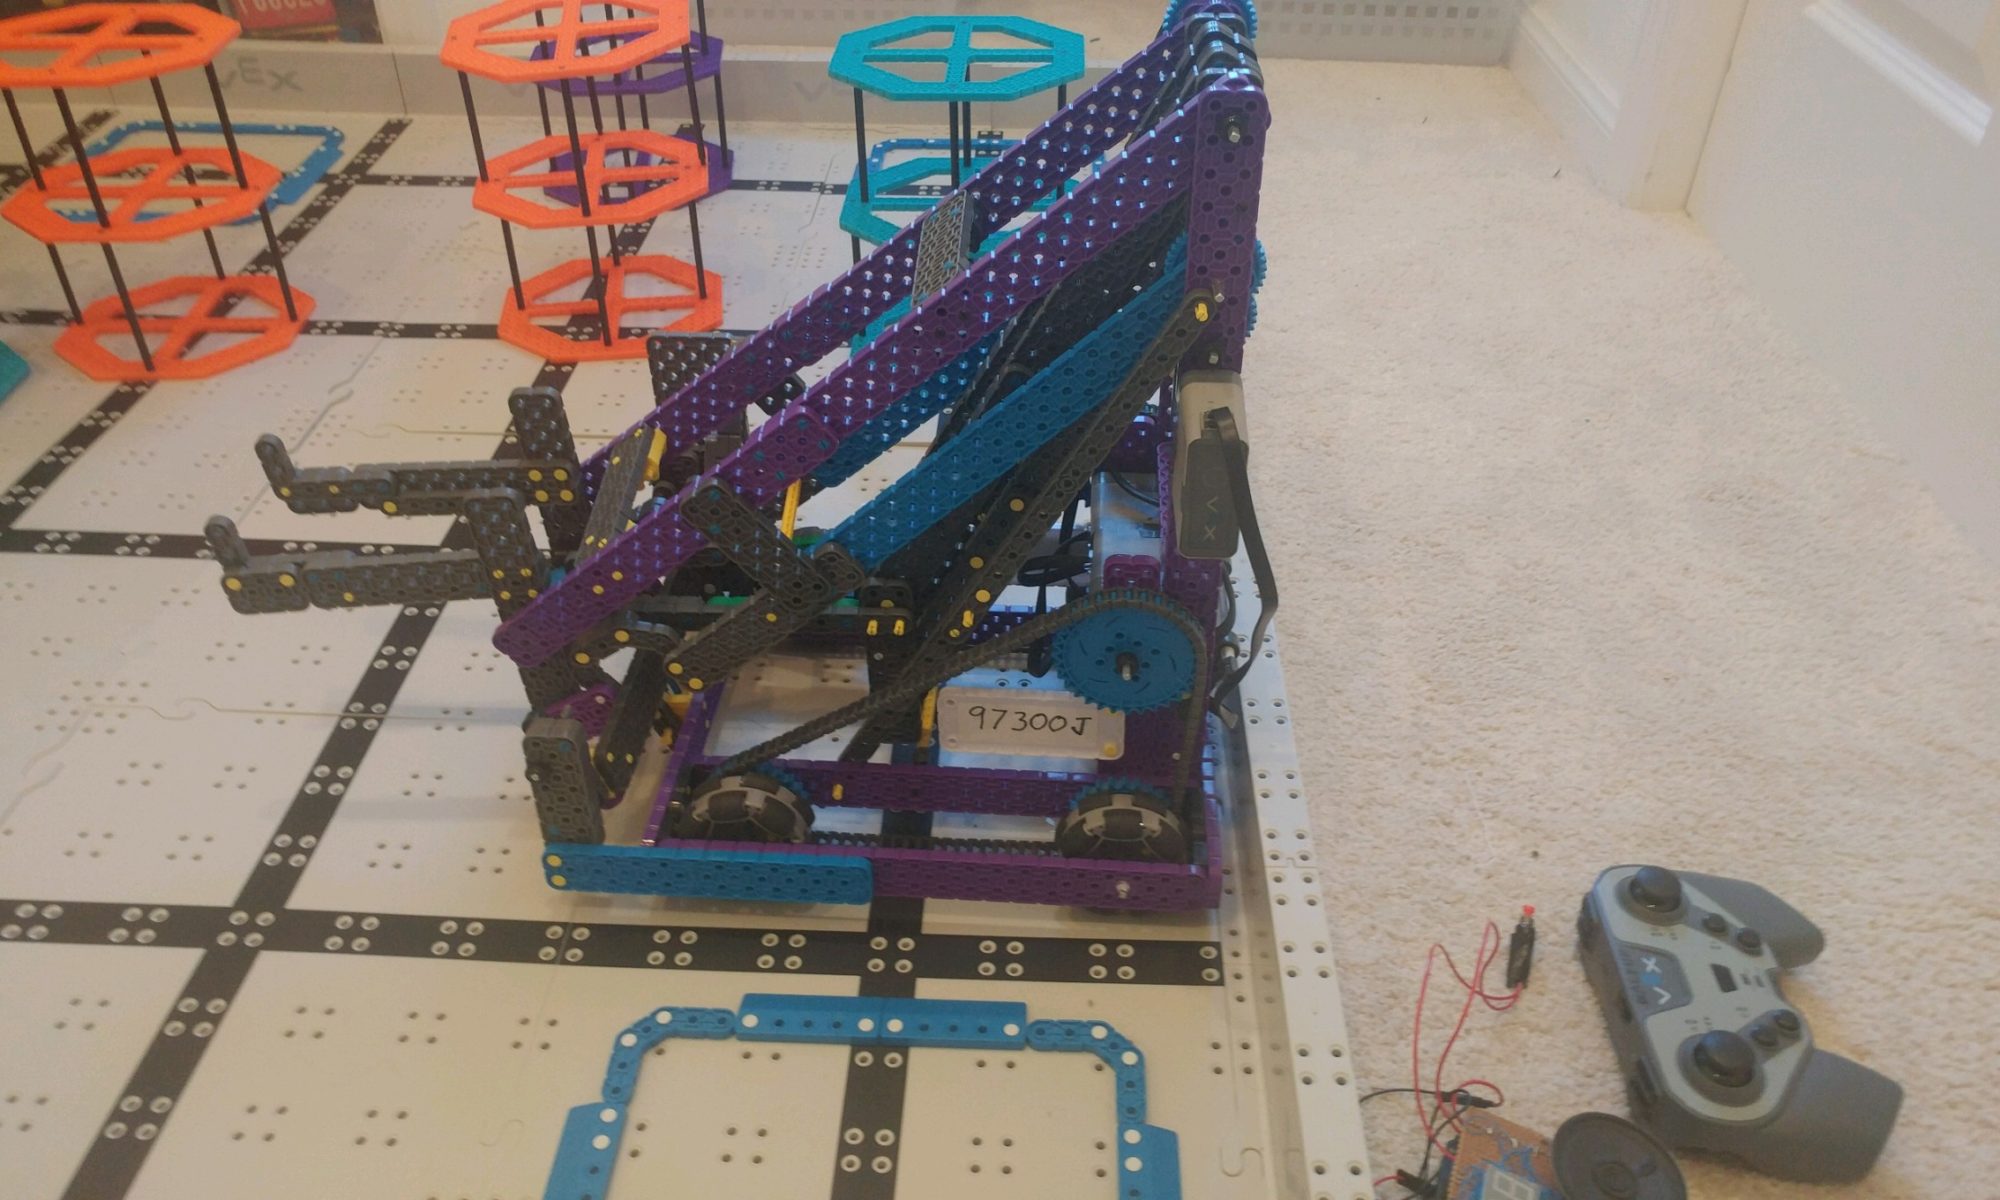
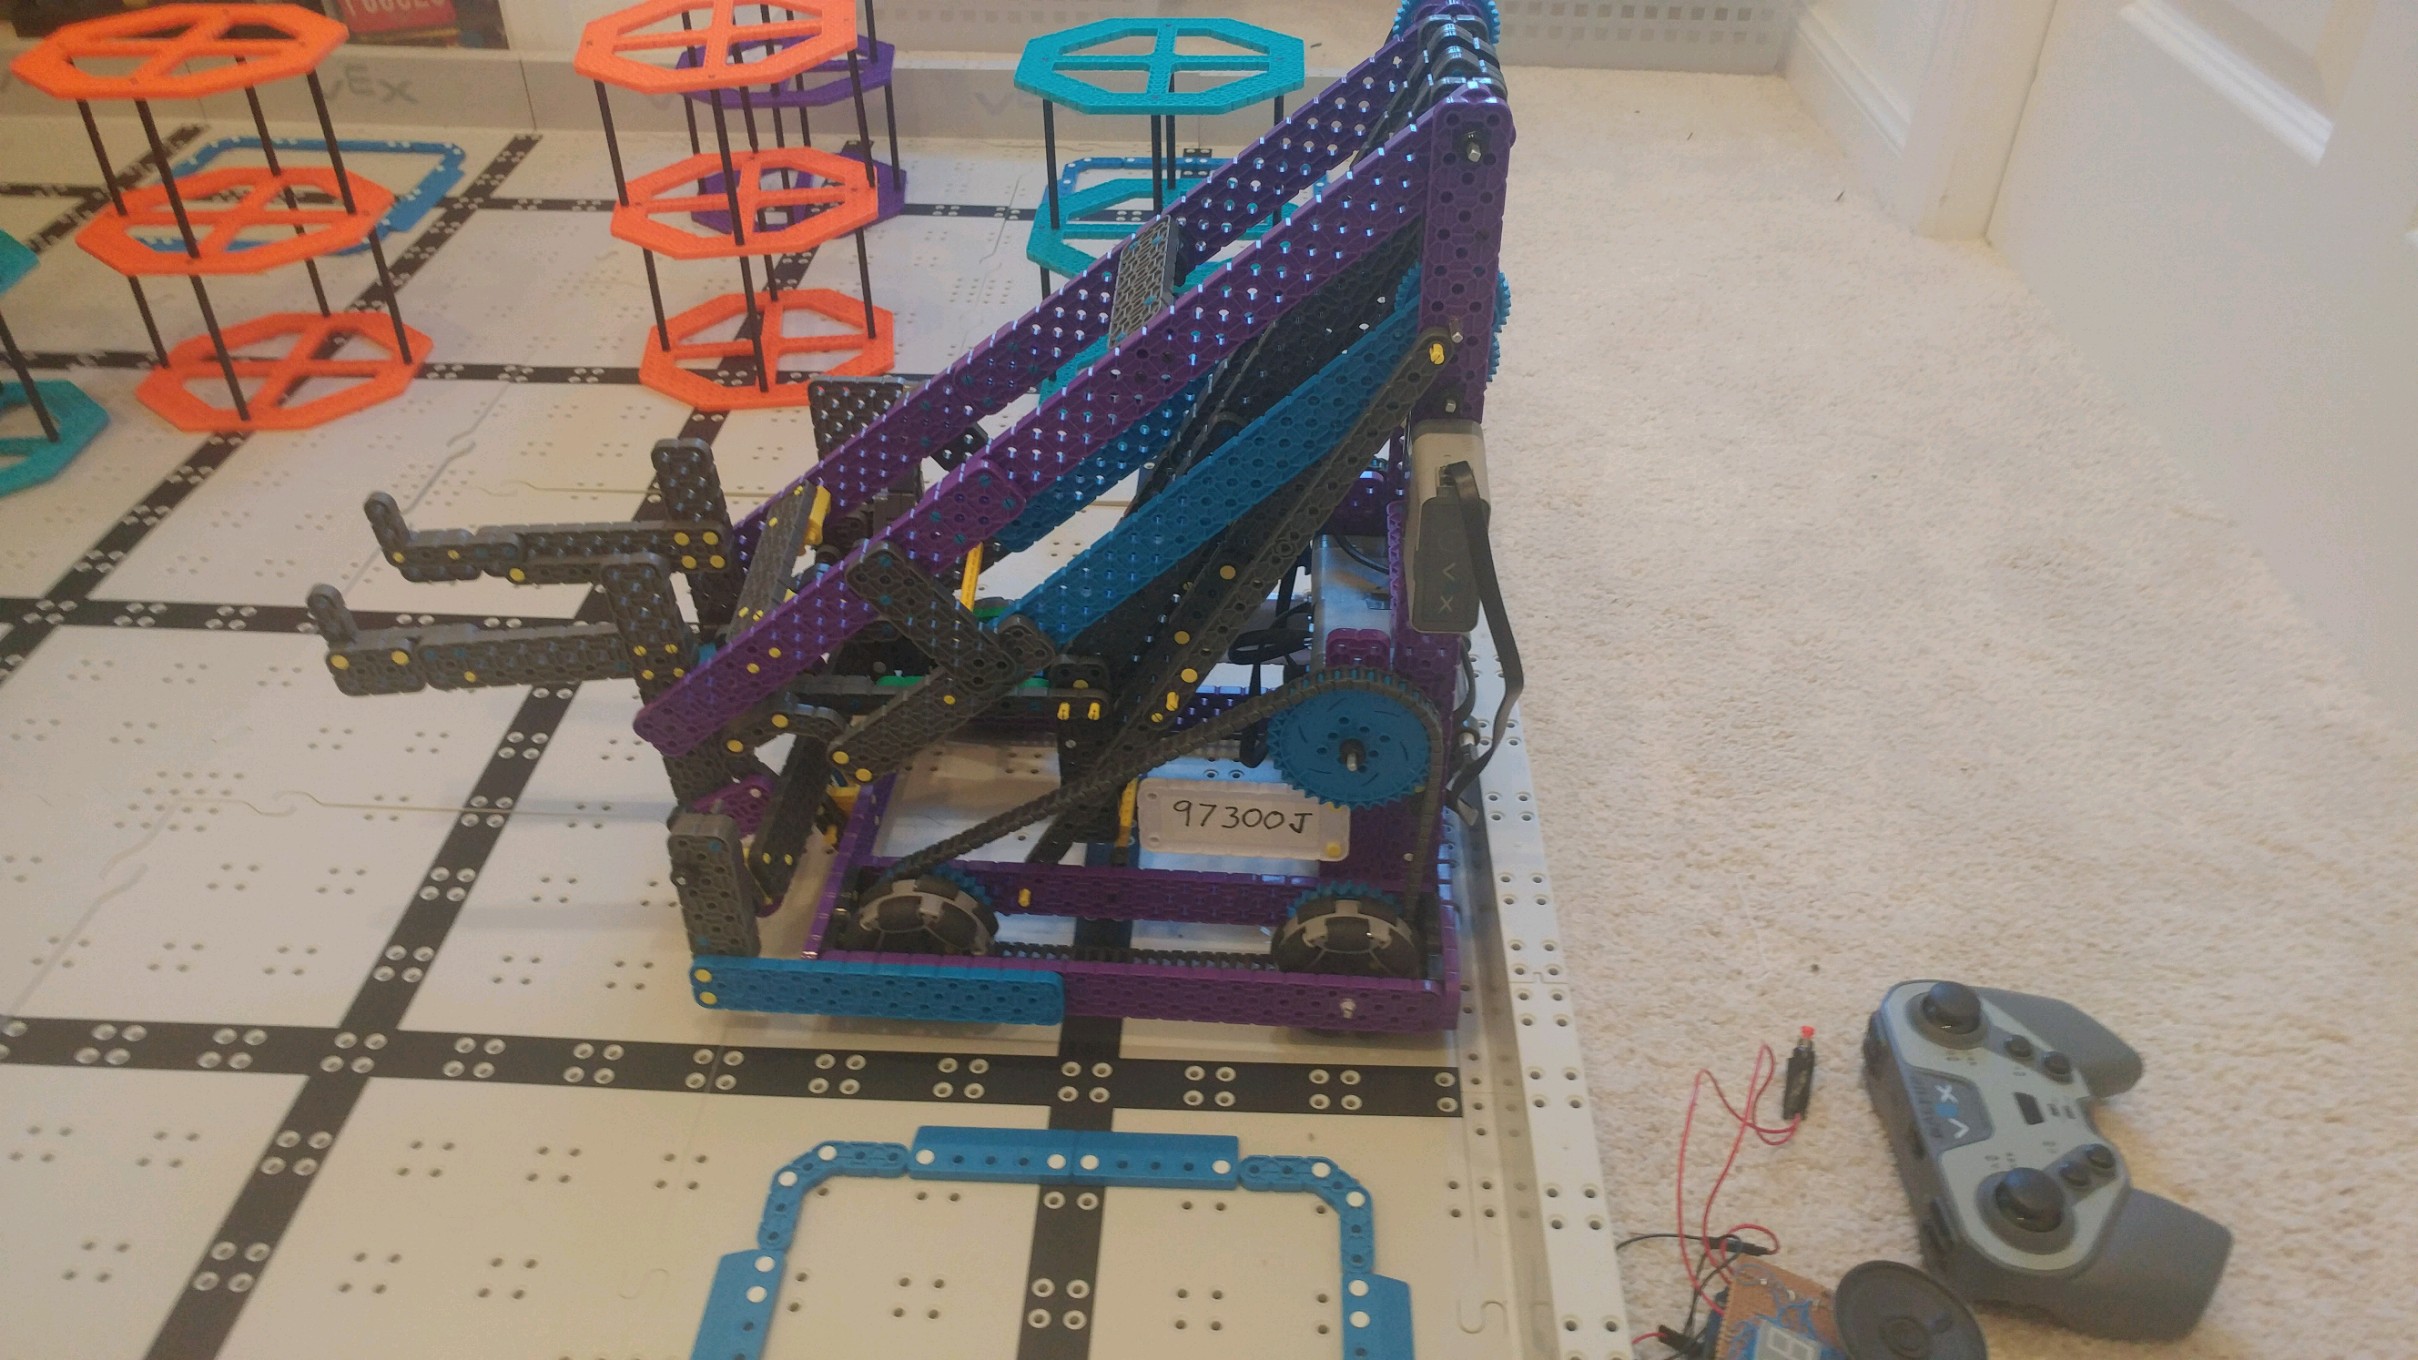
The VEX IQ Robotics Competition for elementary and middle school students is open to teams of two or more kids who build a robot to compete in local competitions. While it’s really exciting and fun, it’s easy to feel overwhelmed due to the open-endlessness, and that’s what we’re going to hep you with.


Every year, a new game is released (you can purchase the 2020-2021 game elements here), played on a 6 foot by 8 foot field. You’ll need a VEX IQ Super Kit, which contains all the pieces that you will need to snap together and build a robot for competition!


Here is the first step to building a competitive robot from your Super Kit to compete in a competition.


Great  job! You have now built half of your drive train. The video below will show you how to build the other half.


Now you have to halves of your drive train. Play the video below and learn how to connect them together, add on the brain, and pair your robot with your controller.


Congratulations! You have completed the Drive Base for your robot. Drive it around, learn how to control it, and come back to the next video when you are ready to add an arm and claw.


Your robot now has giant pieces sticking up from the front; the uprights for your arm! To learn how to attach some supporting members and a sensor along with some gears, click the video below.


In this next video you are going to learn how to put a rack on the back of your robot to store game objects when you are carrying them.


Now that you have your rear rack built and installed on your robot, it is time to build the arm and claw. The claw is great for picking up and moving objects around your house, or game elements from some VEX IQ challenges. Check out the video below to get started.


Now you have finished building the arm and claw, and you now have a completely built Clawbot! Now you need to learn how to control it, how to change settings on the brain, and some other quick tips on how to make your robot work even better.


Congratulations! You are now driving a complete Clawbot that can pick things up, move them around, and put things in the rear rack! Next, you are going to learn some arm and claw modifications to make your robot better for specifically the 2020-2021 VEX IQ Challenge: Rise Above.


You can buy the 2020-2021 game field and elements from the official VEX website here, or you can buy them here if you want free shipping.


Recommendations for Going Further

Want to learn more about how to build a better robot, and even compete in an online robotics competition?


Joseph’s VEX IQ Robotics


Ben’s: Robotics Channel


Great Minds Robotics


Batman


REC Foundation


VEX Robotics


Here are some good individual videos:


Video #1


Video #2


Here is a Chinese Event from last year:


Day 1


Day 2


Day 3


Here is an intro video for VEX IQ


You can also go to HERE to find all the VEX EDR/V5, VEX IQ, and VEX U match video archives from nearly all the past World Championships.


This is my personal reading list for my own kids. These are all the books we’ve read up through about 6th grade, and we’ve read them aloud and with our kids.


When I was growing up, I was a very avid reader… like 1-2 books per day. At 200-400 pages each, you can image how many books I read!


What I didn’t realize is how much of my character and values were shaped with those books!


I did not have strong role models within my family growing up, so I found my role models in my books. I spend a lot of time with the characters in the stories and biographies I read, and I realize today how much of who I am was shaped by specific titles.


As a parent, I realize that this can be really useful in teaching strong values and life lessons to my kids. Sadly most books published today are pure “eye candy”, meaning that they are like sugar for the body – empty calories that do not contribute to what the body needs. There’s no character development, life lessons… nothing in there for kids to model their behavior after that I’d want to see in my house.


It’s so easy to publish a book today compared to 50 or 100 years ago, so it’s no wonder the market is flooded with books! It can be hard to tell the good from the junk. I want more for my kids, and so I have spent a lot of time and energy over the years cultivating a list of books that I think are the important for them to learn from.


So here’s my reading list – I have more titles now that they are older, but these are the ones that I am really excited about sharing with you. Also, I didn’t just hand them the book. We would read them *together*, which also means I taught them not only how to decide if a book is good for them to read (there’s a whole art in learning how to choose which book to spend your time on), but also how you read a book.


It surprised them when they learned that you don’t have to read every single word, you don’t have to read it all at the same pace, and you don’t even have to like the ending. In fact, most authors of decent books have over a dozen different endings they come up with before deciding on the one that is to be published in the book, so we make it a game to figure out what all the possibilities are.


The older ones are now starting to learn how to see the author in what they read, that invisible connection that binds reader and author in a woven tapestry of words. So here’s my reading list – I do hope you enjoy it!


Click here to download my Book Challenge Reading List!

On Friday, June 19th at 10:00 AM Pacific Time I am hosting an ASTRONOMY SCAVENGER HUNT GAME. Your kids can tune in to participate and win prizes! I’ve sent you an email with all the details for classes for the week, including this one. It’s a Zoom call – please email us if you can’t find it!


We will be touring the Moon with amazing astrophotographer Dr. Lee Coombs from his private observatory . If you’ve ever noticed the interesting terrain and features and wonder what you can observe, this class is for you! We’ll start with the 5 day Moon and ending with the 11 day Moon, and you can see these features with binoculars as well as telescopes.
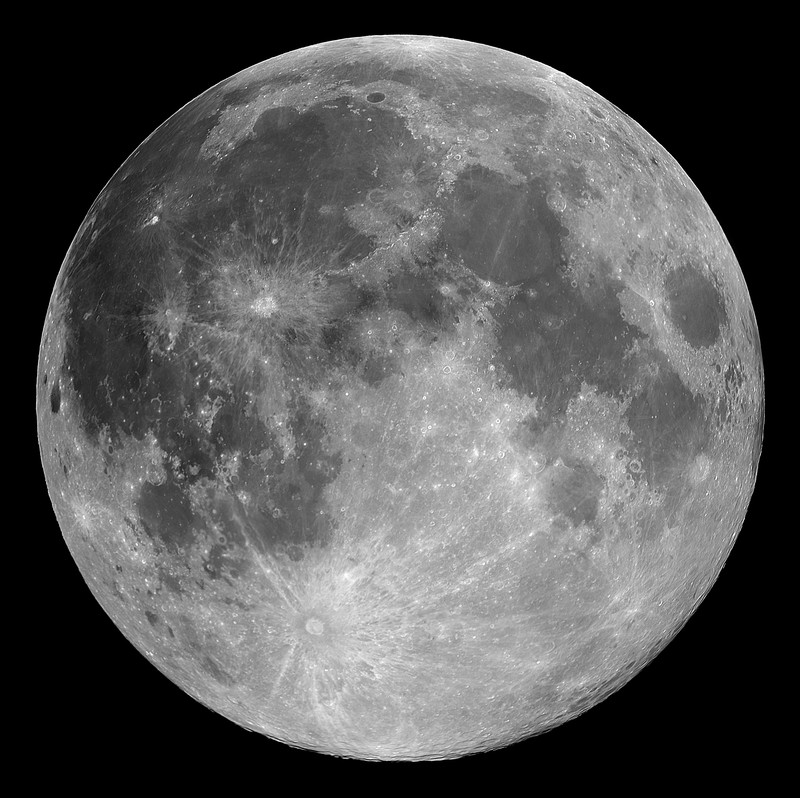


Find the current phase of the moon: Moon Calendar.


I will be posting the handout for this class in the LIVE CLASS section of the website under “Astronomy & Astrophysics”.


Connect to class through the link in your weekly emails (the one with the updates for the upcoming week).


This is a recording of a recent live teleclass I did with thousands of kids from all over the world. I’ve included it here so you can participate and learn, too!


Spark together electric motors, build homemade burglar alarms, wire up circuits and build your own robot from junk! Create your own whizzing, hopping, dancing, screeching, swimming, crawling, wheeling, robot during class. We’ll cover hot topics in electricity, magnetism, electrical charges, robot construction, sensors and more.


Please login or register to read the rest of this content.

This is a recording of a recent live teleclass I did with thousands of kids from all over the world. I’ve included it here so you can participate and learn, too!


We’re going to study electrons and static charge. Kids will build simple electrostatic motor to help them understand how like charges repel and opposites attract. After you’ve completed this teleclass, be sure to hop on over the teleclass in Robotics!


Electrons are strange and unusual little fellows. Strange things happen when too many or too few of the little fellows get together. Some things may be attracted to other things or some things may push other things away. Occasionally you may see a spark of light and sound. The light and sound may be quite small or may be as large as a bolt of lightning. When electrons gather, strange things happen. Those strange things are static electricity.


Please login or register to read the rest of this content.

This is a recording of a recent live teleclass I did with thousands of kids from all over the world. I’ve included it here so you can participate and learn, too!


Sound is a form of energy, and is caused by something vibrating. So what is moving to make sound energy?


Molecules. Molecules are vibrating back and forth at fairly high rates of speed, creating waves. Energy moves from place to place by waves. Sound energy moves by longitudinal waves (the waves that are like a slinky). The molecules vibrate back and forth, crashing into the molecules next to them, causing them to vibrate, and so on and so forth. All sounds come from vibrations.


Materials:


  • 1 tongue-depressor size popsicle stick
  • Three 3″ x 1/4″ rubber bands
  • 2 index cards
  • 3 feet of string (or yarn)
  • scissors
  • tape or hot glue
Please login or register to read the rest of this content.

This is a recording of a recent live teleclass I did with thousands of kids from all over the world. I've included it here so you can participate and learn, too Our solar system includes rocky terrestrial planets (Mercury, Venus, Earth, and Mars), gas giants (Jupiter and Saturn), ice giants (Uranus and Neptune), and assorted chunks of ice and dust that make up various comets and asteroids. Did you know you can take an intergalactic star tour without leaving your seat? To get you started on your astronomy adventure, I have a front-row seat for you in a planetarium-style star show. I usually give this presentation at sunset during my live workshops, so I inserted slides along with my talk so you could see the pictures better. This video below is long, so I highly recommend doing this with friends and a big bowl of popcorn. Ready? Please login or register to read the rest of this content.


Greetings and welcome to the study of astronomy! This first lesson is simply to get you excited and interested in astronomy so you can decide what it is that you want to learn about astronomy later on.


We’re going to cover a lot in this presentation, including: the Sun, an average star, is the central and largest body in the solar system and is composed primarily of hydrogen and helium.


The solar system includes the Earth, Moon, Sun, seven other planets and their satellites (moons) and smaller objects such as asteroids and comets. The structure and composition of the universe can be learned from the study of stars and galaxies. Galaxies are clusters of billions of stars, and may have different shapes. The Sun is one of many stars in our own Milky Way galaxy. Stars may differ in size, temperature, and color.


Materials


  • Popcorn
  • Pencil
Please login or register to read the rest of this content.

This is a recording of a recent live teleclass I did with thousands of kids from all over the world. I’ve included it here so you can participate and learn, too!


We’re ready to deal with the topic you’ve all been waiting for! Join me as we find out what happens to stars that wander too close, how black holes collide, how we can detect super-massive black holes in the centers of galaxies, and wrestle with question: what’s down there, inside a black hole?


Materials:


  • marble
  • metal ball (like a ball bearing) or a magnetic marble
  • strong magnet
  • small bouncy ball
  • tennis ball and/or basketball
  • two balloons
  • bowl
  • 10 pennies
  • saran wrap (or cup open a plastic shopping bag so it lays flat)
  • aluminum foil (you’ll need to wrap inflated balloons with the foil, so make sure you have plenty of foil)
  • scissors
Please login or register to read the rest of this content.

Welcome to our Start of the Academic Year!

Homeschool Curriculum Program Starting in September!
 
Next week starts the first week of the main Academic Curriculum for the year. For three months, September through November, we'll be exploring Physics of Motion, Sound and Light as well as Electricity & Magnetism. These are fundamental to all branches of science.
 
Our first week will be in Mechanics where we explore forces and gravitational fields. We start on Aug 30th for the year with two live classes each week, Mon and Tues at 10am Pacific.
 
STEP 1. Before our year starts, please download your Academic Packet for the year. This has my teaching schedule, material lists, experiment lists, everything you need to get started with my online program.
 
STEP 2. Gather the materials for September. The experiments we do in class as well as assign after class will use the materials from the list in the Academic Packet (page 16).
 
STEP 3. Tune into the live class on Monday at 10am. Aurora will introduce one science topic for 15 minutes, then demonstrate the experiment(s) students can do for the week. Students may choose which experiments to be completed. Aurora will also answer student's questions for 15-20 minutes while students begin working on their experiments.
 
IN ADDITION #1: Design challenges are longer projects that are announced on Tuesday and due the following Sunday.
 
IN ADDITION #2: Parents may download additional resources such as recommend reading materials, vocabulary and spelling lists, contributing scientists for historical research, and more. These resources are listed next to the "Experiment List" button in the "Live Classes" section of the science website.
 
IN ADDITION #3: When appropriate, Aurora will spend extra time after the first 15 minutes of instruction demonstrating math skills needed for further study and lab worksheets.
 
Any new labs or content Aurora publishes during the year will appear as buttons in the appropriate section.
 
I hope this is helpful! See you soon!
~Aurora
 
P.S. Thank you to everyone for joining me for a great year of science!

Aurora will be joined by Astronomer Brian P Cox for a live session in how to use binoculars for astronomy!

Many people don't even realize that hey have an amazing object right at their fingertips - the Moon! If you participated in Dr Coombs Moon Tour Presentation, you already noticed the spectacular views you can get using a small telescope or a set of binoculars.

The Moon is a fantastic object to practice on, because it's easy to find but there's enough detail that once you get started, you'll find yourself reaching for a Moon Map to try to spot and identify the different features.

Even if you don't own any binoculars, we'll guide you through how to pick a good pair for stargazing.

My personal favorites:

For Kids: Cometron by Celestron
For Adults: Orion UltraViews

This special class is scheduled during our Summer Astronomy Week: June 28 - July 2. More details coming soon!

Download a Moon Map from NASA here.


Let's go FLYING! We have a certified flight instructor who is going to do a real flight lesson in a live broadcast that you can participate in. You'll be able to ask questions and connect with us during our time together. All you need is yourself and this page when it's time for our class in the air!


We’re stargazing soon, so save the date! This will be a live class with both Aurora and a real astronomer (Kent Wallace). We will be taking you on a tour of the night sky so you can star gaze right from home!


Summer is filled with warm, late nights sparkling with stars, planets and meteor showers! We are going to focus on objects you can see with binoculars or small telescope.


(Aurora uses Orion’s UltraViews and also recommends the less expensive Celestron – Cometron 7×50 Bincoulars


We’ll also show you how to use Star Charts to help you navigate and find objects. You can download your sky map free here: Click here to download the current SkyChart.


During our time together, you’ll be able to interact with Aurora and Kent, ask questions, and gain insight on the next objects to search for to take your star gazing to the next level. It will be like watching a planetarium star show only from your computer screen!


We will bring you you a virtual “tour of the night sky” where you can discover, learn, and ask questions as we go along! All you need is an internet connection. You can use an iPad, laptop, computer or cell phone. When 7pm on Saturday night rolls around, click the link below to join our class. (Link coming soon!)