When you exercise your body requires more oxygen in order to burn the fuel that has been stored in your muscles.  Since oxygen is moved through your body by red blood cells, exercise increases your heart rate so that the blood can be pumped through your body faster. This delivers the needed oxygen to your muscles faster. The harder you exercise, the more oxygen is needed, so your heart and blood pump even faster still.


Please login or register to read the rest of this content.

Stethoscopes are instruments used to amplify sounds like your heartbeat. Your doctor is trained to use a stethoscope not only to count the beats, but he or she can also hear things like your blood entering and exiting the heart
and its valves opening and closing. Pretty cool!


Today you will make and test a homemade stethoscope. Even though it will be pretty simple, you should still be able to hear your heart beating and your heart pumping. You can also use it to listen to your lungs, just like your doctor does.


Please login or register to read the rest of this content.

Did you know that your tongue can taste about 10,000 unique flavors? Our tongues take an organized approach to flavor classification by dividing tastes into the four basic categories of sweet, sour, salty, and bitter.


For this experiment, you will need a brave partner! They will be blindfolded and will be attempting to guess foods. Relying only on their sense of taste, they will try to determine what kind of foods you are giving them.


Please login or register to read the rest of this content.

The tongue has an ingenious design. Receptors responsible for getting information are separate and compartmentalized. So, different areas on the tongue actually have receptors for different types of tastes. This helps us to separate and enjoy the distinct flavors. In this experiment, you will be locating the receptors for sweet, sour, salty, and bitter on the tongue’s surface.


Please login or register to read the rest of this content.

  t6


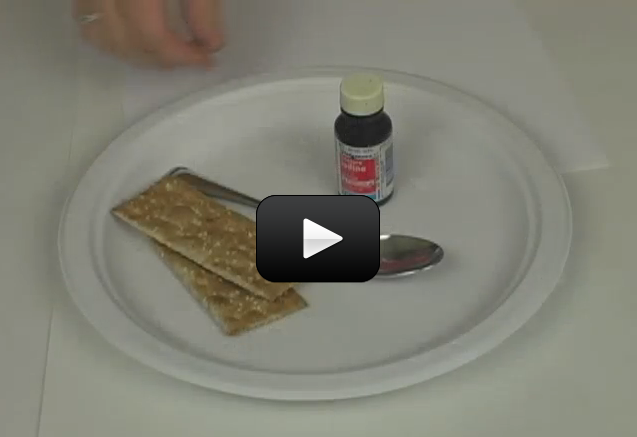
Digestion starts in your mouth as soon as you start to chew. Your saliva is full of enzymes. They are a kind of chemical key that unlock chains of protein, fat, and starch molecules. Enzymes break these chains down into smaller molecules like sugars and amino acids.


In this experiment, we will examine how the enzymes in your mouth help to break down the starch in a cracker. You will test the cracker to confirm starch content, then put it in your mouth and chew it for a long time in order to really let the enzymes do their job. Finally you will test the cracker for starch content and see what has happened as a result of your chewing.


Please login or register to read the rest of this content.

The buildup of things like food and bacteria where your gums and teeth meet, and also between your teeth, is called plaque. Where plaque lives is also where the bacteria turns the sugar in your mouth into harmful acids that attack your teeth’s enamel and can lead to gum disease. Regular brushing is a great way to remove plaque and keep your mouth healthy.


Please login or register to read the rest of this content.

Involuntary responses are ones that you can’t control, but they are usually in place to help with survival. One good example is when you touch something hot. Your hand does not take the time to send a message to your brain and then have the brain tell your hand to pull away. By then, your hand might be seriously hurt! Instead, your body immediately removes your hand in order to protect it from further harm.


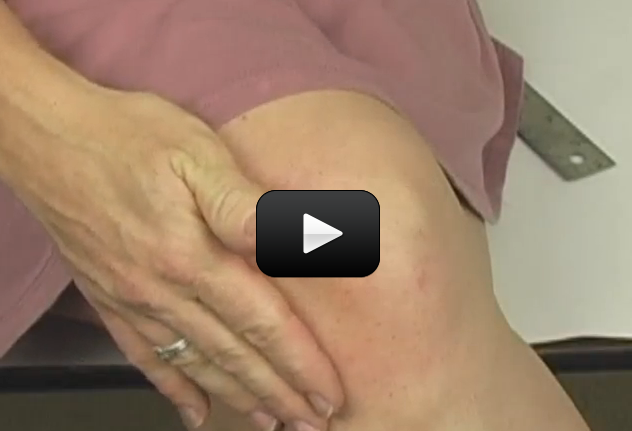
Today you will test an involuntary reflex by using the tendon reflex test. A thick, rubbery band called the patellar tendon holds your knee cap in place. Having one leg on top of the other not only stretches the tendon, but it also makes it possible to see a reaction. You can test the reflex by giving your tendon a tap and watching what happens.


Please login or register to read the rest of this content.

The skeleton is your body’s internal supporting structure. It holds everything together. In addition to providing support, bones act as shock absorbers when you jump, fall, and run. Bones have big responsibilities and so they must be really strong. They also need to be arranged properly for the best support and shock absorption.


In this experiment, we will look at the internal arrangement of the bones holding together your body.


Please login or register to read the rest of this content.

Some groups of muscles are stronger than others because each group is designed for a different and specific function. It just makes sense that the muscle groups in our legs would need to be stronger than the ones in our toes.


For this experiment, you will use a bathroom scale to test the strength of various muscle groups.


Please login or register to read the rest of this content.

In this experiment, we will continue to explore Ruffini’s endings in your skin. We also look at your body’s ability to detect temperature and regulate its own temperature. You will study how the body cools and warms itself.


Please login or register to read the rest of this content.

Your fingers have receptors which perform various jobs. In addition to touch, they can detect pressure, texture, and other physical stimuli.  One specialized type of receptors is called Ruffini’s receptors. They are good at identifying changes in pressure and temperature. In this experiment, we will test their ability to distinguish between hot and cold temperatures. We are actually going to try and trick your Ruffini endings. Do you think it will work?


Please login or register to read the rest of this content.

Skin has another function that it vital to your survival: temperature regulation. Being exposed to high temperatures causes your skin’s pores to open up and release sweat onto your body. This helps cool us off by the resulting process of evaporation.


Your pores will close in extremely cold temperatures. Also, the body stops blood flowing to the skin in order to conserve heat for the important vital organs and their processes.


In this lab, we study the moisture that your skin produces – even when you are not aware of it!


Please login or register to read the rest of this content.

This lab has two parts. First, you will learn a bit about how specific chemicals react in a specific manner. And next, you will learn a bit of biology: the structure of bird bones and the minerals that compose them.


Please login or register to read the rest of this content.

This experiment has two parts. For the first half, you will mix two chemicals that will produce heat and gas. The temperature receptors in your skin will be able to detect the heat. Your ears will detect the gas at it vibrates and escapes its container.


In the second portion you will demonstrate a characteristic in a chemical reaction. For this experiment, it will be an endothermic reaction, which is the absorption of heat energy. This type of reaction is easy to notice because it makes things cold to touch.  The chemical you will be using, ammonium nitrate, is actually used in emergency cold packs.


Please login or register to read the rest of this content.

In addition to looking pretty neat with all those loops and whirls, your fingertips are great at multitasking. The skin on them has a ton of receptors that help us to gather a lot of information about our environment such as texture, movement, pressure, and temperature.


This experiment will test your ability to determine textures by using touch receptors. You will use shoeboxes with holes cut into them to make texture boxes. Each box will have a textured surface that you can feel, but not see. Through the receptors in your fingers, you will determine whether the surface is rough, waxy, soft, or smooth.


Please login or register to read the rest of this content.

Did you know that the patterns on the tips of your fingers are unique? It’s true! Just like no two snowflakes are alike, no two people have the same set of fingerprints. In this experiment, you will be using a chemical reaction to generate your own set of blood-red prints.


Please login or register to read the rest of this content.

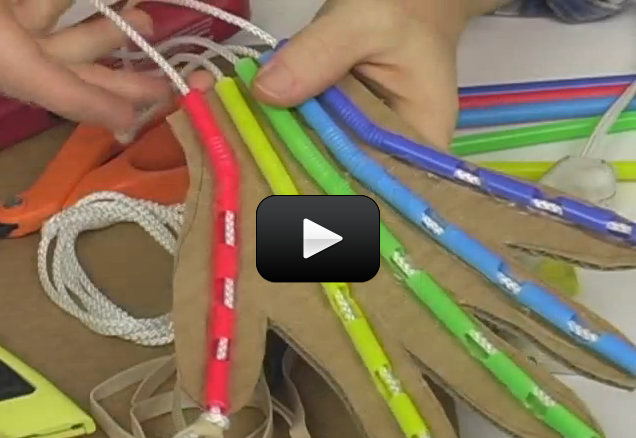
Your body moves when muscles pull on the bones through ligaments and tendons. Ligaments attach the bones to other bones, and the tendons attach the bones to the muscles.


If you place your relaxed arm on a table, palm-side up, you can get the fingers to move by pushing on the tendons below your wrist. We’re going to make a real working model of your hand, complete with the tendons that move the fingers! Are you ready?


Please login or register to read the rest of this content.

A pedigree analysis chart, usually used for families, allow us to visualize the inheritance of genotypes and phenotypes (traits). In this chart, the P, F1, and F2 generation are represented by the numerals I, II, and III respectively. Notice that those carrying the trait are colored red, and those not carrying the trait (the normal-looking ones) are in blue. The normal, non-trait carrying organisms on the chart are called the wild-type.


The term wild-type is used in genetics often to refer to organisms not carrying the trait being studied. For example, if we were studying a gene that turns house-flies orange, we would call the normal-looking ones the wild-type.


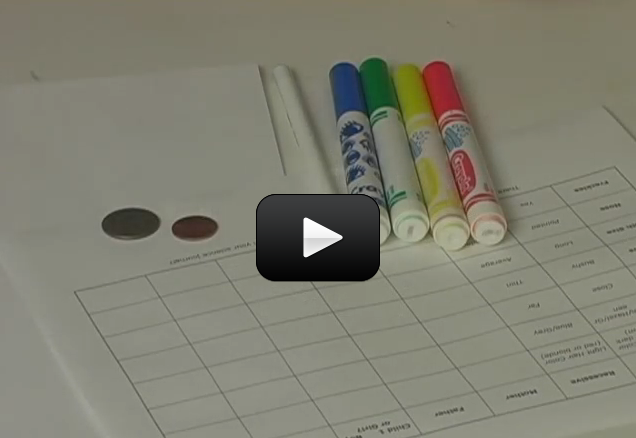
Let’s make a pedigree for your family. Here’s what you need:


Please login or register to read the rest of this content.

We have done some extensive experiments on taste buds: how they are categorized, what tastes they recognize, and we have even mapped their location on your tongue. But we haven’t yet mentioned this fact: not all people can taste the same flavors!


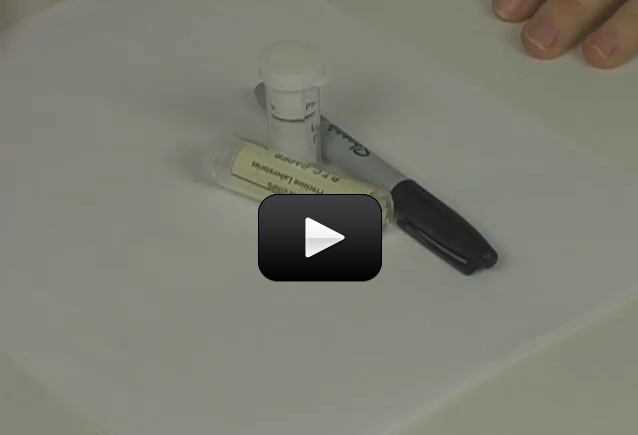
So today we will check to see if you have a dominant or recessive gene for a distinct genetic characteristic. We’ll do this by testing your reaction to the taste of a chemical called phenylthiocarbamide (or PTC, for short). The interesting thing about PTC is that some people can taste it – and generally have a very adverse reaction. However, some people can’t taste it at all.


Please login or register to read the rest of this content.

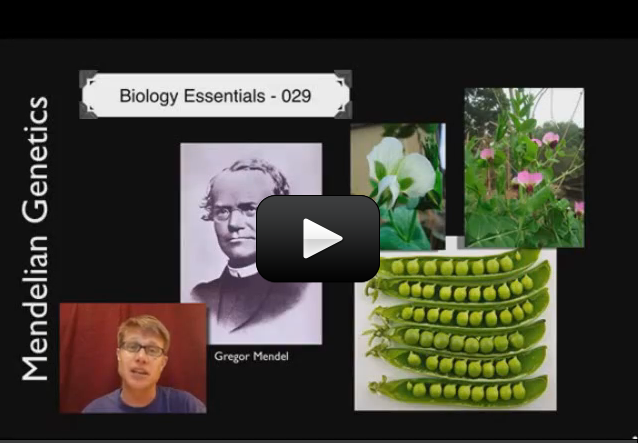
Why do families share similar features like eye and hair color? Why aren’t they exact clones of each other? These questions and many more will be answered as well look into the fascinating world of genetics!


Genetics asks which features are passed on from generation to generation in living things. It also tries to explain how those features are passed on (or not passed on). Which features are stay and leave depend on the genes of the organism and the environment the organism lives in. Genes are the “inheritance factors “described in Mendel’s laws. The genes are passed on from generation to generation and instruct the cell how to make proteins. A genotype refers to the genetic make-up of a trait, while phenotype refers to the physical manifestation of the trait.


We’re going to create a family using genetics!


Please login or register to read the rest of this content.

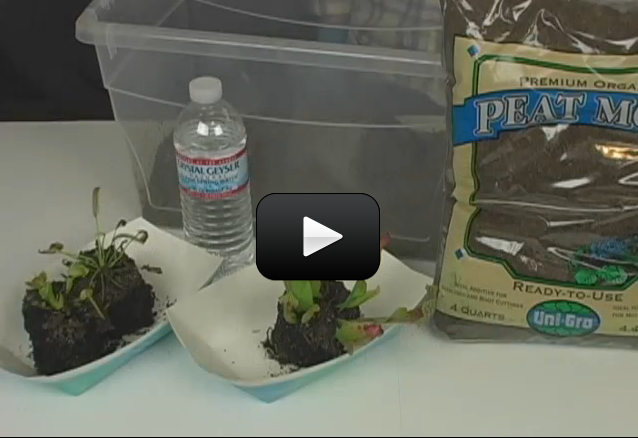
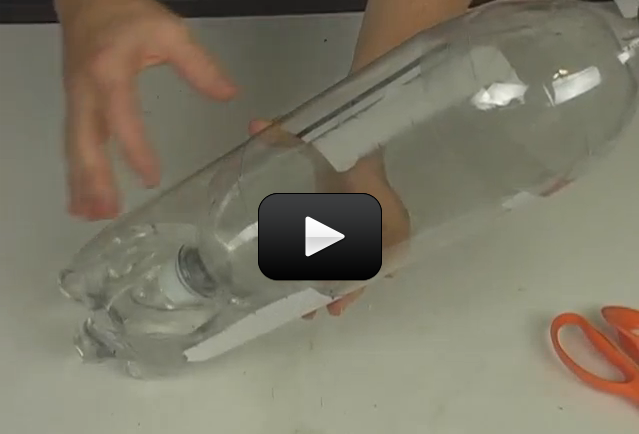
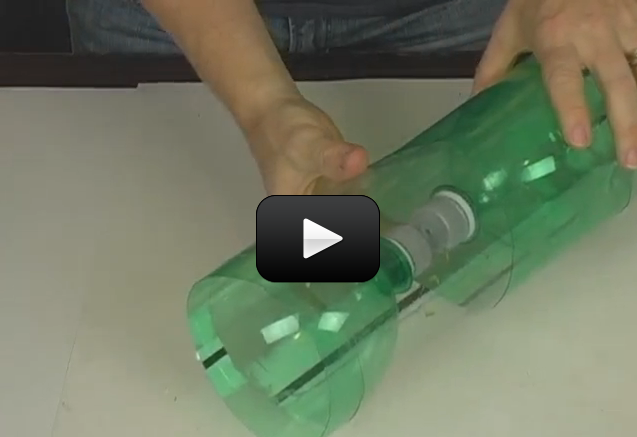
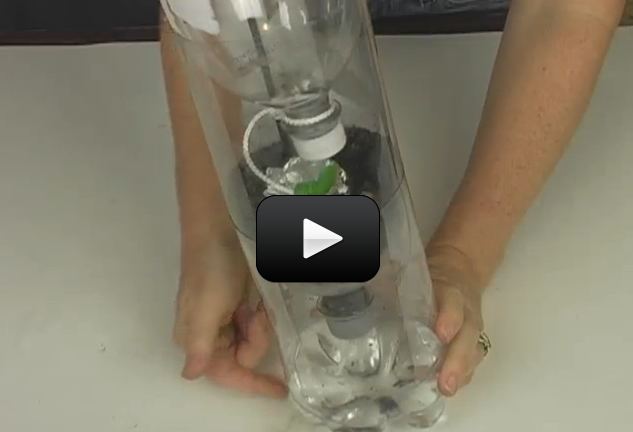
Plants need light, water, and soil to grow. If you provide those things, you can make your own greenhouse where you can easily observe plants growing. Here’s a simple experiment on how to use the stuff from your recycling bin to make your own garden greenhouse.


We’ll first look at how to make a standard, ordinary greenhouse. Once your plants start to grow, use the second part of this experiment to track your plant growth. Once you’ve got the hang of how to make a bottle garden, then you can try growing a carnivorous greenhouse.
Please login or register to read the rest of this content.


As you walk around your neighborhood, you probably see many other people, as well as some birds flying around, maybe some fish swimming down a local stream, and perhaps even a lizard darting behind a bush or a frog sitting contently on top of a pond. Most likely, you know that all of these living things are animals, but they are even more closely related than that.


Please login or register to read the rest of this content.

Unsurprisingly, often the most interesting critters found in soil are the hardest to find! They’re small, fast, and used to avoiding things that search for them. So, how do we find and study these tiny insects? With a Berlese Funnel (Also called the Tullgren funnel)!


Please login or register to read the rest of this content.

Some insects are just too small! Even if we try to carefully pick them up with forceps, they either escape or are crushed. What to do?


Answer: Make an insect aspirator! An insect aspirator is a simple tool scientists use to collect bugs and insects that are too small to be picked up manually. Basically it’s a mini bug vacuum!


Please login or register to read the rest of this content.


The way animals and plants behave is so complicated because it not only depends on climate, water availability, competition for resources, nutrients available, and disease presence but also having the patience and ability to study them close-up.


We’re going to build an eco-system where you’ll farm prey stock for the predators so you’ll be able to view their behavior. You’ll also get a chance to watch both of them feed, hatch, molt, and more! You’ll observe closely the two different organisms and learn all about the way they live, eat, and are eaten.


Please login or register to read the rest of this content.

How does salt affect plant growth, like when we use salt to de-ice snowy winter roads? How does adding fertilizer to the soil help or hurt the plants? What type of soil best purifies the water? All these questions and more can be answered by building a terrarium-aquarium system to discover how these systems are connected together.


Please login or register to read the rest of this content.

What grows in the corner of your windowsill? In the cracks in the sidewalk? Under the front steps? In the gutter at the bottom of the driveway? Specifically, how  doe these animals build their homes and how much space do they need? What do they eat? Where do fish get their food? How do ants find their next meal?


These are hard questions to answer if you don’t have a chance to observe these animals up-close. By building an eco-system, you’ll get to observe and investigate the habits and behaviors of your favorite animals. This column will have an aquarium section, a decomposition chamber with fruit flies or worms, and a predator chamber, with water that flows through all sections. This is a great way to see how the water cycle, insects, plants, soil, and marine animals all work together and interact.


Please login or register to read the rest of this content.

When birds and animals drink from lakes, rivers, and ponds, how pure it is? Are they really getting the water they need, or are they getting something else with the water?


This is a great experiment to see how water moves through natural systems. We’ll explore how water and the atmosphere are both polluted and purified, and we’ll investigate how plants and soil help with both of these. We’ll be taking advantage of capillary action by using a wick to move the water from the lower aquarium chamber into the upper soil chamber, where it will both evaporate and transpire (evaporate from the leaves of plants) and rise until it hits a cold front and condenses into rain, which falls into your collection bucket for further analysis.


Sound complicated? It really isn’t, and the best part is that it not only uses parts from your recycling bin but also takes ten minutes to make.


Please login or register to read the rest of this content.

Mass and energy are conserved. This means you can’t create or destroy them, but you can change their location or form.


Most people don’t understand that the E energy term means all the energy transformations, not just the nuclear energy.


The energy could be burning gasoline, fusion reactions (like in the sun), metabolizing your lunch, elastic energy in a stretched rubber band… every kind of energy stored in the mass is what E stands for.


For example, if I were to stretch a rubber band and somehow weigh it in the stretched position, I would find it weighed slightly more than in the unstretched position.


Why? How can this be? I didn’t add any more particles to the system – I simply stretched the rubber band. I added energy to the system, which was stored in the electromagnetic forces inside the rubber band, which add to the mass of the object (albeit very slightly). Read more about this in Unit 7: Lesson 3.


Please login or register to read the rest of this content.

Photosynthesis is a process where light energy is changed into chemical energy.  As we said in the last section, this process happens in the chloroplast of plant cells.  Photosynthesis is one of the most important things that happen in cells.


In fact, photosynthesis is considered one of the most important processes for all life on Earth.  It makes sense that photosynthesis is really important to plants, since it gives them energy, but why is it so important to animals?  Let’s learn a little more about photosynthesis and see if we can answer that question.


There are many steps to photosynthesis, but if we wanted to sum it up in one equation, it would be carbon dioxide (CO2) + water (H2O) makes glucose (C6H12O6) and oxygen (O2).  These words can be written like this:


Please login or register to read the rest of this content.

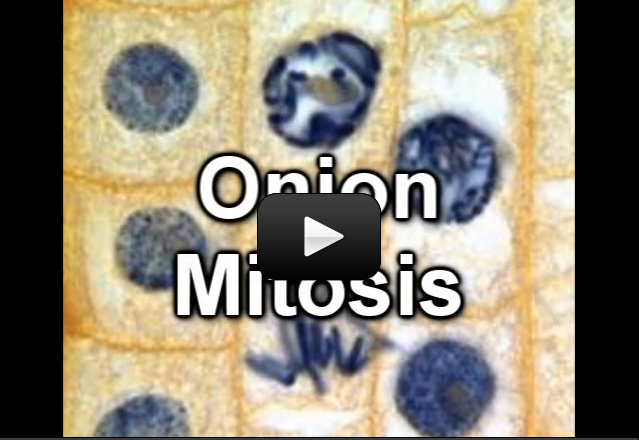
In eukaryotes there is a nucleus, so a more complex process called mitosis is needed with cell division. Mitosis is divided into four parts, or phases:


Phase 1 – Prophase: In this phase the nuclear membrane begins to break down and the DNA forms structures called chromosomes.


Phase 2 – Metaphase: In this phase the chromosomes line up along the center of the parent cell


Phase 3 – Anaphase: In this phase, the chromosomes break apart, with a complete set of DNA going to each side of the cell


Phase 4 – Telophase: In this phase, a new nuclear membrane forms around each of the sets of DNA


The four stages of mitosis (the cell at the top has not started mitosis) lead to two daughter cells.


A little after telophase, the cytoplasm splits and a new cell membrane forms.  Once again, two daughter cells have formed.  Take a look at this animation for a good overview of mitosis and see if you can identify all the phases.


Please login or register to read the rest of this content.

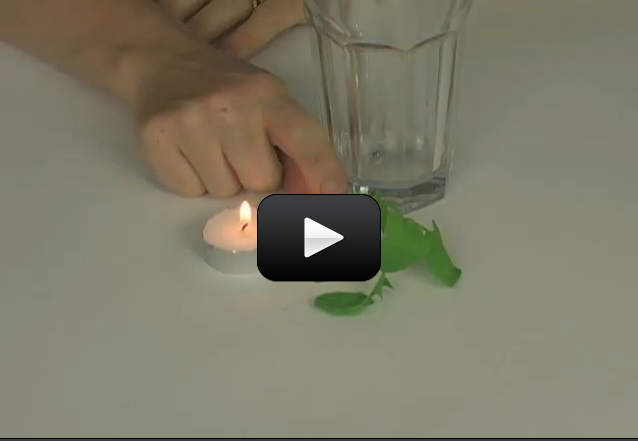
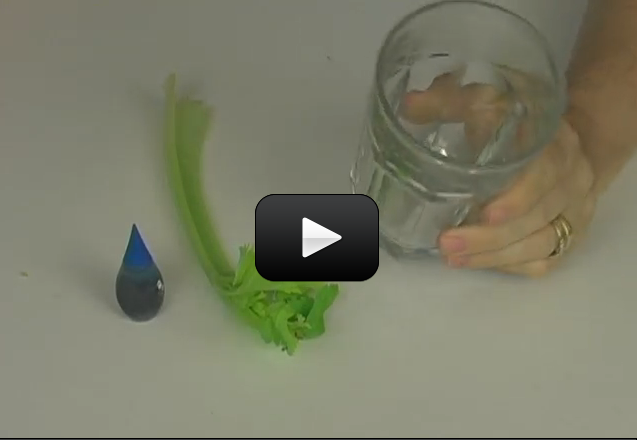
Here’s a fun experiment that shows you how much stuff can pass through a membrane. Scientist call it the  semi-permeability of membranes.


Before we start, take out your science journal and answer this question: What do you think will happen when we stick a piece of celery into a glass of regular water. Anything special?


What if we add a teaspoon of salt to the water? Now do you think anything will happen?
Please login or register to read the rest of this content.


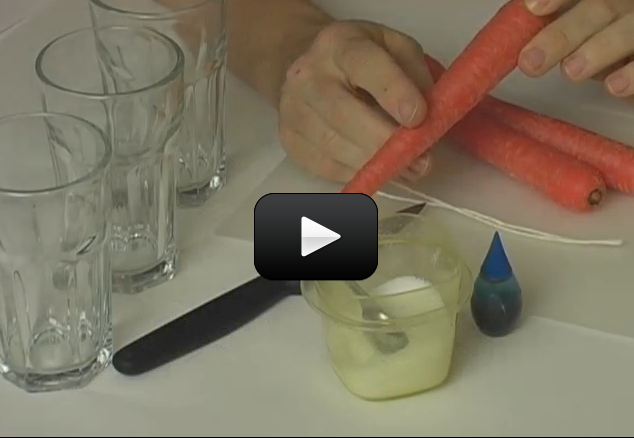
The carrot itself is a type of root—it is responsible for conducting water from the soil to the plant. The carrot is made of cells. Cells are mostly water, but they are filled with other substances too (organelles, the nucleus, etc).


We’re going to do two experiments on a carrot: first we’re going to figure out how to move water into the cells of a carrot. Second, we’ll look at how to move water within the carrot and trace it. Last, we’ll learn how to get water to move out of the carrot. And all this has to do with cells!


Please login or register to read the rest of this content.

One way substances can get into a cell is called passive transport. One special kind of passive transport is osmosis, when water crosses into the cell. This experiment allows you to see the process of osmosis in action. Are you ready?


Please login or register to read the rest of this content.

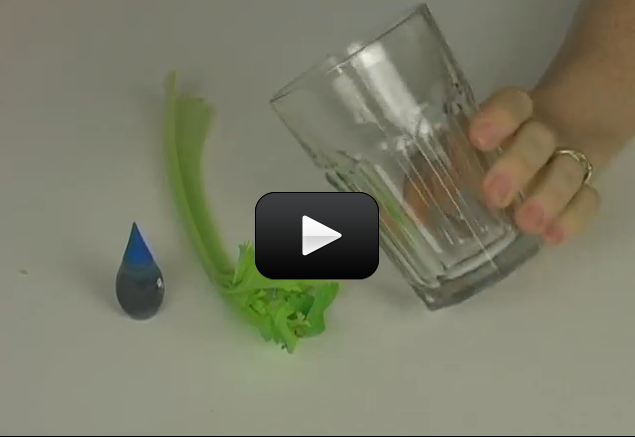
If you think of celery as being a bundle of thin straws, then it’s easy to see how this experiment works. In this activity, you will get water to creep up through the plant tissue (the celery stalk) and find out how to make it go faster and slower.


The part of the celery we eat is the stalk of the plant.  Plant stalks are designed to carry water to the leaves, where they are needed for the plant to survive.  The water travels up the celery as it would travel up any plant.


Please login or register to read the rest of this content.

This experiment allows you to see protozoa, tiny-single celled organisms, in your compound microscope. While I can go in my backyard and find a lot of interesting pond scum and dead insects, I realize that not everybody has a thriving ecosystem on hand, especially if you live in a city.


I am going to show you how to grow a protozoa habitat that you can keep in a window for months (or longer!) using a couple of simple ingredients.


Once you have a protist farm is up and running, you’ll be able to view a sample with your compound microscope. If you don’t know how to prepare a wet mount or a heat fix, you’ll want to review the microscope lessons here.


Protozoa are protists with animal-like behaviors. Protists live in almost any liquid water environment. Some protists are vital to the ecosystem while others are deadly.


Please login or register to read the rest of this content.

If the cell has a nucleus, the DNA is located in the nucleus.  If not, it is found in the cytoplasm.  DNA is the genetic material that has all the information about a cell.


DNA is a long molecule found in the formed by of two strands of genes. DNA carries two copies—two “alleles”—of each gene. Those alleles can either be similar to each other (homozygous), or dissimilar (heterozygous).


We’re going to learn how to extract DNA from any fruit or vegetable you have lying around the fridge. Are you ready?


Please login or register to read the rest of this content.

Cells make up every living thing. Take a look at all the living things you can see just in your house. You can start off with you and your family. If you have any pets, be sure to include them. Don’t forget about houseplants as well – they’re alive. Now take a walk outside. You’ll likely see many more plants, as well as animals like birds and insects. Now imagine if all those living things were gone. That’s how it would be if there were no cells, because cells are what all those living things are made of.


Animals, plants and other living things look different, and contain many different kinds of cells, but when you get down to it, all of us are just a bunch of cells – and that makes cells pretty much the most important thing when it comes to life!


Please login or register to read the rest of this content.

Hans Lippershey was the first to peek through his invention of the refractor telescope in 1608, followed closely by Galileo (although Galileo used his telescope for astronomy and Lippershey’s was used for military purposes).  Their telescopes used both convex and concave lenses.


A few years later, Kepler swung into the field and added his own ideas: he used two convex lenses (just like the ones in a hand-held magnifier), and his design the one we still use today. We’re going to make a simple microscope and telescope using two lenses, the same way Kepler did.  Only our lenses today are much better quality than the ones he had back then!


You can tell a convex from a concave lens by running your fingers gently over the surface – do you feel a “bump” in the middle of your hand magnifying lens?  You can also gently lay the edge of a business card (which is very straight and softer than a ruler) on the lens to see how it doesn’t lay flat against the lens.


Your magnifier has a convex lens – meaning the glass (or plastic) is thicker in the center than around the edges.  The image here shows how a convex lens can turn light to a new direction using refraction. You can read more about refraction here.


A microscope is very similar to the refractor telescope with one simple difference – where you place the focus point.  Instead of bombarding you with words, let’s make a microscope right now so you can see for yourself how it all works together. Are you ready?


Please login or register to read the rest of this content.

Make sure you've completed the How to Use a Microscope and also the Wet Mount and Staining activities before you start here!

If you tried looking at animal cells already, you know that they wiggle and squirm all over the place. And if you tried looking when using the staining technique, you know it only makes things worse.

The heat fix technique is the one you want to use to nail your specimen to the slide and also stain it to bring out the cell structure and nuclei. This is the way scientists can look at things like bacteria.

You're going to need your microscope, slides, cover slips, eyedropper, toothpicks or tweezers, candle and matches (with adult help), stain (you can use regular iodine or Lugol's Stain), sugar, yeast, and a container to mix your specimen in. Here's what you do:

Please login or register to read the rest of this content.


Make sure you've completed the How to Use a Microscope and also the Wet Mount activities before you start here!

If your critter is hard to see, you can use a dye to bring out the cell structure and make it easier to view.  There are lots of different types of stains, depending on what you're looking at.

The procedure is simple, although kids will probably stain not only their specimens, but the table and their fingers, too.  Protect your surfaces with a plastic tablecloth and use gloves if you want to.

We're going to use an iodine stain, which is used in chemistry as an indicator (it turns dark blue) for starch. This makes iodine a good choice when looking at plants. You can also use Lugol's Stain, which also reacts with starch and will turn your specimen black to make the cell nuclei visible. Methylene blue is a good choice for looking at animal cells, blood, and tissues.

In addition to your specimen, you'll need to get out your slides, microscope, cover slips, eye dropper, tweezers, iodine (you can use regular, non-clear iodine from the drug store), and a scrap of onion. If you can find an elodea leaf, add it to your pile (check with your local garden store). Here's what you do:

Please login or register to read the rest of this content.


Make sure you've completed the How to Use a Microscope activity before you start here!

Anytime you have a specimen that needs water to live, you'll need to prepare a wet mount slide. This is especially useful for looking at pond water (or scum), plants, protists (single-cell animals), mold, etc. When you keep your specimen alive in their environment, you not only get to observe it, but also how it eats, lives, breathes, and interacts in its environment.

Please login or register to read the rest of this content.


Make sure you’ve completed the How to Use a Microscope activity before you start here!


This is simplest form of slide preparation!  All  you need to do is place it on the slide, use a coverslip (and you don’t even have to do that if it’s too bumpy), and take a look through the eyepiece.  No water, stains, or glue required.


You know that this is the mount type you need when your specimen doesn’t require water to live. Good examples of things you can try are cloth fibers (the image here is of cotton thread at 40X magnification), wool, human hair, salt, and sugar. It’s especially fun to mix up salt and sugar first, and then look at it under the scope to see if you can tell the difference.


Please login or register to read the rest of this content.

Nose? Objective? Stage? What kind of class is this?  Well, some of the names may sound a bit odd, but this video will show you what they are and how they are used. As you watch the video, touch the corresponding part of your microscope to get a feel for how it works.


NOTE: Be very careful NOT to raise the stage too high or you’ll crack the objective lens!  Always leave a space between the stage and the lens!! Anytime you use the coarse adjustment knob, always look at the stage itself, NOT through the eyepiece (for this very reason). When you use the fine adjustment knob, that’s when you look through the eyepiece.


Please login or register to read the rest of this content.

Welcome to our unit on microscopes! We’re going to learn how to use our microscope to make things appear larger so we can study them more easily. Think about all the things that are too small to study just with your naked eyeballs: how many can you name?


Let’s start from the inside out – before you haul out your own microscope, we’re going to have a look at what it can do. I’ve already prepared a set of slides for you below.  Take out a sheet of paper and jot down your guesses – here’s how you do it:


Please login or register to read the rest of this content.

This is an introduction to the microscope, and we’re going to not only how to use a microscope but also cover the basics of optics, slide preparation, and why we can see things that are invisible to the naked eye. Microscopes are basically two lenses put together to make things appear larger.


Please login or register to read the rest of this content.

This experiment allows you to see protozoa, tiny-single celled organisms, in your compound microscope. While I can go in my backyard and find a lot of interesting pond scum and dead insects, I realize that not everybody has a thriving ecosystem on hand, especially if you live in a city.


I am going to show you how to grow a protozoa habitat that you can keep in a window for months (or longer!) using a couple of simple ingredients.


Once you have a protist farm is up and running, you’ll be able to view a sample with your compound microscope. If you don’t know how to prepare a wet mount or a heat fix, you’ll want to review the microscope lessons here.


Protozoa are protists with animal-like behaviors. Protists live in almost any liquid water environment. Some protists are vital to the ecosystem while others are deadly.


Please login or register to read the rest of this content.

Here’s a fun experiment that shows you how much stuff can pass through a membrane. Scientist call it the  semi-permeability of membranes.


Before we start, take out your science journal and answer this question: What do you think will happen when we stick a piece of celery into a glass of regular water. Anything special?


What if we add a teaspoon of salt to the water? Now do you think anything will happen?
Please login or register to read the rest of this content.


The carrot itself is a type of root—it is responsible for conducting water from the soil to the plant. The carrot is made of cells. Cells are mostly water, but they are filled with other substances too (organelles, the nucleus, etc).


We’re going to do two experiments on a carrot: first we’re going to figure out how to move water into the cells of a carrot. Second, we’ll look at how to move water within the carrot and trace it. Last, we’ll learn how to get water to move out of the carrot. And all this has to do with cells!


Please login or register to read the rest of this content.

One way substances can get into a cell is called passive transport. One special kind of passive transport is osmosis, when water crosses into the cell. This experiment allows you to see the process of osmosis in action. Are you ready?


Please login or register to read the rest of this content.

If you think of celery as being a bundle of thin straws, then it’s easy to see how this experiment works. In this activity, you will get water to creep up through the plant tissue (the celery stalk) and find out how to make it go faster and slower.


The part of the celery we eat is the stalk of the plant.  Plant stalks are designed to carry water to the leaves, where they are needed for the plant to survive.  The water travels up the celery as it would travel up any plant.


Please login or register to read the rest of this content.

Make sure you've completed the How to Use a Microscope and also the Wet Mount and Staining activities before you start here!

If you tried looking at animal cells already, you know that they wiggle and squirm all over the place. And if you tried looking when using the staining technique, you know it only makes things worse.

The heat fix technique is the one you want to use to nail your specimen to the slide and also stain it to bring out the cell structure and nuclei. This is the way scientists can look at things like bacteria.

You're going to need your microscope, slides, cover slips, eyedropper, toothpicks or tweezers, candle and matches (with adult help), stain (you can use regular iodine or Lugol's Stain), sugar, yeast, and a container to mix your specimen in. Here's what you do:

Please login or register to read the rest of this content.


Make sure you’ve completed the How to Use a Microscope and also the Wet Mount activities before you start here!


If your critter is hard to see, you can use a dye to bring out the cell structure and make it easier to view.  There are lots of different types of stains, depending on what you’re looking at.


The procedure is simple, although kids will probably stain not only their specimens, but the table and their fingers, too.  Protect your surfaces with a plastic tablecloth and use gloves if you want to.


We’re going to use an iodine stain, which is used in chemistry as an indicator (it turns dark blue) for starch. This makes iodine a good choice when looking at plants. You can also use Lugol’s Stain, which also reacts with starch and will turn your specimen black to make the cell nuclei visible. Methylene blue is a good choice for looking at animal cells, blood, and tissues.


In addition to your specimen, you’ll need to get out your slides, microscope, cover slips, eye dropper, tweezers, iodine (you can use regular, non-clear iodine from the drug store), and a scrap of onion. If you can find an elodea leaf, add it to your pile (check with your local garden store). Here’s what you do:


Please login or register to read the rest of this content.

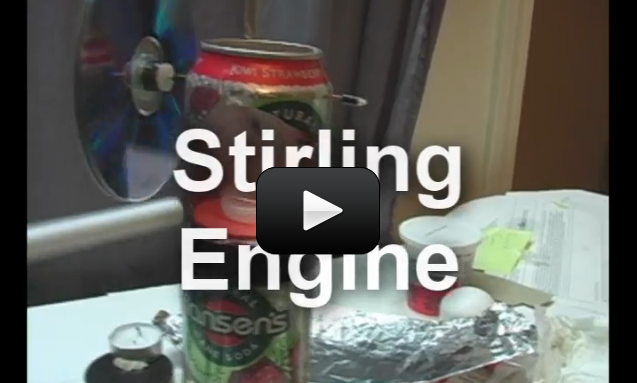
This project is for advanced students.This Stirling Engine project is a very advanced project that requires skill, patience, and troubleshooting persistence in order to work right.  Find yourself a seasoned Do-It-Yourself type of adult (someone who loves to fix things or tinker in the garage) before you start working on this project,  or you’ll go crazy with nit-picky things that will keep the engine from operating correctly.  This makes an excellent project for a weekend.


Developed in 1810s, this engine was widely used because it was quiet and could use almost anything as a heat source. This kind of heat engine squishes and expands air to do mechanical work. There’s a heat source (the candle) that adds energy to your system, and the result is your shaft spins (CD).


This engine converts the expansion and compression of gases into something that moves (the piston) and rotates (the crankshaft). Your car engine uses internal combustion to generate the expansion and compression cycles, whereas this heat engine has an external heat source.


This experiment is great for chemistry students learning about Charles’s Law, which is also known as the Law of Volumes, which describes how gases tend to expand when they are heated and can be mathematically written like this:


where V = volume, and T = temperature. So as temperature increases, volume also increases. In the experiment you’re about to do, you will see how heating the air causes the diaphragm to expand which turns the crank.


Please login or register to read the rest of this content.

In 1920’s, these were a big hit. They were originally called “Putt Putt Steam Boats”, and were fascinating toys for adults and kids alike. We’ll be making our own version that will chug along for hours. This is a classic demonstration for learning about heat, energy, and how to get your kids to take a bath.


Here’s what you need to build your own:
Please login or register to read the rest of this content.


We’re going to practice measuring and calculating real life stuff (because science isn’t just in a textbook, is it?) When I taught engineering classes, most students had never analyzed real bridges or tools before – they only worked from the textbook. So let’s jump out of the words and into action, shall we? This experiment is for Advanced Students.


Before we start, make sure you’ve worked your way through this experiment first!


Please login or register to read the rest of this content.

This experiment is for Advanced Students. We’re going to really get a good feel for energy and power as it shows up in real life. For this experiment, you need:


  • Something that weighs about 100 grams or 4 ounces, or just grab an apple.
  • A meter or yard stick

This might seem sort of silly but it’s a good way to get the feeling for what a Joule is and what work is.
Please login or register to read the rest of this content.


This spooky idea takes almost no time, requires a dime and a bottle, and has the potential for creating quite a stir in your next magic show.  The idea is basically this: when you place a coin on a bottle, it starts dancing around. But there’s more to this trick than meets the scientist’s eye.


Here’s how you do it:


Please login or register to read the rest of this content.

Is it warmer upstairs or downstairs? If you’re thinking warm air rises, then it’s got to be upstairs, right? If you’ve ever stood on a ladder inside your house and compared it to the temperature under the table, you’ve probably felt a difference.


So why is it cold on the mountain and warm in the valley? Leave it to a science teacher to throw in a wrench just when you think you’ve got it figured out. Let’s take a look at whether hot air or cold air takes up more space. Here’s what you do:


Please login or register to read the rest of this content.

Are you curious about pulleys? This set of experiments will give you a good taste of what pulleys are, how to thread them up, and how you can use them to lift heavy things.


We’ll also learn how to take data with our setup and set the stage for doing the ultra-cool Pulley Lift experiments.


Are you ready?
Please login or register to read the rest of this content.


We’re going to use everyday objects to build a simple machine and learn how to take data. Sadly, most college students have trouble with these simple steps, so we’re getting you a head start here. The most complex science experiments all have these same steps that we’re about to do… just on a grander (and more expensive) scale. We’re going to break each piece down so you can really wrap your head around each step. Are you ready to put your new ideas to the test?


This experiment is for Advanced Students.


Please login or register to read the rest of this content.

Levers are classified into three types: first class, second class, or third class. Their class is identified by the location of the load, the force moving the load, and the fulcrum. In this activity, you will learn about the types of levers and then use your body to make each type.


Please login or register to read the rest of this content.

When you drop a ball, it falls 16 feet the first second you release it. If you throw the ball horizontally, it will also fall 16 feet in the first second, even though it is moving horizontally… it moves both away from you and down toward the ground. Think about a bullet shot horizontally. It travels a lot faster than you can throw (about 2,000 feet each second). But it will still fall 16 feet during that first second. Gravity pulls on all objects (like the ball and the bullet) the same way, no matter how fast they go.


What if you shoot the bullet faster and faster? Gravity will still pull it down 16 feet during the first second, but remember that the surface of the Earth is round. Can you imagine how fast we’d need to shoot the bullet so that when the bullet falls 16 feet in one second, the Earth curves away from the bullet at the same rate of 16 feet each second?


Answer: that bullet needs to travel nearly 5 miles per second. (This is also how satellites stay in orbit – going just fast enough to keep from falling inward and not too fast that they fly out of orbit.)


Catapults are a nifty way to fire things both vertically and horizontally, so you can get a better feel for how objects fly through the air. Notice when you launch how the balls always fall at the same rate – about 16 feet in the first second.  What about the energy involved?


When you fire a ball through the air, it moves both vertically and horizontally (up and out). When you toss it upwards, you store the (moving) kinetic energy as potential energy, which transfers back to kinetic when it comes whizzing back down. If you throw it only outwards, the energy is completely lost due to friction.


The higher you pitch a ball upwards, the more energy you store in it. Instead of breaking our arms trying to toss balls into the air, let’s make a simple machine that will do it for us. This catapult uses elastic kinetic energy stored in the rubber band to launch the ball skyward.


Please login or register to read the rest of this content.

This is a very simple yet powerful demonstration that shows how potential energy and kinetic energy transfer from one to the other and back again, over and over.  Once you wrap your head around this concept, you’ll be well on your way to designing world-class roller coasters.


For these experiments, find your materials:


  • some string
  • a bit of tape
  • a washer or a weight of some kind
  • set of magnets (at least 6, but more is better)
Please login or register to read the rest of this content.

Note: Do the pendulum experiment first, and when you’re done with the heavy nut from that activity, just use it in this experiment.


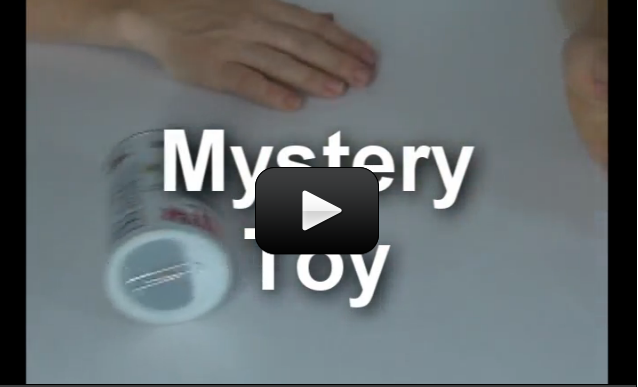
You can easily create one of these mystery toys out of an old baking powder can, a heavy rock, two paper clips, and a rubber band (at least 3″ x 1/4″).  It will keep small kids and cats busy for hours.


Please login or register to read the rest of this content.

This is a nit-picky experiment that focuses on the energy transfer of rolling cars.  You’ll be placing objects and moving them about to gather information about the potential and kinetic energy.


We’ll also be taking data and recording the results as well as doing a few math calculations, so if math isn’t your thing, feel free to skip it.


Here’s what you need:


Please login or register to read the rest of this content.

Bobsleds use the low-friction surface of ice to coast downhill at ridiculous speeds. You start at the top of a high hill (with loads of potential energy) then slide down a icy hill til you transform all that potential energy into kinetic energy.  It’s one of the most efficient ways of energy transformation on planet Earth. Ready to give it a try?


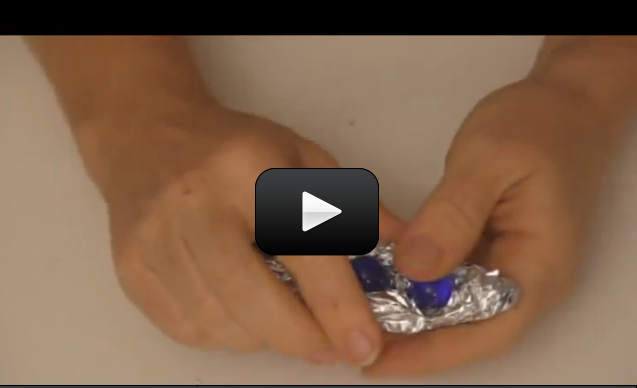
This is one of those quick-yet-highly-satisfying activities which utilizes ordinary materials and turns it into something highly unusual… for example, taking aluminum foil and marbles and making it into a racecar.


While you can make a tube out of gift wrap tubes, it’s much more fun to use clear plastic tubes (such as the ones that protect the long overhead fluorescent lights). Find the longest ones you can at your local hardware store. In a pinch, you can slit the gift wrap tubes in half lengthwise and tape either the lengths together for a longer run or side-by-side for multiple tracks for races. (Poke a skewer through the rolls horizontally to make a quick-release gate.)


Here’s what you need:


  • aluminum foil
  • marbles (at least four the same size)
  • long tube (gift wrapping tube or the clear protective tube that covers fluorescent lighting is great)
Please login or register to read the rest of this content.

We’re going to build monster roller coasters in your house using just a couple of simple materials. You might have heard how energy cannot be created or destroyed, but it can be transferred or transformed (if you haven’t that’s okay – you’ll pick it up while doing this activity).


Roller coasters are a prime example of energy transfer: You start at the top of a big hill at low speeds (high gravitational potential energy), then race down a slope at break-neck speed (potential transforming into kinetic) until you bottom out and enter a loop (highest kinetic energy, lowest potential energy). At the top of the loop, your speed slows (increasing your potential energy), but then you speed up again and you zoom near the bottom exit of the loop (increasing your kinetic energy), and you’re off again!


Here’s what you need:


Please login or register to read the rest of this content.

What’s an inclined plane? Jar lids, spiral staircases, light bulbs, and key rings. These are all examples of inclined planes that wind around themselves.  Some inclined planes are used to lower and raise things (like a jack or ramp), but they can also used to hold objects together (like jar lids or light bulb threads).


Here’s a quick experiment you can do to show yourself how something straight, like a ramp, is really the same as a spiral staircase.


Please login or register to read the rest of this content.

If you’ve ever had a shot, you know how cold your arm feels when the nurse swipes it with a pad of alcohol. What happened there? Well, alcohol is a liquid with a fairly low boiling point. In other words, it goes from liquid to gas at a fairly low temperature. The heat from your body is more then enough to make the alcohol evaporate.


As the alcohol went from liquid to gas it sucked heat out of your body. For things to evaporate, they must suck in heat from their surroundings to change state. As the alcohol evaporated you felt cold where the alcohol was. This is because the alcohol was sucking the heat energy out of that part of your body (heat was being transferred by conduction) and causing that part of your body to decrease in temperature.


As things condense (go from gas to liquid state) the opposite happens. Things release heat as they change to a liquid state. The water gas that condenses on your mirror actually increases the temperature of that mirror. This is why steam can be quite dangerous. Not only is it hot to begin with, but if it condenses on your skin it releases even more heat which can give you severe burns. Objects absorb heat when they melt and evaporate/boil. Objects release heat when they freeze and condense.


Do you remember when I said that heat and temperature are two different things? Heat is energy – it is thermal energy. It can be transferred from one object to another by conduction, convection, and radiation. We’re now going to explore heat capacity and specific heat. Here’s what you do:


Please login or register to read the rest of this content.

Temperature is a measure of the average hotness of an object. The hotter an object, the higher its temperature. As the temperature is raised, the atoms and molecules in an object move faster. The molecules in hot water move faster than the molecules in cold water. Remember that the heat energy stored in an object depends on both the temperature and the amount of the substance. A smaller amount of water will have less heat energy than a larger amount of water at the same temperature.


Increasing the temperature of a large body of water is one way to store heat energy for later use. A large container filled with salt water, called brine, may be used to absorb heat energy during the day when it is warm. This energy will be held in the salt water until the night when it is cooler. This stored heat energy can be released at night to warm a house or building. This is one way to store the sun’s heat energy until it is needed.


Solar ponds are used to store energy from the sun. Temperatures close to 100°C (212°F) have been achieved in solar ponds. Solar ponds contain a layer of fresh water above a layer of salt water. Because the salt water is heavier, it remains at the bottom of the pond-even as it gets quite hot. A black plastic bottom helps absorb solar energy from sunlight. The water on top serves to insulate and trap the heat in the pond.


In a fresh water pond, as the water on the bottom is heated from sunlight, the hot water becomes lighter and rises to the top of the pond. This convection or movement of hot water to the top tends to carry away excess heat. However, in a salt water pond, there is no convection so heat is trapped. In Israel a series of salt water, solar ponds were developed around the Dead Sea. The heat stored in these solar ponds has been used to run turbines and generate electricity.
Please login or register to read the rest of this content.


841958


Believe it or not, most of the electricity you use comes from moving magnets around coils of wire! Wind turbines spin big coils of wire around very powerful magnets (or very powerful magnets around big coils of wire) by capturing the flow.


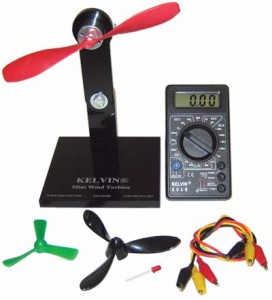
Here’s how it works: when a propeller is placed in a moving fluid (like the water from your sink or wind from your hair dryer), the propeller turns. If you attach the propeller to a motor shaft, the motor will rotate, which has coils of wire and magnets inside. The faster the shaft turns, the more the magnets create an electrical current.


The electricity to power your computer, your lights, your air conditioning, your radio or whatever, comes from spinning magnets or wires! Refer to Unit 11 for more detail about how moving magnets create electricity.


We’re going to build a wind turbine that will actually give you different amounts of electricity depending on which way your propeller is facing. Ready?


You’ll need to find these items below.  Note – if you have trouble locating parts, check the shopping list for information on how to order it straight from us.


  • A digital Multimeter
  • Alligator clip leads
  • 1.5-3V DC Motor
  • 9-18VDC Motor
  • Bi-polar LED
  • Foam block (about 6” long)
  • Propeller from old toy or cheap fan, or balsa wood airplane

Here’s what you do:


Please login or register to read the rest of this content.

The United States has large reserves of coal, natural gas, and crude oil which is used to make gasoline. However, the United States uses the energy of millions of barrels of crude oil every day, and it must import about half its crude oil from other countries.


Burning fossil fuels (oil, coal, gasoline, and natural gas) produces carbon dioxide gas. Carbon dioxide is one of the main greenhouse gases that may contribute to global warming. In addition, burning coal and gasoline can produce pollution molecules that contribute to smog and acid rain.


Using renewable energy-such as solar, wind, water, biomass, and geothermal-could help reduce pollution, prevent global warming, and decrease acid rain. Nuclear energy also has these advantages, but it requires storing radioactive wastes generated by nuclear power plants. Currently, renewable energy produces only a small part of the energy needs of the


United States. However, as technology improves, renewable energy should become less expensive and more common.


Hydropower (water power) is the least expensive way to produce I electricity. The sun causes water to evaporate. The evaporated water falls to the earth as rain or snow and fills lakes. Hydropower uses water stored in lakes behind dams. As water flows through a dam, the falling water turns turbines that run generators to produce electricity.


Currently, geothermal energy (heat inside the earth), biomass (energy from plants), solar energy (light from concentrated sunlight), and wind are being used to generate electricity. For example, in California there are more than sixteen thousand (16,000) wind turbines that generate enough power to supply a city the size of San Francisco with electricity.


In addition to producing more energy, we can also help meet our energy needs through conservation. Conservation means using less energy and using it more efficiently.


In the following experiments, you will use wind to do work, examine how batteries can store energy, and see how insulation can save energy.
Please login or register to read the rest of this content.

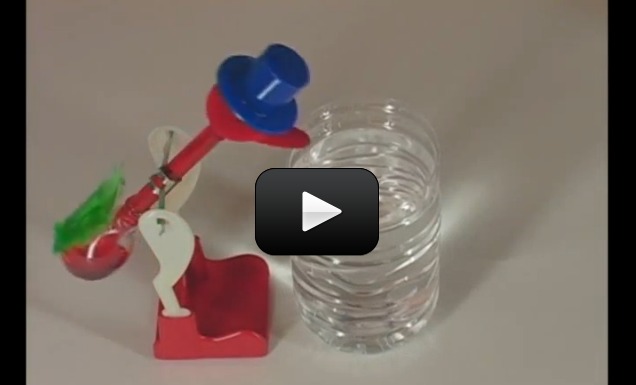
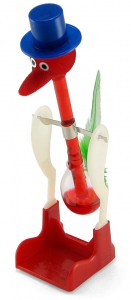
The Drinking Bird is a classic science toy that dips its head up and down into a glass of water. It’s filled with a liquid called methylene chloride, and the head is covered with red felt that gets wet when it drinks. But how does it work? Is it perpetual motion?


Let’s take a look at what’s going on with the bird, why it works, and how we’re going to modify it so it can run on its own without using any water at all!


Please login or register to read the rest of this content.
This is the kind of energy most people think of when you mention ‘alternative energy’, and for good reason! Without the sun, none of anything you see around you could be here. Plants have known forever how to take the energy and turn it into usable stuff… so why can’t we?


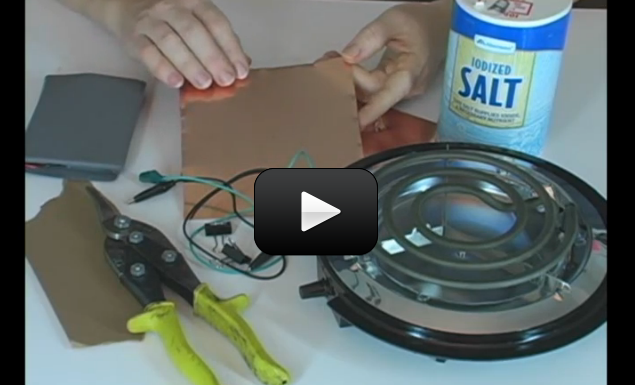
The truth is that we can. While normally it takes factories the size of a city block to make a silicon solar cell, we’ll be making a copper solar cell after a quick trip to the hardware store. We’re going to modify the copper into a form that will allow it to react with sunlight the same way silicon does. The image shown here is the type of copper we’re going to make on the stovetop.


This solar cell is a real battery, and you’ll find that even in a dark room, you’ll be able to measure a tiny amount of current. However, even in bright sunlight, you’d need 80 million of these to light a regular incandescent bulb.


Please login or register to read the rest of this content.
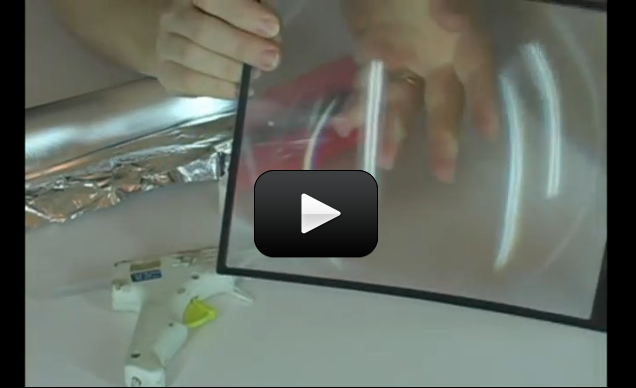
Do you like marshmallows cooked over a campfire? What if you don’t have a campfire, though? We’ll solve that problem by building our own food roaster – you can roast hot dogs, marshmallows, anything you want. And it’s battery-free, as this device is powered by the sun.


NOTE: This roaster is powerful enough to start fires! Use with adult supervision and a fire extinguisher handy.


If you’re roasting marshmallows, remember that they are white – the most reflective color you can get.  If you coat your marshmallows with something darker (chocolate, perhaps?), your marshmallow will absorb the incoming light instead of reflecting it.


Please login or register to read the rest of this content.
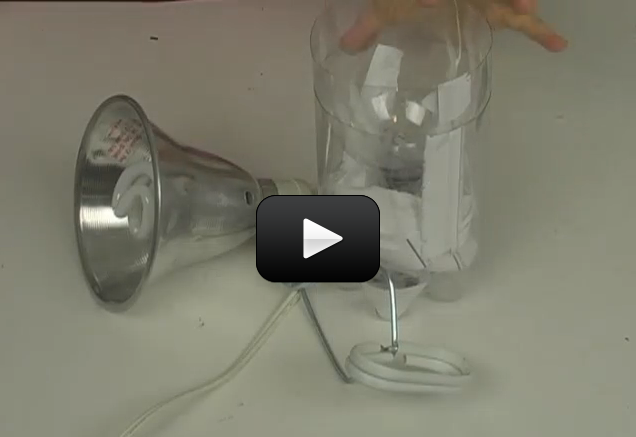
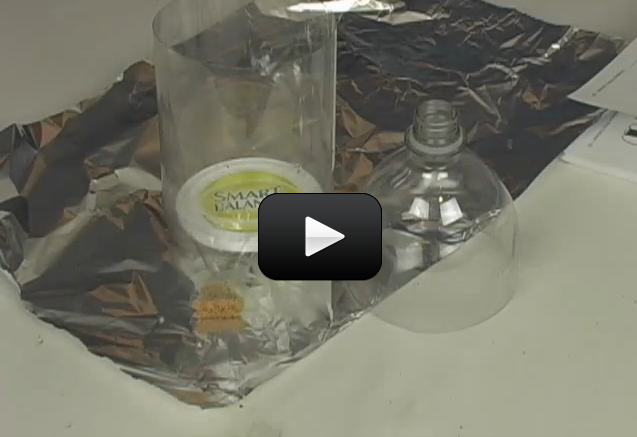
Can you use the power of the sun without using solar cells? You bet! We’re going to focus the incoming light down into a heat-absorbing box that will actually cook your food for you.


Remember from Unit 9 how we learned about photons (packets of light)?  Sunlight at the Earth’s surface is mostly in the visible and near-infrared (IR) part of the spectrum, with a small part in the near-ultraviolet (UV). The UV light has more energy than the IR, although it’s the IR that you feel as heat.


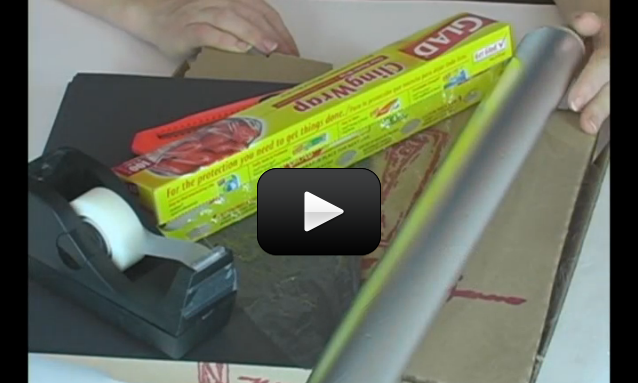
We’re going to use both to bake cookies in our homemade solar oven. There are two different designs – one uses a pizza box and the other is more like a light funnel. Which one works best for you?


  • Two large sheets of poster board (black is best)
  • Aluminum foil
  • Plastic wrap
  • Black construction paper
  • Cardboard box
  • Pizza box (clean!)
  • Tape & scissors
  • Reusable plastic baggies
  • Cookie dough (your favorite)
Please login or register to read the rest of this content.
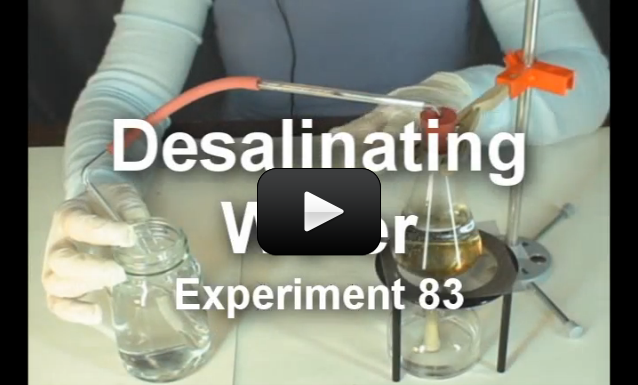
Ever wonder how the water draining down your sink gets clean again? Think about it: The water you use to clean your dishes is the same water that runs through the toilet.  There is only one water pipe to the house, and that source provides water for the dishwasher, tub, sink, washing machine, toilet, fish tank, and water filter on the front of your fridge.  And there’s only one drain from your house, too!  How can you be sure what’s in the water you're using?

This experiment will help you turn not only your coffee back into clear water, but the swamp muck from the back yard as well.  Let’s get started.
Please login or register to read the rest of this content.

If you’ve completed the Soaking Up Rays experiment, you might still be a bit baffled as to why there’s a difference between black and white. Here’s a great way to actually “see” radiation by using liquid crystal thermal sheets.


You’ll need to find a liquid crystal sheet that has a temperature range near body temperature (so it changes color when you warm it with your hands.)


Please login or register to read the rest of this content.
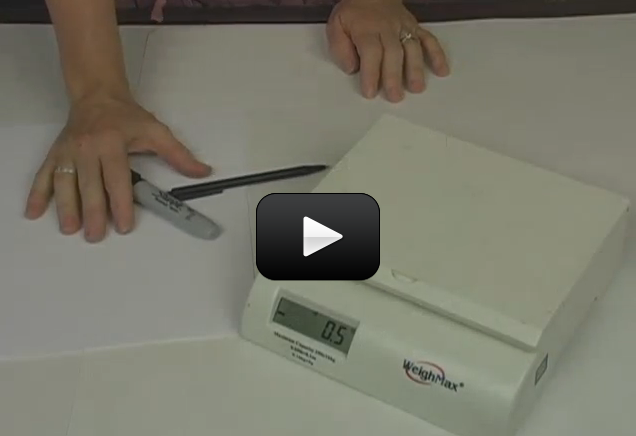
Heat is transferred by radiation through electromagnetic waves. Remember, when we talked about waves and energy? Well, heat can be transferred by electromagnetic waves. Energy is vibrating particles that can move by waves over distances right? Well, if those vibrating particles hit something and cause those particles to vibrate (causing them to move faster/increasing their temperature) then heat is being transferred by waves. The type of electromagnetic waves that transfer heat are infra-red waves. The Sun transfers heat to the Earth through radiation.


If you hold your hand near (not touching) an incandescent light bulb until you can feel heat on your hand, you’ll be able to understand how light can travel like a wave. This type of heat transfer is called radiation.


Now don’t panic. This is not a bad kind of radiation like you get from x-rays. It’s infra-red radiation. Heat was transferred from the light bulb to your hand. The energy from the light bulb resonated the molecules in your hand. (Remember resonance?) Since the molecules in your hand are now moving faster, they have increased in temperature. Heat has been transferred! In fact, an incandescent light bulb gives off more energy in heat then it does in light. They are not very energy efficient.


Now, if it’s a hot sunny day outside, are you better off wearing a black or white shirt if you want to stay cool? This experiment will help you figure this out:


Please login or register to read the rest of this content.
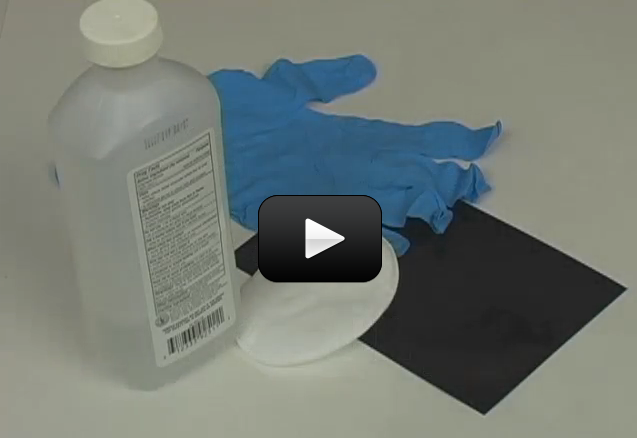
Indoor Rain Clouds

Making indoor rain clouds demonstrates the idea of temperature, the measure of how hot or cold something is. Here’s how to do it:


Take two clear glasses that fit snugly together when stacked. (Cylindrical glasses with straight sides work well.)


Fill one glass half-full with ice water and the other half-full with very hot water (definitely an adult job – and take care not to shatter the glass with the hot water!). Be sure to leave enough air space for the clouds to form in the hot glass.


Please login or register to read the rest of this content.
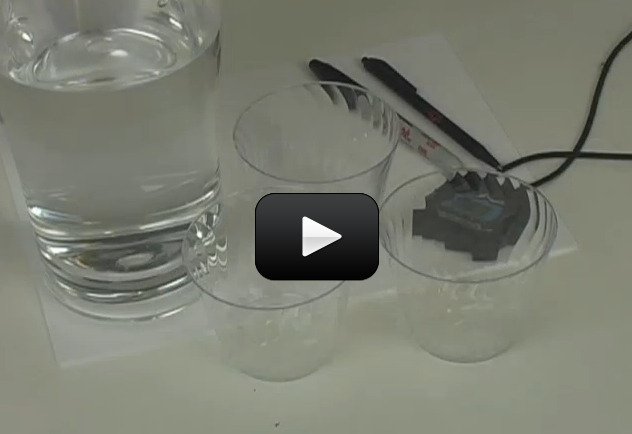
When something feels hot to you, the molecules in that something are moving very fast. When something feels cool to you, the molecules in that object aren’t moving quite so fast. Believe it or not, your body perceives how fast molecules are moving by how hot or cold something feels. Your body has a variety of antennae to detect energy. Your eyes perceive certain frequencies of electromagnetic waves as light. Your ears perceive certain frequencies of longitudinal waves as sound. Your skin, mouth and tongue can perceive thermal energy as hot or cold. What a magnificent energy sensing instrument you are!


Let’s find out how to watch the hot and cold currents in water. Here’s what you need to do:


Please login or register to read the rest of this content.
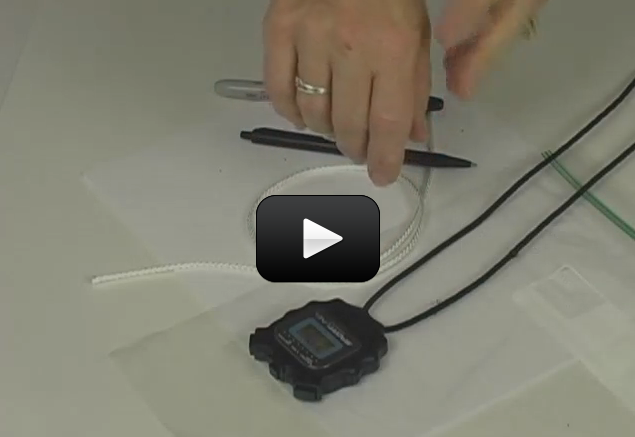
Temperature is a way of talking about, measuring, and comparing the thermal energy of objects.


Please login or register to read the rest of this content.
Every time I’m served a hot bowl of soup or a cup of coffee with cream I love to sit and watch the convection currents. You may look a little silly staring at your soup but give it a try sometime!


Convection is a little more difficult to understand than conduction. Heat is transferred by convection by moving currents of a gas or a liquid. Hot air rises and cold air sinks. It turns out, that hot liquid rises and cold liquid sinks as well.


Room heaters generally work by convection. The heater heats up the air next to it which makes the air rise. As the air rises it pulls more air in to take its place which then heats up that air and makes it rise as well. As the air get close to the ceiling it may cool. The cooler air sinks to the ground and gets pulled back near the heat source. There it heats up again and rises back up.


This movement of heating and cooling air is convection and it can eventually heat an entire room or a pot of soup. This experiment should allow you to see convection currents.


Please login or register to read the rest of this content.
This experiment is for advanced students.


Lewis and Clark did this same experiment when they reached the Oregon coast in 1805. Men from the expedition traveled fifteen miles south of the fort they had built at the mouth of the Columbia River to where Seaside, Oregon now thrives.


In 1805, however, it was just men from the fort and Indians. They built an oven of rocks. For six weeks, they processed 1,400 gallons of seawater, boiling the water off to gain 28 gallons of salt.


Please login or register to read the rest of this content.

Also known as an udometer or pluviometer or ombrometer, or just plan old ‘rain cup’, this device will let you know how much water came down from the skies. Folks in India used bowls to record rainfall and used to estimate how many crops they would grow and thus how much tax to collect!


These devices reports in “millimeters of rain” or “”centimeters of rain” or even inches of rain”.  Sometimes a weather station will collect the rain and send in a sample for testing levels of pollutants.


While collecting rain may seem simple and straightforward, it does have its challenges! Imagine trying to collect rainfall in high wind areas, like during a hurricane. There are other problems, like trying to detect tiny amounts of rainfall, which either stick to the side of the container or evaporate before they can be read on the instrument. And what happens if it rains and then the temperature drops below freezing, before you’ve had a chance to read your gauge? Rain gauges can also get clogged by snow, leaves, and bugs, not to mention used as a water source for birds.


So what’s a scientist to do?


Press onward, like all great scientists! And invent a type of rain gauge that will work for your area. We’re going to make a standard cylinder-type rain gauge, but I am sure you can figure out how to modify it into a weighing precipitation type (where you weigh the amount in the bottle instead of reading a scale on the side), or a tipping bucket type (where a funnel channels the rain to a see-saw that tips when it gets full with a set amount of water) , or even a buried-pit bucket (to keep the animals out).
Please login or register to read the rest of this content.

French physicist Blaise Pascal. He developed work on natural and applied sciences as well being a skilled mathematician and religious philosopher.

A barometer uses either a gas (like air) or a liquid (like water or mercury) to measure pressure of the atmosphere. Scientists use barometers a lot when they predict the weather, because it’s usually a very accurate way to predict quick changes in the weather.


Barometers have been around for centuries – the first one was in the 1640s!


At any given momen, you can tell how high you are above sea level by measure the pressure of the air. If you measure the pressure at sea level using a barometer, and then go up a thousand feet in an airplane, it will always indicate exactly 3.6 kPa lower than it did at sea level.


Scientists measure pressure in “kPa” which stands for “kilo-Pascals”. The standard pressure is 101.3 kPa at sea level, and 97.7 kPa 1,000 feet above sea level. In fact, every thousand feet you go up, pressure decreases by 4%. In airplanes, pilots use this fact to tell how high they are. For 2,000 feet, the standard pressure will be 94.2 kPa. However, if you’re in a low front, the sea level pressure reading might be 99.8 kPa, but 1000 feet up it will always read 3.6 kPa lower, or 96.2 kPa.


Please login or register to read the rest of this content.
Most weather stations have anemometers to measure wind speed or wind pressure. The kind of anemometer we’re going to make is the same one invented back in 1846 that measures wind speed. Most anemometers use three cups, which is not only more accurate but also responds to wind gusts more quickly than a four-cup model.


Some anemometers also have an aerovane attached, which enables scientists to get both speed and direction information. It looks like an airplane without wings – with a propeller at the front and a vane at the back.


Other amemometers don’t have any moving parts – instead they measure the resistance of a very short, thin piece of tungsten wire. (Resistance is how much a substance resists the flow of electrical current. Copper has a low electrical resistance, whereas rubber has a very high resistance.) Resistance changes with the material’s temperature, so the tungsten wire is heated and placed in the airflow. The wind flowing over the wire cools it down and increases the resistance of the wire, and scientists can figure out the wind speed.


Please login or register to read the rest of this content.