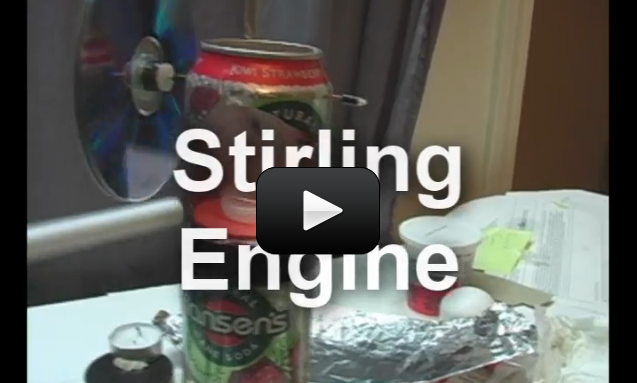
This project is for advanced students.This Stirling Engine project is a very advanced project that requires skill, patience, and troubleshooting persistence in order to work right. Find yourself a seasoned Do-It-Yourself type of adult (someone who loves to fix things or tinker in the garage) before you start working on this project, or you’ll go crazy with nit-picky things that will keep the engine from operating correctly. This makes an excellent project for a weekend.
Developed in 1810s, this engine was widely used because it was quiet and could use almost anything as a heat source. This kind of heat engine squishes and expands air to do mechanical work. There’s a heat source (the candle) that adds energy to your system, and the result is your shaft spins (CD).
This engine converts the expansion and compression of gases into something that moves (the piston) and rotates (the crankshaft). Your car engine uses internal combustion to generate the expansion and compression cycles, whereas this heat engine has an external heat source.
This experiment is great for chemistry students learning about Charles’s Law, which is also known as the Law of Volumes, which describes how gases tend to expand when they are heated and can be mathematically written like this:

where V = volume, and T = temperature. So as temperature increases, volume also increases. In the experiment you’re about to do, you will see how heating the air causes the diaphragm to expand which turns the crank.
Please login or register to read the rest of this content.


Use a circle cut from a sheet of paper – it isn’t critical how big it is – just make it about what you see in the video.
Where is the circle template? The “template” link only has the template for the crankshaft.
You can use a top of a water bottle – it’s used in the CD to attach it to the coat hanger. Watch the video to see how it’s used.
Where can we get the nylon bushing?