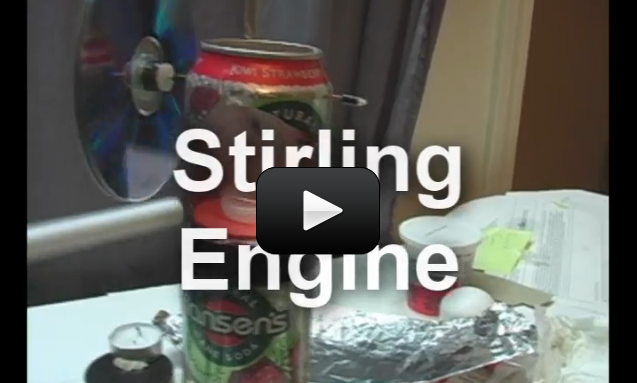
This project is for advanced students.This Stirling Engine project is a very advanced project that requires skill, patience, and troubleshooting persistence in order to work right. Find yourself a seasoned Do-It-Yourself type of adult (someone who loves to fix things or tinker in the garage) before you start working on this project, or you’ll go crazy with nit-picky things that will keep the engine from operating correctly. This makes an excellent project for a weekend.
Developed in 1810s, this engine was widely used because it was quiet and could use almost anything as a heat source. This kind of heat engine squishes and expands air to do mechanical work. There’s a heat source (the candle) that adds energy to your system, and the result is your shaft spins (CD).
This engine converts the expansion and compression of gases into something that moves (the piston) and rotates (the crankshaft). Your car engine uses internal combustion to generate the expansion and compression cycles, whereas this heat engine has an external heat source.
This experiment is great for chemistry students learning about Charles’s Law, which is also known as the Law of Volumes, which describes how gases tend to expand when they are heated and can be mathematically written like this:

where V = volume, and T = temperature. So as temperature increases, volume also increases. In the experiment you’re about to do, you will see how heating the air causes the diaphragm to expand which turns the crank.
Please login or register to read the rest of this content.


Super cool video. i only watched bits though because its super long. Didn’t have any problems though! Thanks!
Matilda
Cool it looks awesome!!!!
just hit pause and then it the resume butten that’s in the sentere of the video that’s how got mine to work
Try again… it seems to be working now.
The video stopped at 0.0.6 and I coudn’t get it to continue.
Thanks for writing! Unfortunately, this video isn’t available on DVD or I’d be more than happy to send it to you. As far as the video stopping, sometimes this happens with long videos, so here’s what you do: refresh the page and click PLAY and then PAUSE. Wait for the entire video to load (this may take awhile depending on your internet connection speed), and when it’s done, start it up where it left off and you should have no problem viewing the rest of the video.
And you’re right – it looks like the crankshaft template is missing. I’ll get another posted for you shortly. Thanks for your eagle eye in helping us keep our content as up to date as possible!
The Stirling Engine video stops about 50 minutes after the start. Students have materials and are anxious to begin project. Can we find these instructions anywhere else? Are they available on DVD? Where can we find the templates for the circle and the crank shaft?
Yes
Thank You very much!
We’re updating the videos on the site so this isn’t a problem in the future… we haven’t updated this video yet (there are over 600 for us to convert!). In the meantime, if you have this problem, hit PAUSE, then wait for it to load completely, then hit PLAY. Does that help?
Whoops – sorry about that. I will have those scanned in and post those to the project.
Do you have any templates for the crankshaft and circle?
The video stops at 5:50?
The video is fully uploaded – try clicking PLAY, then PAUSE and wait for it to completely finish (this may take awhile, as it’s a large file), and then click PLAY again. Start it 10 min before the end and you should have it completely.
the video stops and starts over at about 51 minutes, can you fix it soon? i have two days left on the subscription
You were right about this project being hard to build – we FINALLY got ours running smoothly, but it took three fix-it type Dads and two weekends. I can’t believe that it really works! The best part was how my son proudly showed it off to his friends during his science fair inventor’s workshop day. His teacher was really impressed when he explained how the whole thing worked. I was impressed he remembered what all the different parts were for!
We did wind up using the alcohol burner as it worked way better than the candle. Thanks for the super project!