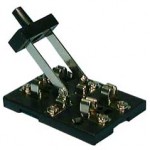
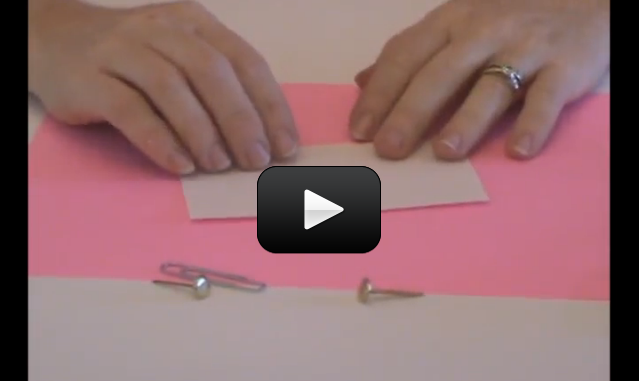
 When you turn on a switch, it’s difficult to really see what’s going on… which is why we make our own from paperclips, brass fasteners, and index cards.
Kids can see the circuit on both sides of the card, so it makes sense why it works (especially after doing ‘Conductivity Testers’).
SPST stands for Single Pole, Single Throw, which means that the switch turns on only one circuit at a time. This is a great switch for one of the robots we’ll be making soon, as it only needs one motor to turn on and off.
Please login or register to read the rest of this content.


I did the experimint no prob. (I turned all on at the same time.)
I’ll need to take a look at your set up. Please take a picture and email it to [email protected].
We made the switch work with a buzzer, a motor and an LED. Then I tried to use both a motor and an LED (with an extra alligator wire) at the same time and only the LED turned on. We tested having both without the switch as well and still the motor didn’t work, but the LED did. We also tried reversing polarities and all that changed was the color of the LED. We did a double and triple check with a simple circuit to verify that the motor is functional as well. What’s wrong with my circuit? Do the AA batteries not have enough power or did I maybe arrange something wrong?
That’s right, there isn’t enough power in the two AA batteries to give you a shock. That’s why it is important to only try this experiment with the batteries recommended in the supply list. You are safe from getting a shock in this experiment because the voltage provided by two AA batteries isn’t enough to overcome the electrical resistance of your skin. But it is important to only try this experiment with batteries recommended in the supply list.
How come you don’t get shocked when you touch the paperclip and turn the circuit ‘on’? Is there not enough power in the battery to do so? Just asking.
it is fun
Hi! We did steps one and two on the student packet with no problem. We got step three to work, but we’re not really sure why. The “x” that the alligator clips on the diagonal creates seems to be a dead end. We can’t trace the full path of electricity. Is there a diagram or video that explains this further?
Thanks! We are having fun doing science together this way.
WOW! I loved this experiment. I’ve always been into to electricity and circuits and things like that. All the Supercharged Science experiments that I’ve tried have worked for me so far. Witch I’m really glad about, because I have tried experiments with other science programs, and some of them did not work.Thanks so much Aurora for making science fun and experiments possible. (P.S. I’m a student not a parent)
It’s got to be a bare-metal (not coated or colored) paper clip. You can try a piece of bare wire, like a staple or metal part of a pen. Don’t use a bobby pin – those are usually coated with a thin layer of plastic so they don’t rust in the hair.
Aurora,
Do all paper clips work? I can’t seem to make my switch work when pressing the paper clip to the brass fastener. However, when I touch my leads together the LED illuminates.
You could use this experiment to make Morris code! Go to:
http://www.arrl.org/files/file/Youth/Morse%20Code.pdf
for a Morris code poster. 😀
-Charli(7th grader)
Yes, you can use this switch on any experiment calling for a SPST (single pole, single throw). Is there a particular experiment you’re wondering about?
I was wondering if you could use this switch on some of the projects that call for a switch from radio shack, would it work the same?
I’d try it, but we don’t have all the parts, and when we go to radio shack we need to know to get the switch or not…..
I was wondering if you knew, (so we don’t have to make two trips.)
Electrical Science is GREAT!!!! (the advanced projects are really great.)
Rian.
Perfect!!! Thank you so much!
So glad you’re enjoying the information! And all our e-Science members are getting a ‘parts packet’ which is a small envelope with oddball items we know you’re going to have a hard time finding… it’s our summer gift to you as you work through e-Camp. There’s an included letter that lets you know what the parts are for and how to use them.
For the information on resistors, transistors, capacitors, etc. (electrical components), you can access the Breadboard Basics Video here (in the e-Camp Burglar Alarms experiment section). In the Fall, we’ll be releasing the Unit 14: Electronics which goes into detail on all these components and more. Does that help for now?
My kids are loving this unit!!! Radio shack has become our second home!! 2 Questions: What are the “parts packets” you mention on the side bar of this site? And Can you recomend a site that goes over the different components you mentioned inyour intro video? (transistors,capacitors,resistors etc) We would love more info on that!!! Thank you for such a wonderful site!!!
I think that this is so cool Were having a lot of fun! What a great project!